• • the
12
freely.
• When working with wood that has been
processed before, watch out for foreign bodies
such as nails or screws etc.
• Before you actuate the On/Off switch,
make sure that the saw blade is correctly fitted
and that the machine’s moving parts run
smoothly.
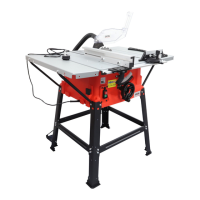
8. ASSEMBLY& ADJUSTMENTS
Mounting the table saw base on the leg
stand
• Take the following from the table saw base: 8
hex bolts.
NOTE
• Place the table saw base on the leg stand.
Align the holes in the table.
• Place a bolt in each hole. Hand tighten.
• Repeat for three remaining holes. Tighten all
hardware securely with the socket wrench.
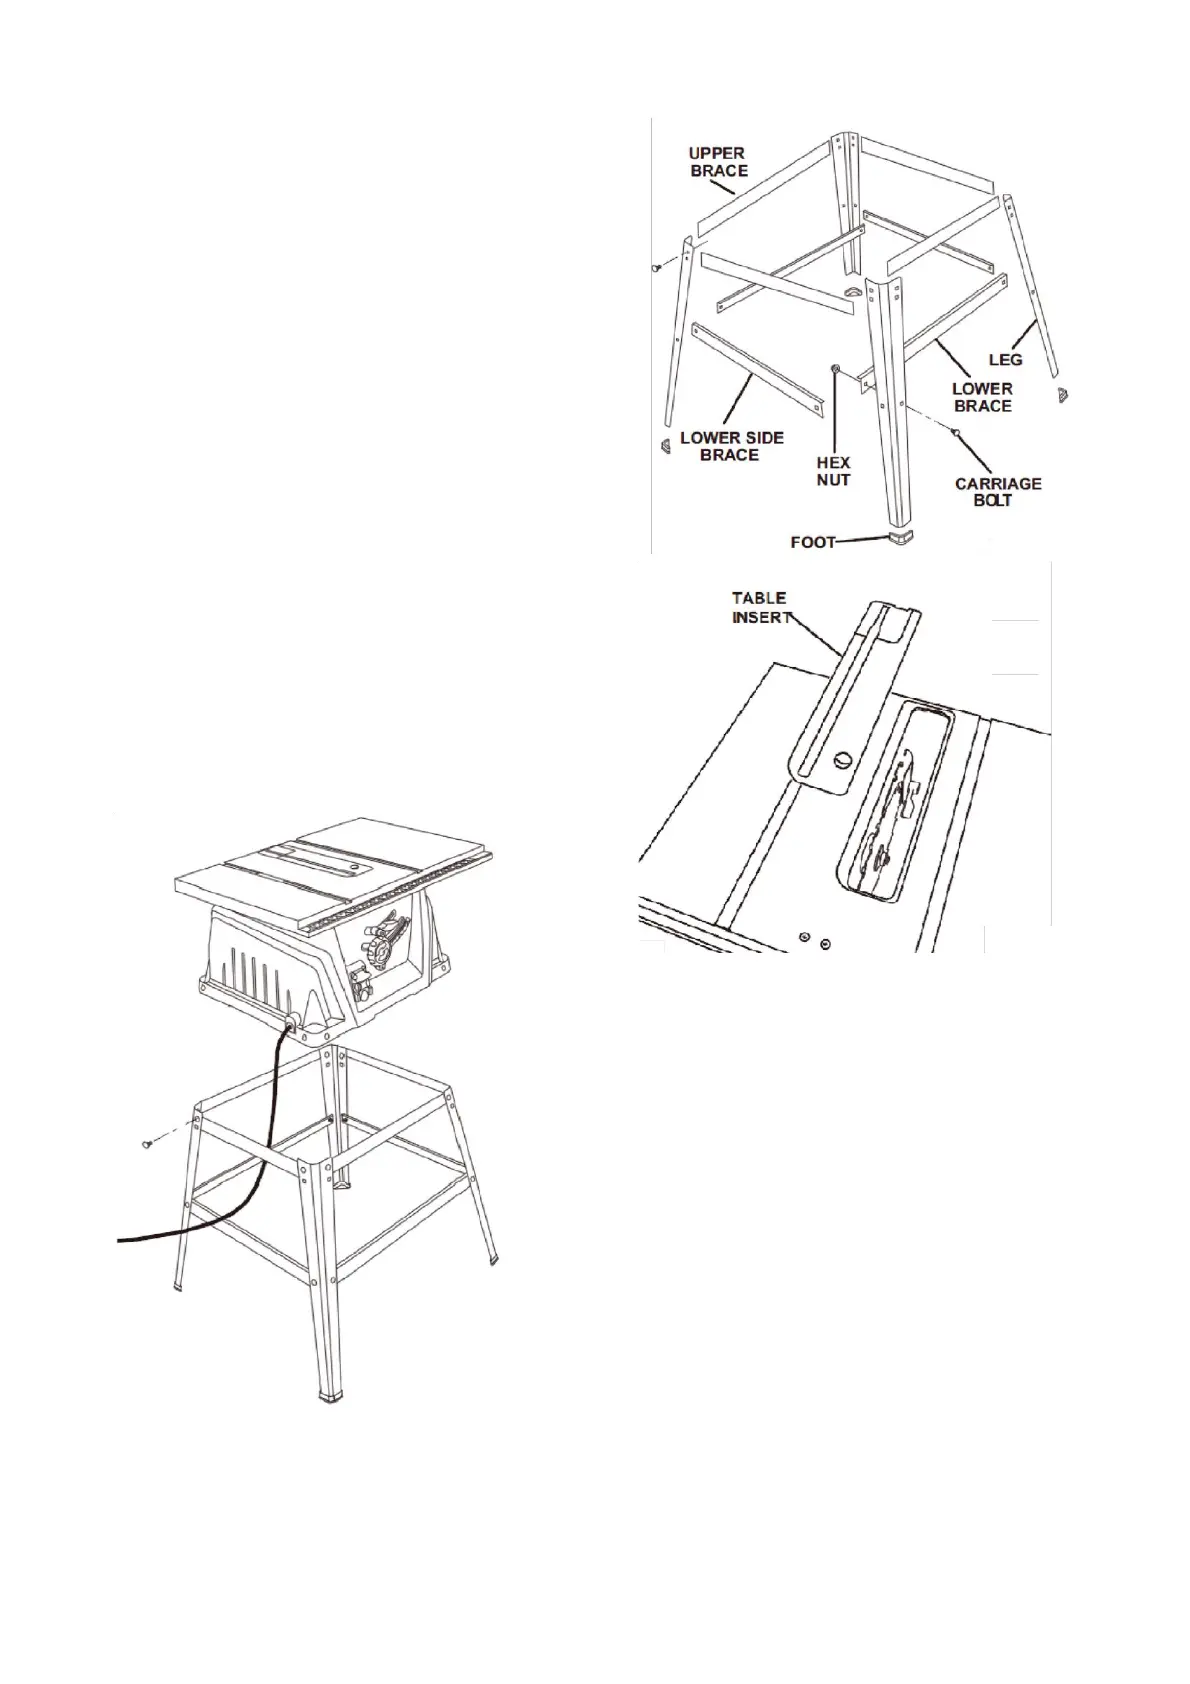
To remove/replace the table insert • Lower
the blade by turning the height/bevel adjusting
handwheel counterclockwise.
• Remove the worn table insert.
To change riving knife positions This saw is
shipped with a riving knife that should be placed
in the “down” position for non-through cutting
and must be placed in the “up” position for all
other cutting operations.
• Unplug the saw.
To place in the “up” position for all through
cutting:
• Remove the table insert.
• Raise the saw blade by turning the
height/bevel adjusting handwheel clockwise.