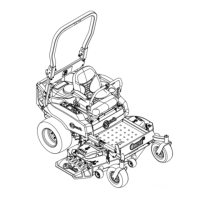
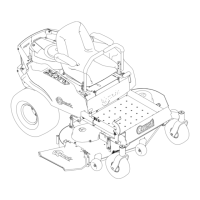
Figure8
1.Removeexistinghardware4.Washer
2.Retainnut
5.3/8-16x11/4inchhex
screw
3.Nylocnut6.LHweightmountbracket
2.Using3/8-16x11/4inchhexscrew,twowashers,
and3/8inchnylocnut,installtheLHweightmount
bracketintothemiddleholeofthemowerframe
(seeFigure8).
3.Securethebracketbyinstalling3/8-16x11/4inch
hexscrew ,intothemiddleholeoftheLHweight
mountbracket.Reusethenutretainedfromstep
1.
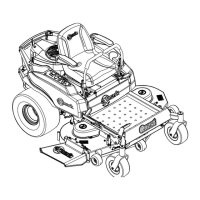
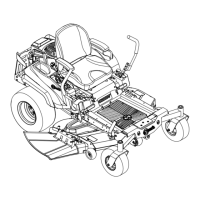
4.OntheRHsideofthemower,removethefront
hardwarefromthedeckliftmountbracketandfrom
thefrontframehole(see
Figure9).Retainthenuts
anddiscardthescrews.
Figure9
1.Removeexistinghardware4.RHweightmountbracket
2.Existingnuts
5.3/8-16x11/4inchhex
screw
3.Deckliftmountbracket
5.InstalltheRHweightmountbracketusingtwo
3/8-16x11/4inchhexscrewsandthenutsretained
instep4.
6.Installtheweightholdingbracketbyaligningthe
outboardholesinthebracketwiththeLHandRH
weightmountingbrackets.Securewithtwo3/8-16x
1inchscrewsandtwo3/8inchnylocnuts.
Figure10
1.3/8inchnylocnuts4.3/8-16x1inchscrews
2.Weightholdingbracket5.RHweightmounting
bracket
3.LHweightmounting
bracket
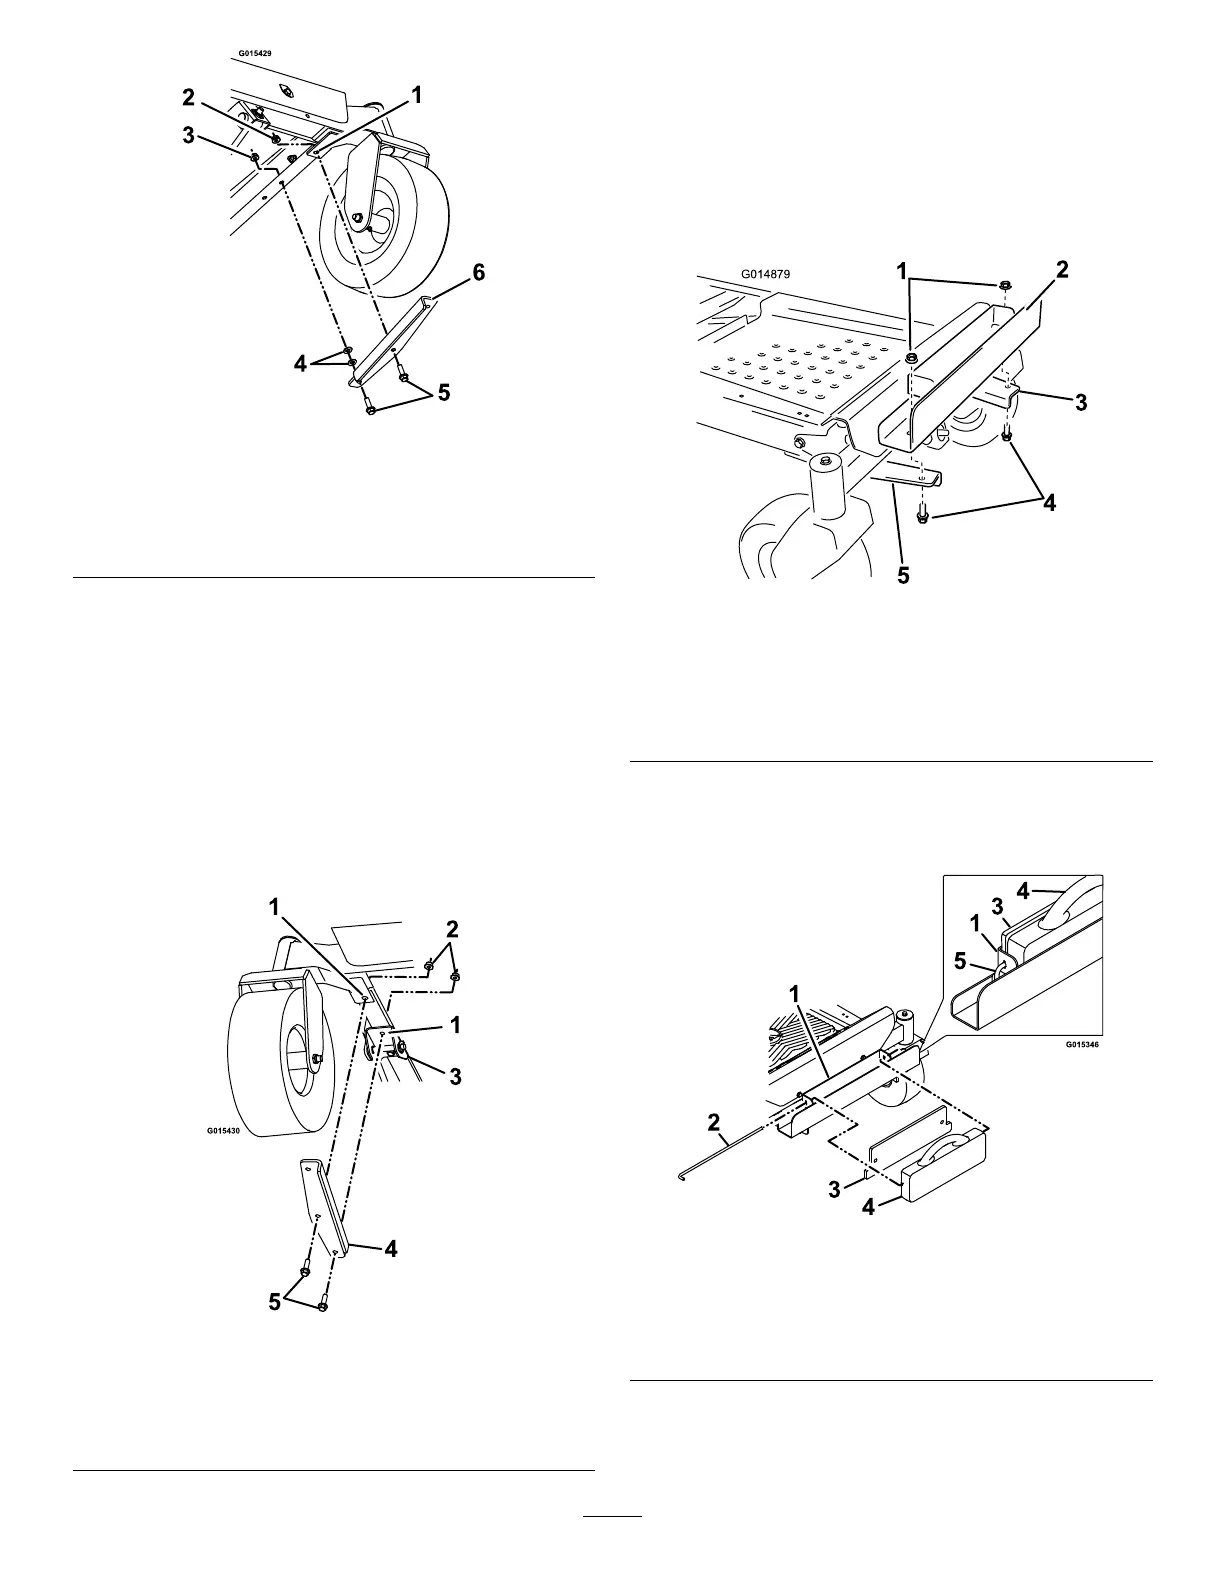
7.Installtheatweightushagainsttheholding
bracket.Installthesuitcaseweightinfrontofthe
atweight(seeFigure11).
Figure11
1.Holdingbracket
4.Suitcaseweight
2.Weightlockrod—unlocked
position
5.Weightlockrod—locked
position
3.Flatweight
8.Inserttheweightlockrodtosecuretheweights.
Rotatetheweightlockrod90degreesdownwardto
lockitintoplace.
5