EA80-en-GB_V3.6 11/16
3
Preparation for Use
Power Supply
The meter is powered by six (6) 1.5V ‘AAA’ alkaline batteries or by an AC adapter.
Installing the Batteries
Insert six (6) AAA batteries as indicated by the diagram located on the inside of the
battery compartment.
When the battery voltage drops below the operating voltage, the “
+
” indicator will
be displayed indicating that the batteries need to be changed.
AC Adapter
The AC adapter allows the meter to be powered from a common AC wall outlet. When
using the AC adapter, the batteries (if installed) will be bypassed. The AC adapter is
not a battery charger.
Gas Inlet
Always ensure that the meter’s gas inlet port (3), the vented opening located on the
rear of the meter, and gas exhaust port (2), which is located at the top of the meter,
are not blocked.
Operation
Note: Exhaled CO
2
will affect the accuracy of the reading; do not hold meter
near the face.
Taking Measurements
The sensor for Temperature, Humidity, Dew Point, and Wet Bulb measurements is
located in the remote probe. Hold the probe in the air in the area to be tested. DO NOT
immerse in liquid. The sensor for CO2 measurements is located at the top of the meter.
Selecting temperature units of measure (C/F)
Press the °C/°F button momentarily to toggle the temperature units.
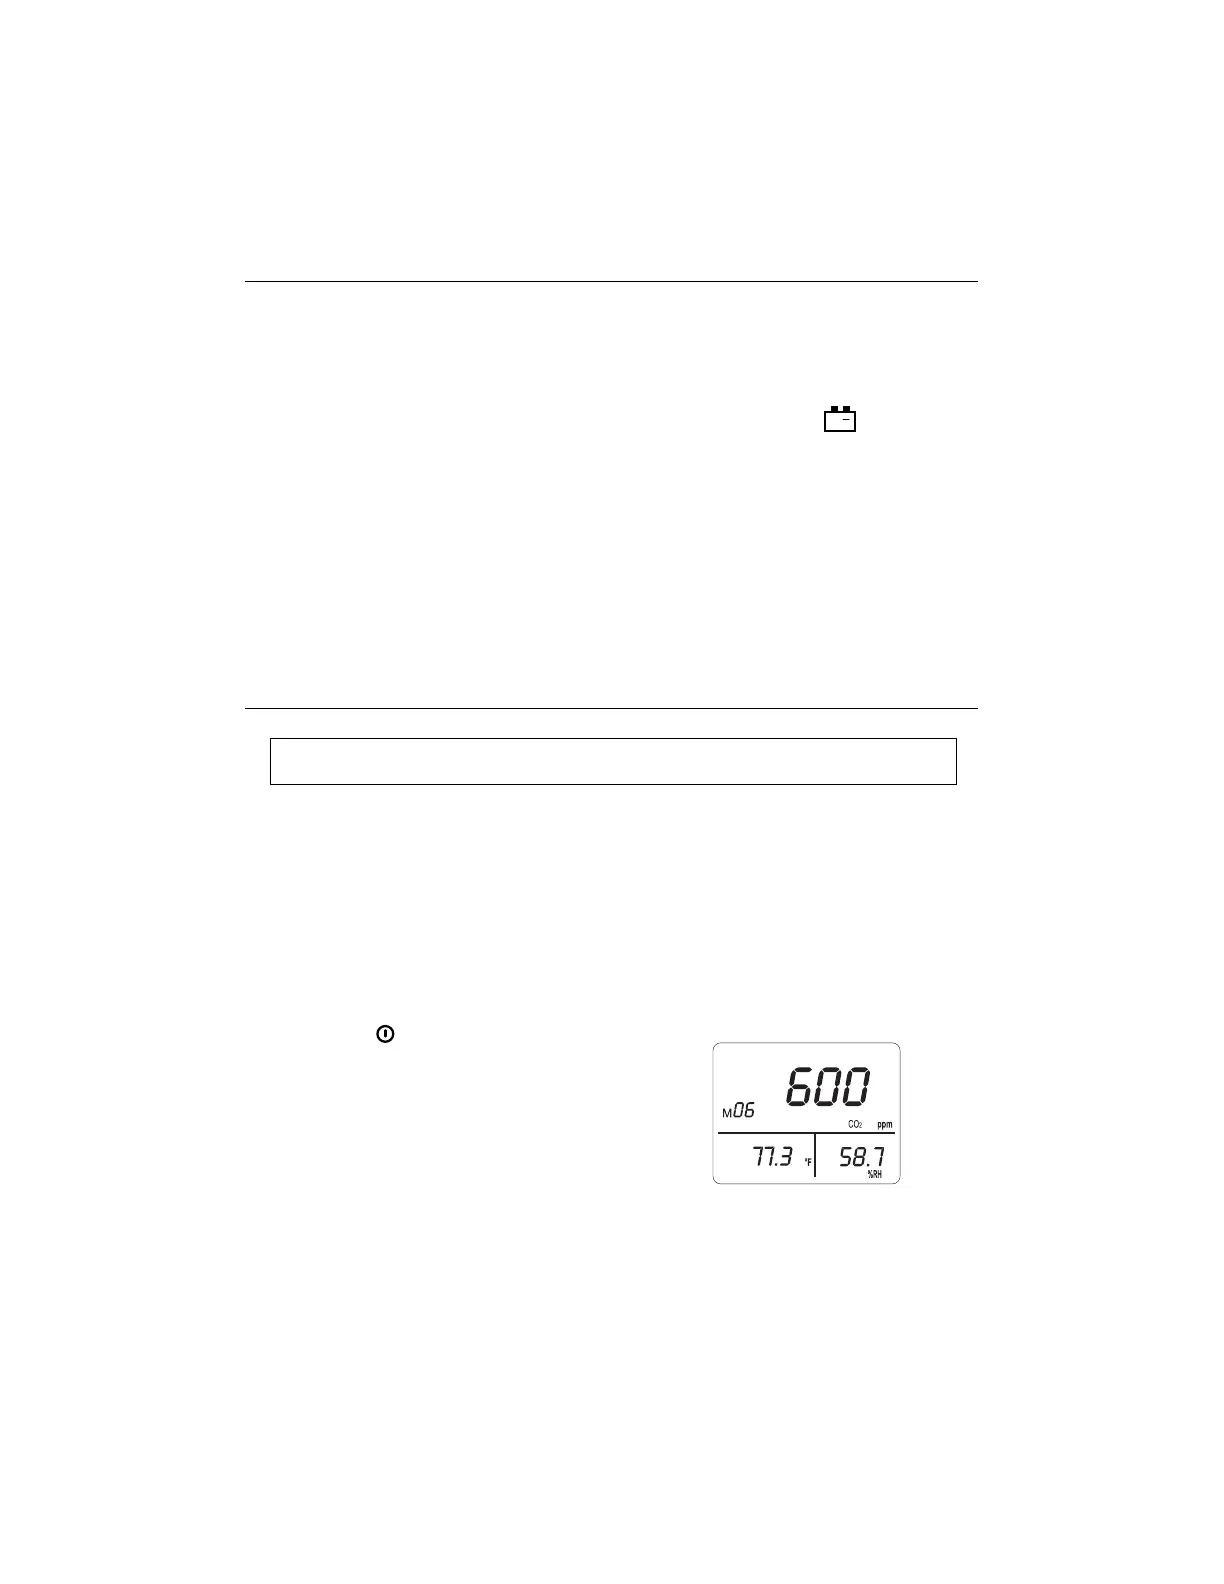
CO2 Measurement
1. Press
button to turn on the meter,
2. The sensor requires a 30 second warm-up
before displaying the CO2 measurement.
3. The meter sensor requires approximately10
minutes to stabilize in still air before the
readings can be considered accurate. Moving
the meter may decrease this stabilization time.
4. The primary display indicates the CO2 reading.
The secondary display indicates temperature. The third display indicates %RH.
www.GlobalTestSupply.com
Find Quality Products Online at: sales@GlobalTestSupply.com