RH300 V1.4 11/04
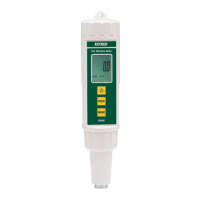
3
/WB
T2
T/DP
T1
1
2
3
4
5
6
7
8
9
10
11
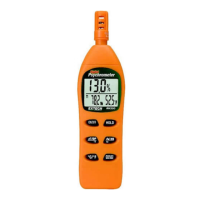
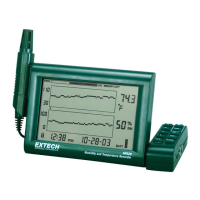
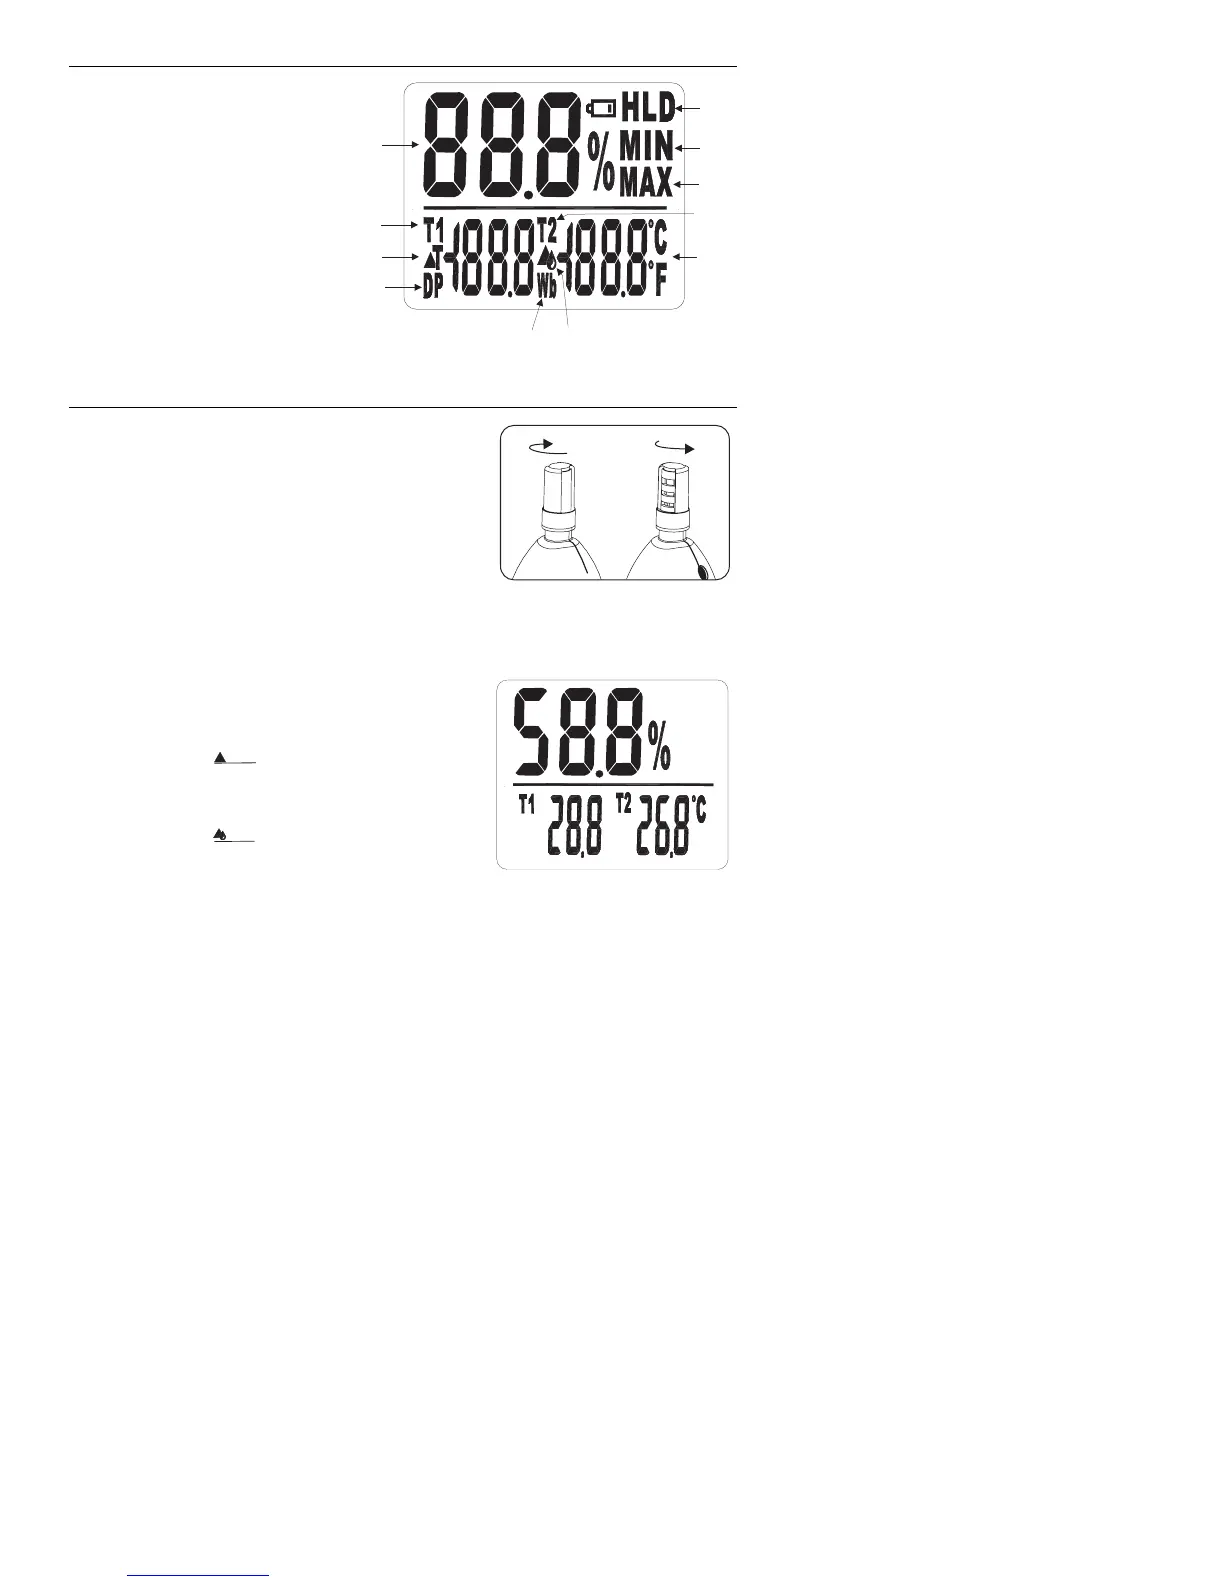
Display Description
1. Relative Humidity %
2. T1
3. T1-T2
4. Dew Point
5. Wet Bulb
6. T2-Dew Point
7. °C/°F
8. T2
9. Maximum
10. Minimum
11. Low Battery/Hold
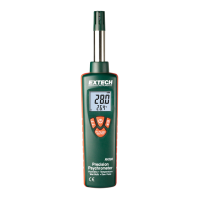
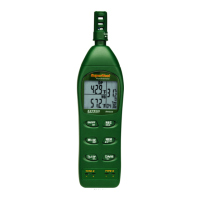
Operation
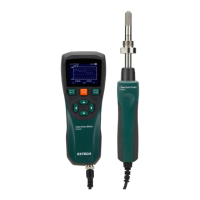
Open the Protective Sensor Cap
Twist the protective sensor cap, located at the top of
the meter, counter-clockwise a quarter of a turn to
expose the sensor
Plug in the optional external temperature probe (if
needed).
Turn Power ON or OFF
Press the ON/OFF button to turn power on or off. The meter will perform a short self-test
when turned on.
Taking measurements
1. Hold the probe in the area to be tested.
2. Allow adequate time for readings to stabilize.
3. The Relative Humidity measurement appears in
the top display.
4. Pressing the button toggles the lower left
display between T1-T2 (internal temperature-
external temperature), DP (Dew Point), and T1
(internal temperature).
5. Pressing the button toggles the lower right
display between T2-DP (external temperature-
Dew Point), WB (Wet Bulb), and T2 (external
temperature).
Note: If the external probe is not connected, T1-T2, T2-DP, and T2 measurements will not
be displayed.
Selecting temperature units of measure (C/F)
Press and hold the
o
C/
o
F button momentarily to toggle the temperature units.
CLOSE OPEN