EasyManua.ls Logo

Extreme Flight EDGE 540 User Manual

Extreme Flight EDGE 540
36 pages
To Next Page IconTo Next Page
Page #1 background imageLoading...
Page #1 background image
Assembly Manual / Airframe – 106” Edge 540
Thank you for purchasing this 3DHobbyShop by Extreme Flight ARF RC aircraft. If you have
any issues, questions, concerns or problems during assembly, please contact our tech
department at: Info@extremeflightrc.com or 770-887-1794 10am-5pm Eastern Monday thru
Friday.
SAFETY in Assembly
During assembly of this aircraft, you will be asked to use sharp knives and hobby adhesives.
Please follow all safety procedures recommended by the manufacturers of the products you use,
and always follow these important guidelines:
ALWAYS protect your eyes when working with adhesives, knives, or tools, especially power
tools. Safety glasses are the best way to protect your eyes.
ALWAYS protect your body, especially your hands and fingers when using adhesives, knives,
or tools, especially power tools. Do not cut toward exposed skin with hobby knives. Do not
place hobby knives on tables or benches where they can roll off or be knocked off.
ALWAYS have a first-aid kit handy when working with adhesives, knives, or tools, especially
power tools. ALWAYS keep hobby equipment and supplies out of the reach of children.
SAFETY in Flying
This is NOT a toy! It is a very high-performance RC airplane capable of high speeds and
extreme maneuvers. It should only be operated by a competent pilot in a safe area with proper
supervision.
ONLY fly your aircraft in a safe, open area, away from spectators and vehicles and
where it is legal to fly. NEVER fly over an unsafe area, such as a road or street.
NEVER fly near overhead power or utility lines. If your airplane ever becomes stuck in
a line or a tree DO NOT attempt to retrieve it yourself. Contact the authorities for
assistance in retrieving your aircraft. Power lines are DANGEROUS and falls from
ladders and trees CAN KILL!
Never fly too close to yourself or spectators.
Spinning propellers are DANGEROUS!
Never run your motor inside a house or building with the propeller attached Remove the
prop for safety. Always fly within your control.
Always follow manufacturers instructions for your radio system.
Always preform a pre-flight check of your aircraft to be certain of the aircraft's
airworthiness.
Always obtain proper insurance before flying. Always fly model aircraft in accordance
with the Academy of Model Aeronautics (AMA) Safety Code. Visit the AMA's website
at www.modelaircraft.org for more information.
Question and Answer IconNeed help?

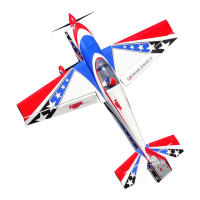
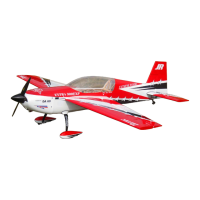
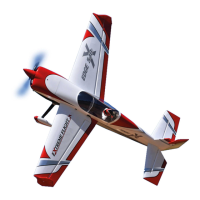
Do you have a question about the Extreme Flight EDGE 540 and is the answer not in the manual?

Extreme Flight EDGE 540 Specifications

General IconGeneral
BrandExtreme Flight
ModelEDGE 540
CategoryToy
LanguageEnglish

Summary

Safety Procedures

Safety in Assembly

Guidelines for safe assembly using sharp tools and adhesives.

Safety in Flying

Critical safety rules for operating the high-performance RC aircraft.

Assembly Preparation

Required Tools and Parts

List of necessary tools and optional items for assembly.

Unpacking and Initial Inspection

Instructions on how to unpack and check the aircraft for damage.

Handling Covering Wrinkles

Method for removing wrinkles from the aircraft covering using heat.

Fuselage Assembly

Covering Removal Steps

Steps to remove covering from specific fuselage areas for access.

Tail Wheel Assembly

Tail Wheel Installation Steps

Detailed instructions for installing the tail wheel assembly.

Main Landing Gear

Landing Gear Hardware and Axle Spacing

Overview of landing gear hardware and axle spacing for proper fit.

Attaching Main Wheels and Collars

Instructions for fitting washers and collars onto the wheel axles.

Attaching Wheel Pants

Steps to attach the assembled wheel and pant to the landing gear.

Securing Landing Gear to Fuselage

Instructions for attaching the main landing gear and gear cuffs to the plane.

Engine Tunnel and Pushrods

Exhaust Tunnel Cover Options

Options for installing exhaust tunnel covers or leaving intact.

Ball Link and Pushrod Assembly

How to assemble and adjust pushrods using different types of ball links.

Control Horns and Linkages

Phenolic Control Horns

Identifying and preparing phenolic control horns for installation.

Installing Control Horns

Steps for gluing control horns onto surfaces like elevators and ailerons.

Rudder System

Rudder System Components

Overview of parts for the rudder pull-pull system.

Installing the Rudder Control Horn

Assembling and preparing the rudder control horn.

Connecting Rudder Pull-Pull Cables

Completing the rear end of pull wires using crimps and looping.

Horizontal Stabilizers and Elevators

Installing Elevator Servos

Mounting the elevator servo into the horizontal stabilizer.

Attaching Stabilizers and Linkage

Installing servo arms, linkage, and stabilizer tubes.

Engine Mounting and Setup

Engine Mounting Hardware

Included hardware and template for engine mounting.

Firewall and Throttle Servo Mounting

Attaching the throttle servo and using washers/nuts for mounting.

Spinner to Cowl Gap Adjustment

Using standoffs and washers to achieve the desired spinner gap.

Throttle Linkage Installation

Installing the throttle linkage, noting potential length adjustments.

Engine Cowl Installation

Cowl Cutting for Mufflers

Measuring and cutting areas on the cowl for specific muffler setups.

Airflow Baffles Recommendation

Recommending baffles to direct airflow over engines.

Attaching Bottom Cowling Half

Securing the bottom half of the engine cowl using screws and washers.

Aileron Installation

Aileron Servo Locations and Considerations

Notes on servo placement and potential flutter issues with single servos.

Wing Installation

Attaching Wings to Fuselage

Method for attaching wings using nylon bolts and spring clips.

Optional Wing Tip Accessories

Installing optional wing tip accessories with screws.

Canopy Hatch and Control Throws

Canopy Hatch Installation

Securing the canopy hatch with thumbscrews after interior work.

Control Throws Settings

Recommended control throws for high, mid, and low rates.

Center of Gravity (CG)

Recommended CG Location

The preferred CG for initial flight tuning is 5.5" from the leading edge.
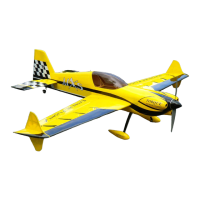
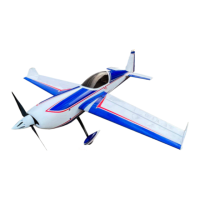
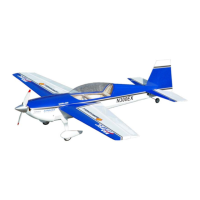
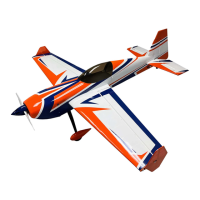
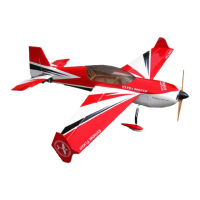
Related product manuals