6
Installation
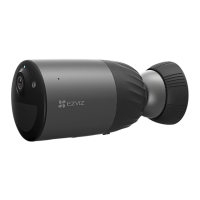
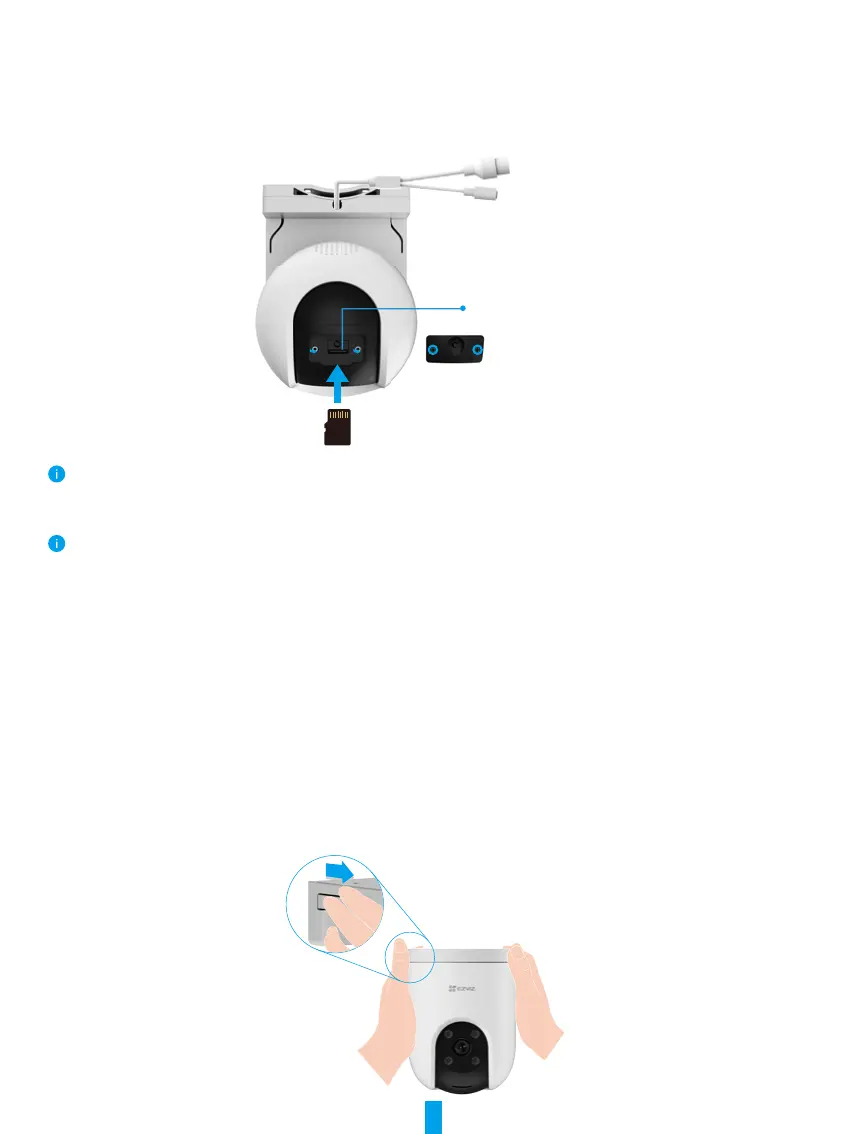
1� Micro SD Card Installation (Optional)
1. Remove the cover on the camera.
2. Insert the micro SD card (sold separately) into the card slot.
3. Fix the cover to the camera.
Micro SD Card Slot
(
remove the cover
)
After installing the micro SD card, you should initialize the card in the EZVIZ app before using it.
4. In the EZVIZ app, tap the Storage Status in the Device Settings interface to check the SD card status.
5. If the memory card status displays as Uninitialized, tap to initialize it.
The status will then change to Normal and then videos can be stored.
2� Installation Location
• Choosealocationwithaclear,unblockedeldofviewandwithagoodwirelesssignal.
• Make sure the wall is strong enough to withstand three times the weight of the camera.
• Camera cannot be installed with the lens facing direct sunlight.
3� Installation Procedure
The camera can be wall mounted, ceiling mounted, and pole mounted.
Bracket Separate
1.Useyourthumbandforengertopinchtwobucklestretcharmsontwosidesofthemountingbracket.
2. Take the camera off from the mounting bracket with your left hand as shown below.
 Loading...