Food
Product
Vol-au-vents
(medium)
80 1.1 230 2&4 10 16
Sultana scones
(
1
/
2
")
80 4.5 240 2&4 9 14
Croissants
(55g)
36 2 200 2&4 12 20
Bread rolls
(75g)
48 3.6 230 2&4 10 17
Quiche lorraine
(8" dia - 680g)
12 8.2 195 2&4 35 60
Yorkshire
Pudding
72 2.7 240 3&5 18 32
Sponge
(slab)
4 5.5 200 2&4 12 24
Baked jacket
potatoes
72 26.5 220 2&4 70 110
Total
Quantity
Total
Weight (kg)
Temperature
Setting (
o
C)
Runner
Positions
Changeover
Time (mins)
Total Cook
Time (mins)
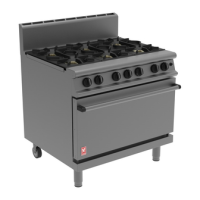
Oven
1. Open oven doors.
2. Turn thermostat knob to maximum setting and
push in. This will establish a flow of gas to oven
burner.
3. Continue to press knob in and at the same time,
push piezo ignitor button situated below oven
compartment to provide a spark at oven burner.
4. Having established burner flame, maintain
pressure on knob for a further 20 seconds before
release.
5. Burner should remain lit. Should burner fail to
remain lit, wait 2 to 3 minutes then return to Step 2
and repeat ignition procedure.
6. When burner remains lit, turn thermostat to
required position.
To Shut the Oven OFF
To extinguish burner, turn thermostat control knob to
OFF position.
SECTION 3 - COOKING HINTS
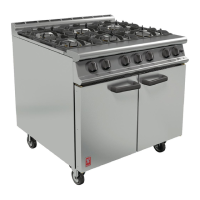
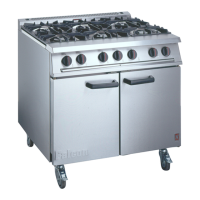
Open Top
Open top burners are rated at 4.5kW nett.
Boost burner (5.3kW) positions are indicated here for
models - G2101, G2121, G2161 and G2124.
The pan supports will safely accommodate pans from
125mm diameter. It is recommended however, that
pans larger than 300mm diameter be heated upon
the rear burners.
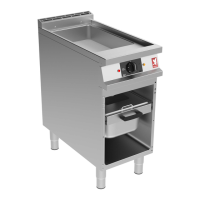
Solid Top
It is normal practice to leave the single burner full on
for the whole of the time the hotplate is in use.
As much of the heat is concentrated in the centre,
tapering away towards the edges, this area should be
used for rapid boiling. The pan then moved away from
main heat source to simmer at desired intensity.
Hints on Using Solid Hotplate
Getting the best out of this type of heat source is
largely a matter of experience coupled with the needs
of a particular task in hand. For certain applications,
such as heating a pot quickly, it will be found
expedient to remove centre ring and place pot directly
over burner. If it is necessary to heat the entire
surface, the ring must be in position. In the interests
of fuel economy, it is recommended that the solid top
should not be left unattended with gas on FULL
setting. If it is necessary to keep the top hot for any
length of time, the control should be turned down to
low flame setting.
Do not at any time leave the gas on without a pot
whilst the centre ring is removed - such practice
simply wastes gas.
The hottest area of the plate is at the centre and
towards the rear. The front and sides are cooler.
Oven
Temperature is a utomatically controlled by the
thermostat.
Grid Shelves
Two cooking shelves are supplied which can be
supported in any of five different positions within the
oven. When two shelves are being used, these
should be positioned so that at least one single shelf
space is left between them. Always push shelves into
oven until the stops hit the front of the supports.
Tray Sizes
Each shelf will accomodate a 2/1 gastronorm tray.
Single trays or dishes should be placed centrally.
Trays must not be allowed to overhang the shelf in
any direction as this will adversely affect heat
circulation.
Pre-Heat Time
Allow at least 45 minutes from lighting a cold oven
before loading with food to be cooked. Put food in
quickly and close the doors firmly.
Oven Cooking Chart
This information is provided as guidance only and all
figures are approximate. Due to the natural heat
gradient in this type of oven, it will be necessary to
interchange products on the upper and lower cooking
shelves during the cooking period.
The changeover timing varies depending on product
type , weight and temperature.
 Loading...