22
WITHOUT
COAX *
WITH COAX
(GB- '99)
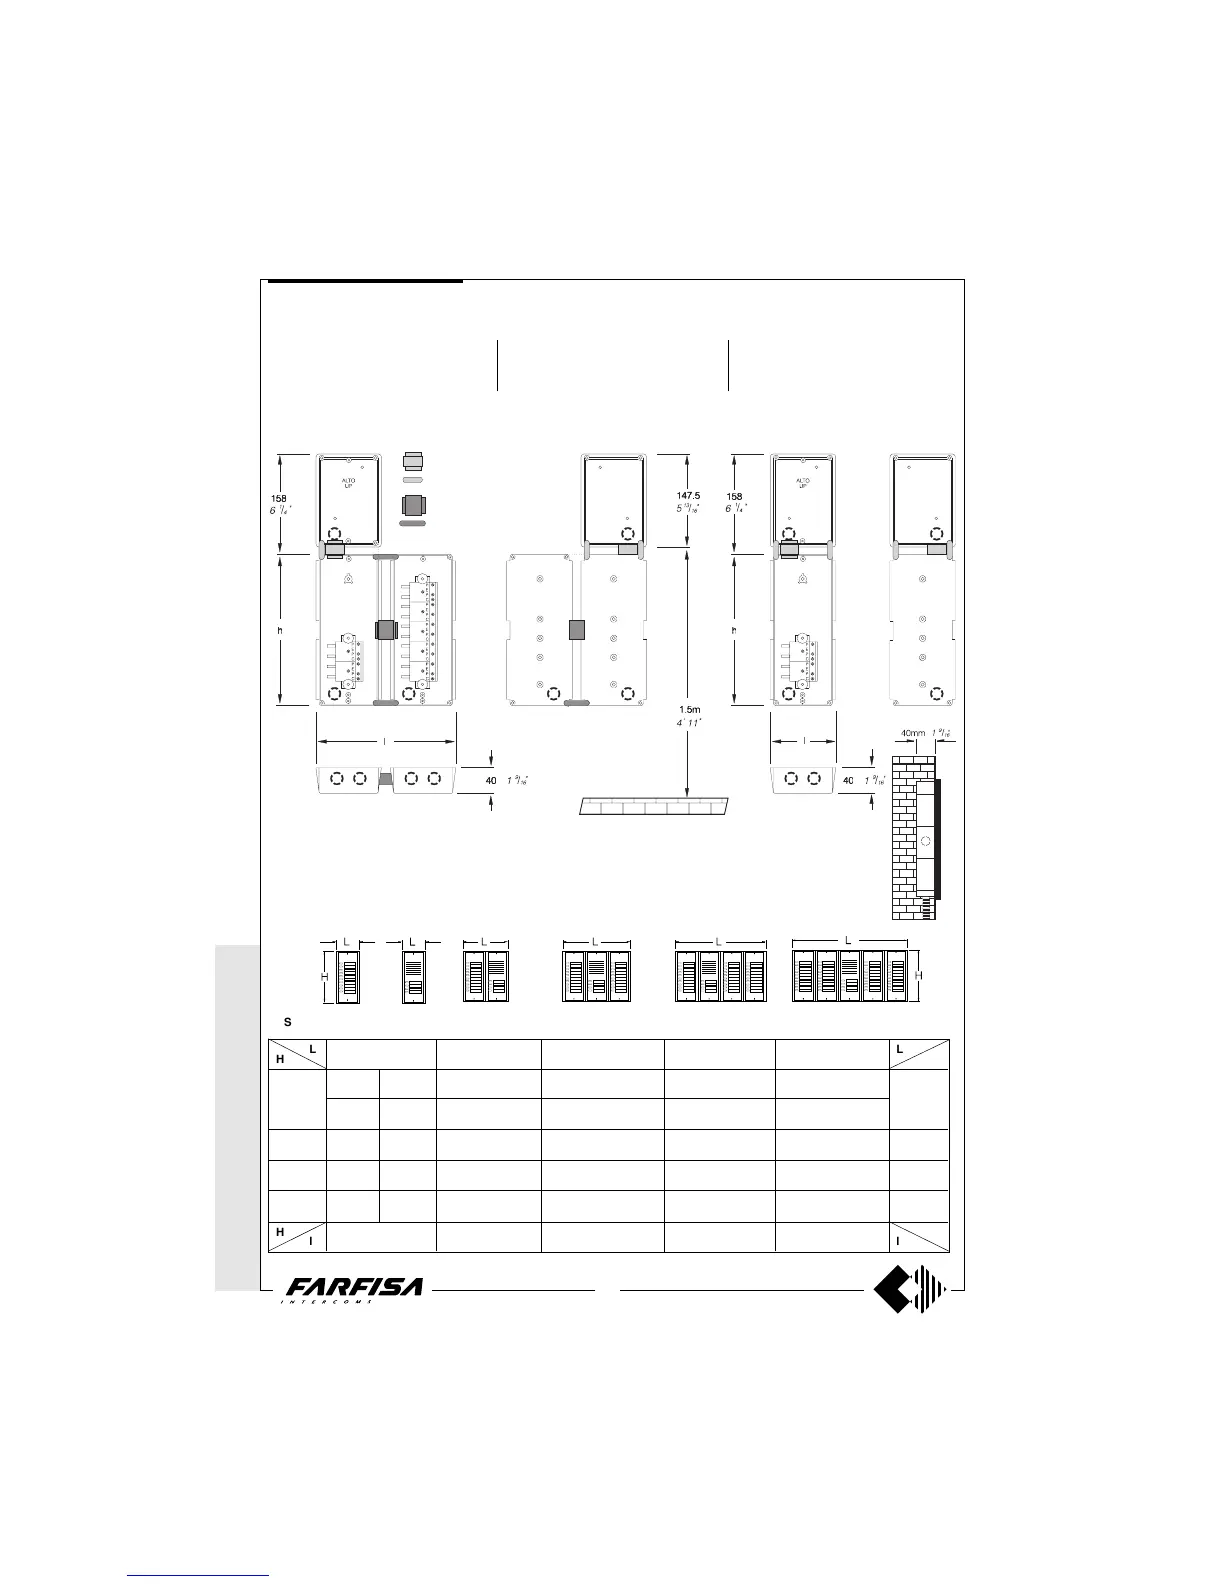
Instructions of the various ErreP/R push-button panel series and their dimensions en mm (and inches)
L and H = Dimensions of the panel l and h = Dimensions of the back-box
Installation notes
Among the back-box of the camera unit and
the push-button panel apply, before mounting
on to the wall, the tips and fair leads provided
in the kit.
Place the box of the camera unit at a height
of about 1.5m from the floor keeping the front
edges flush-mounted and vertical to the fin-
ished plaster.
Position the camera unit in such a way that
solar rays or other direct light or intense
reflections do not hit the camera lens.
Example of assembly of back-box with an uneven
number of ErreP/R push-button panel series
Example of assembly of the back-box with an even number of ErreP/R series
push-button panels
1385R 1385R 1385R 1385R
RP.. RP.. RP.. RP..R..
R..
* MODY *
ERREP/R
* PROJECT *
PUNTO
VIRGOLA * S
LIM
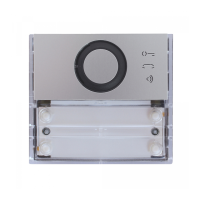
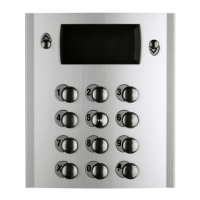
ErrreP/R series
PUSH-BUTTON PANELS
H
H
L
l l
L
Series R RP R+RP R+RP+R R+RP+R+R R+R+RP+R+R
112 (4
7
/
16
") 224 (8
13
/
16
") 336 (13
1
/
4
") 448 (17
5
/
8
") 560 (22
1
/
16
")
R8 RP1 R8+RP1=9 2R8+RP1=17 3R8+RP1=25 4R8+RP1=33
R8 RP2 R8+RP2=10 2R8+RP2=18 3R8+RP2=26 4R8+RP2=34
R10 RP4 R10+RP4=14 2R10+RP4=24 3R10+RP4=34 4R10+RP4=44
R12 RP6 R12+RP6=18 2R12+RP6=30 3R12+RP6=42 4R12+RP6=54
R14 RP8 R14+RP8=22 2R14+RP8=36 3R14+RP8=50 4R14+RP8=64
103 (4
1
/
16
") 215 (8
7
/
16
") 327 (12
7
/
8
") 439 (17
5
/
16
") 551 (21
11
/
16
")
218.5
(8
5
/
8
")
250
(9
13
/
16
")
281.5
(11
1
/
16
")
313
(12
5
/
16
")
206.5
(8
1
/
8
")
238
(9
3
/
8
")
269.5
(10
5
/
8
")
301
(11
7
/
8
")
h
h
Template spacers and short
cable holder bushings.
Template spacers and long
cable holder bushings.
 Loading...