A01-3.2) Jointing
To obtain exact joints, use only evenly
grown wood with no knots.
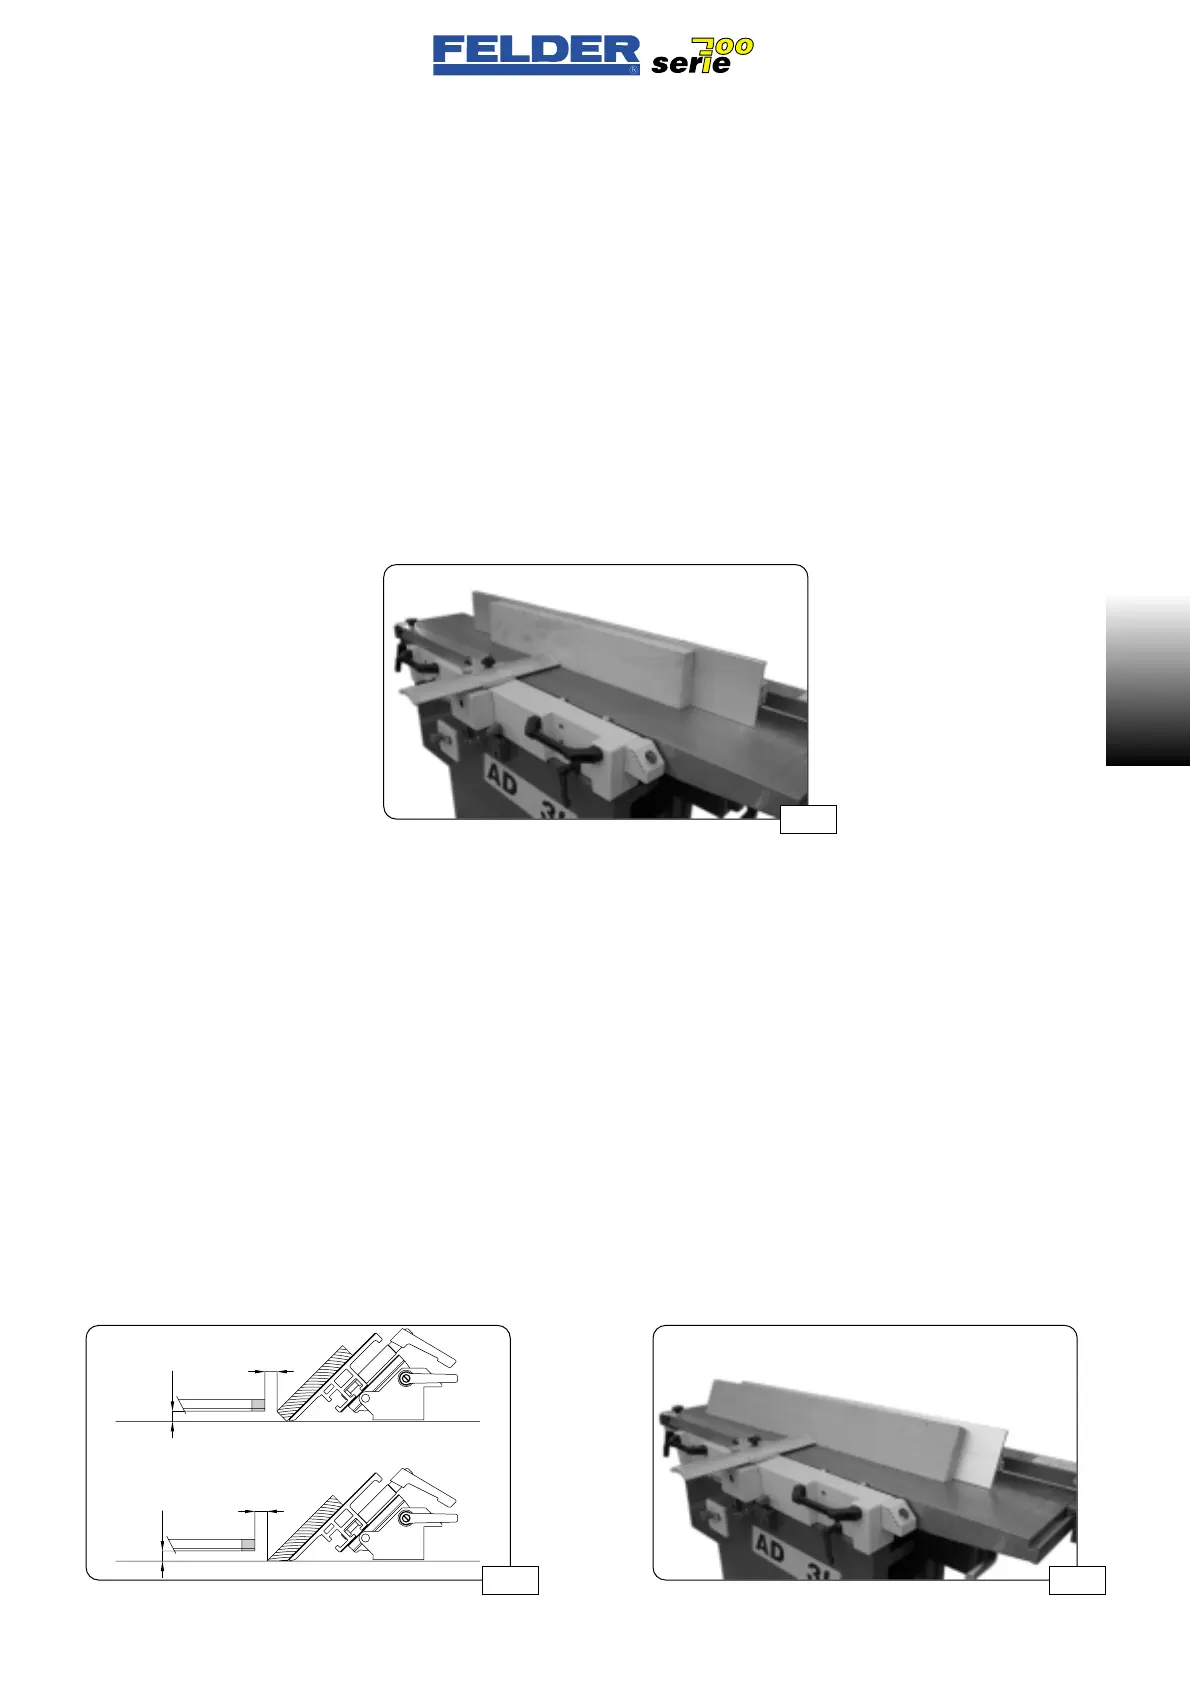
Allow the joiner bridge guard to rest
on the joiner table and cover the pla-
ner arbor with the protective rail
except for the width of the workpiece.
Press the workpiece against the joiner
fence and guide evenly over the pla-
ner arbor.
As soon as the workpiece extends far
enough into the receiving joiner table,
place your left hand onto it and push
it over the planer arbor without stop-
ping.
See fig. 17.
A01-3.3) Tapering / edge
beveling
In this mode, the longitudinal edges of
a workpiece are beveled or tapered
with any required angle.
Set protective rail as per Fig. 18.
Set the joiner fence to any angle and
continue as described in the “Jointing”
section.
To prevent the workpiece from slip-
ping from the angled surface, press
the workpiece mainly against the stop
and only lightly against the joiner
tables.
See fig. 19.
A01-3.2) Giunzione
Per una giunzione corretta è necessa-
rio del legno senza rami e di crescita
uniforme.
Posare la protezione del ponte per
piallatura a filo sul piano di lavoro e
coprire l’albero della pialla fino alla
larghezza del pezzo con la barra di
protezione.
Spingere il pezzo verso l’arresto della
pialla a filo e portarlo contemporane-
amente attraverso l’albero della
pialla.
Non appena l’albero giunga nel
piano di lavoro per prelievo, posare
la mano sinistra e spostarlo senza
interruzione sull’albero della
pialla.
Vedere fig. 17
A01-3.3) Smussatura / Bisel-
lare
Con questa operazione i bordi longi-
tudinali di un pezzo vengono smussati
e/o cianfrinati con un qualsiasi
angolo.
Regolare la barra di protezione come
da fig. 18.
Regolare il guida della pialla a filo su
un qualsiasi angolo e procedere come
descritto nel capitolo “Giunzione”.
Onde evitare che la superficie incli-
nata scivoli, come prima cosa pre-
mere il pezzo contro il guida e solo
leggermente contro i banchi di lavoro.
Vedere fig. 19
- 13 -
A01 V1/99 S1
A01
A01-3.2) Fügen
Für genaue Fugen eignet sich nur ast-
freies, gleichmäßig gewachsenes Holz.
Abricht-Brückenschutz am Abrichttisch
aufliegen lassen und die Hobelwelle
bis auf die Werkstücksbreite mit der
Schutzschiene abdecken.
Das Werkstück gegen den Abrichtan-
schlag drücken und gleichmäßig über
die Hobelwelle führen.
Sobald das Werkstück weit genug in
den abnehmenden Abrichttisch hinein-
reicht, die linke Hand darauflegen
und ohne Unterbrechung über die
Hobelwelle schieben.
Siehe Abb. 17
A01-3.3) Abschrägen / Abfasen
Mit dieser Arbeitsweise werden Längs-
kanten eines Werkstückes mit einem
beliebigen Winkel abgefast bzw.
abgeschrägt
Schutzschiene lt. Abb. 18 einstellen.
Den Abrichtanschlag in einen beliebi-
gen Winkel einstellen und wie im
Kapitel »Fügen« beschrieben vorge-
hen.
Um ein Abrutschen von der schrägen
Fläche zu vermeiden, das Werkstück
in erster Linie gegen den Anschlag
drücken und nur ganz leicht gegen die
Abrichttische.
Siehe Abb. 19
Abb 17
Abb 19
A01 V1/99 S1
 Loading...

