F01-3.5)
Curve shaping
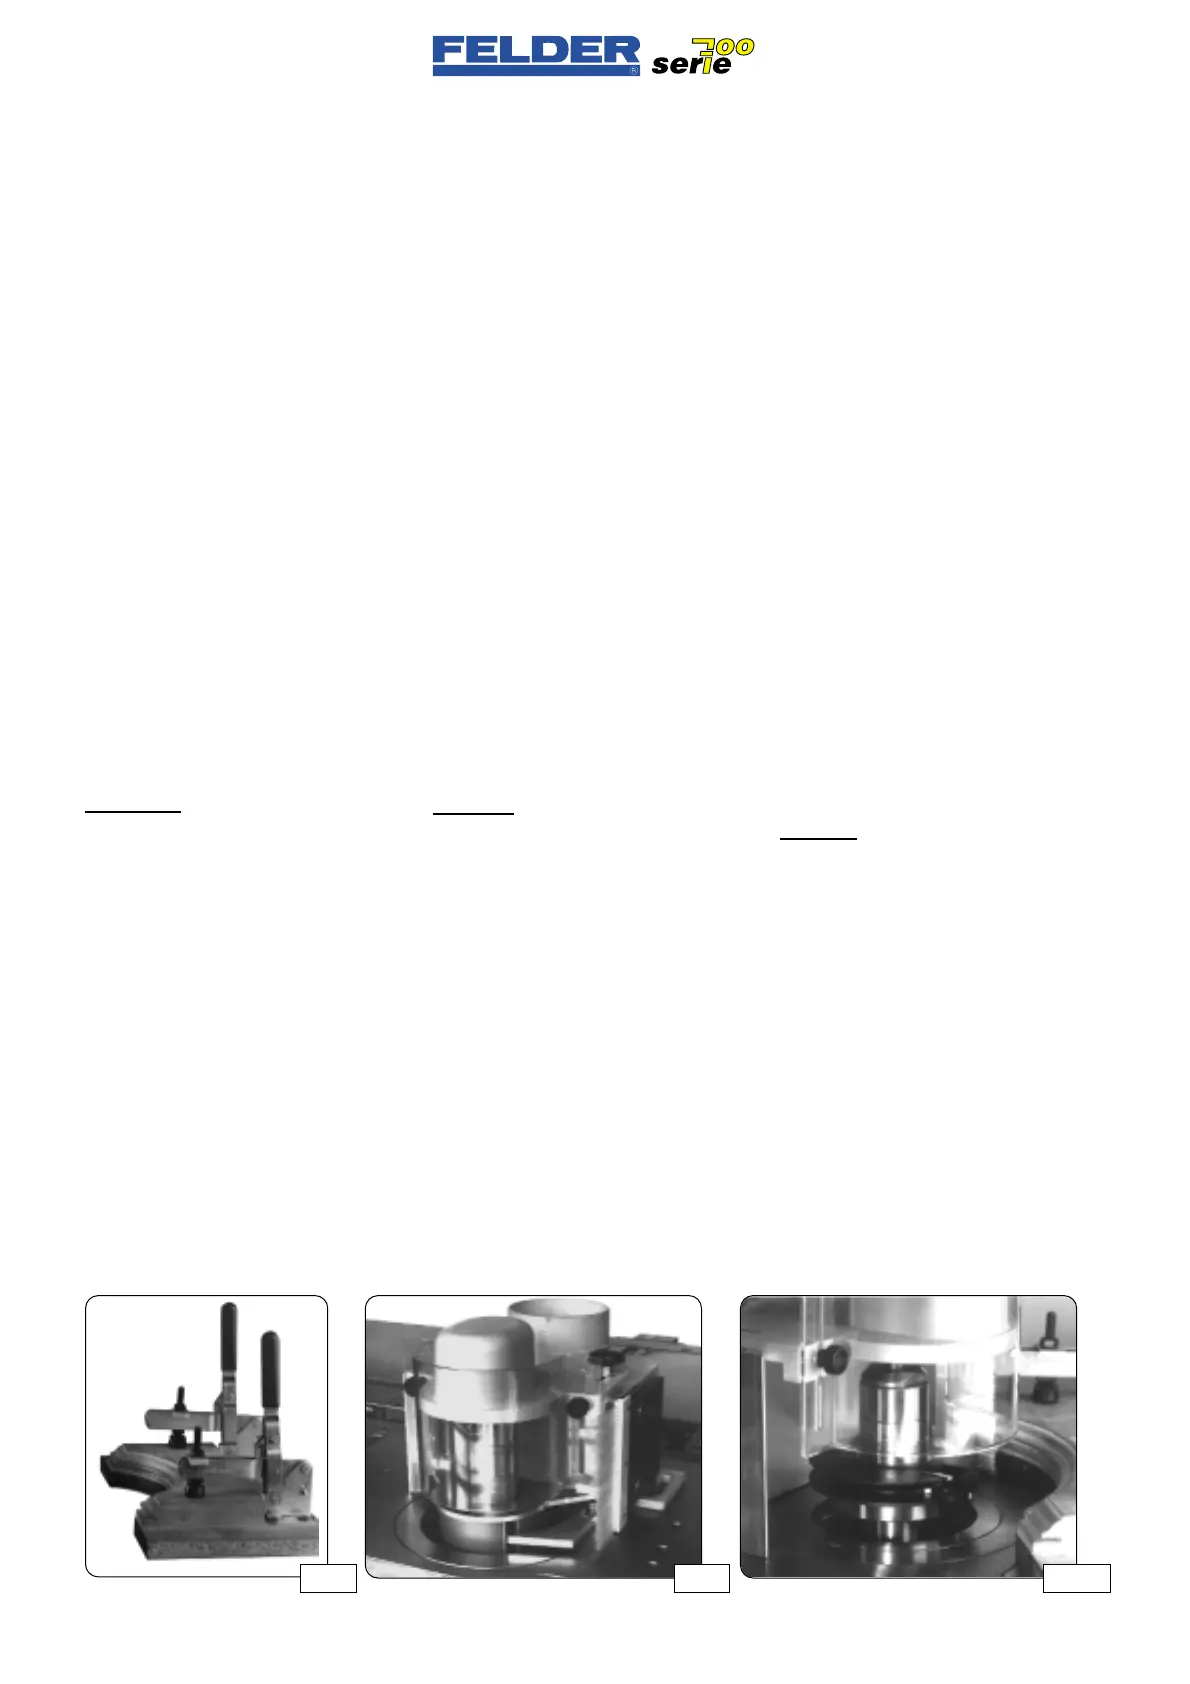
See fig. 24 - 25A
This work operation is used when sha-
ping curved workpieces.
The stop ring guard (F01-2.2) and a
template (Fig. 24) are required for
curve shaping.
If the workpiece is not shaped on all
sides, we recommend using a templa-
te with approximately 5 cm longer
ends for better initial guidance.
The workpiece must be clamped to the
template using suitable clamping devi-
ces such as lever-action clamps, etc.
See the FELDER accessory catalog.
In addition, gluing sandpaper to the
template reliably prevents the work-
piece from slipping.
Attention!
Curved workpieces must always be
shaped upcut!
For the initial cut, ensure that your
hands are removed as far from the
outer tool diameter as possible
(at least 10 cm).
Guide the template with the clamped
workpiece slowly along the guide bar
L to the shaper tool. Always press the
template against the stop ring or the
stop collar.
F01-3.5)
Fresatura curva
Vedere figg. 24 / 25A
Questa operazione (=fresatura ad
arco) viene utilizzata per poter fresare
pezzi bordati.
Per la fresatura curva è necessario un
dispositivo di protezione (F01-2.2) e
una sagoma (fig. 24).
Se il pezzo non venisse lavorato su
tutti i lati, si raccomanda di usare una
sagoma più lunga di ca. 5 cm sulle
due estremità, perché così si garantis-
ce una fresatura più sicura.
Il pezzo dev’essere bloccato nella
sagoma con un apposito mezzo di
serraggio, per es. un dispositivo di
serraggio a leva ecc..
Vedere catalogo accessori FELDER
Inoltre incollando della carta abrasiva
sulla sagoma si evita sicuramente che
il pezzo scivoli.
Attenzione!
I pezzi bordati possono solo essere
fresati con senso opposto di rotazio-
ne.
Durante la fresatura tenere le mani il
più possibile lontane dal percorso
della lama.
(almeno 10 cm).
Condurre lentamente alla toupie la
sagoma con il pezzo serrato lungo il
listello di guidaL. Spingere la sagoma
sempre verso l’anello di riferimento
e/o verso la lunetta di avvicinamento.
- 18 -
F01 V1/99 S1
F01-3.5)
Anlauffräsen
Siehe Abb. 24 - 25A
Dieser Arbeitsgang (=Bogenfräsen)
wird verwendet, um geschweifte
Werkstücke fräsen zu können.
Zum Anlauffräsen wird die Anlauf-
schutzvorrichtung (F01-2.2), sowie
eine Schablone (Abb. 24) benötigt.
Wird das Werkstück nicht allseitig
bearbeitet ist eine an beiden Enden
um ca. 5 cm verlängerte Schablone zu
empfehlen, weil dadurch ein sicheres
Anfräsen gewährleistet ist.
Das Werkstück muß mit einem geeig-
neten Spannmittel in der Schablone
festgespannt sein, z.B. durch Hebel-
spanner etc..
Siehe FELDER- Zubehörkatalog.
Weiters wird durch Aufleimen von
Schleifpapier auf die Schablone ein
Verrutschen des Werkstückes sicher
verhindert.
Achtung!
Geschweifte Werkstücke dürfen nur im
Gegenlauf gefräst werden!
Beim Anfräsen ist darauf zu achten
daß die Hände möglichst weit vom
Messerflugkreis entfernt sind.
(mindestens. 10 cm).
Die Schablone mit dem gespannten
Werkstück langsam entlang der
Anfahrleiste L dem Fräser zuführen.
Die Schablone dabei immer gegen
den Anlaufring bzw. gegen die
Anlaufbrille drücken.
Abb 24 Abb 25AAbb 25
 Loading...

