Bedienung
35
Technical Data/Before starting up
Vibration
Measured sound pressure level L
pA
93 dB(A)
Uncertainty K
pA
3 dB
Guaranteed sound power level L
wA
114 dB(A)
Measured sound power level L
wA
108,7 dB(A)
Uncertainty K
wA
3 dB
Vibration Front handle 10 m/s²
Vibration Rear handle 9 m/s²
Uncertainty 1,5 m/s²
8. Before starting up
m CAUTION!: Do not start the motor until the saw has been fully assembled and
checked.
m CAUTION!: When handling the chain always wear protective gloves.
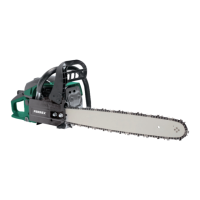
Assembling the bar, and the chain (Fig.3-6)
Open the box and assemble the bar and chain as follows:
1. Press the front hand guard back (Fig.14/Pos.3a) so that the chain brake is disabled.
2. Loosen the two nuts (B) and remove the housing cover (17).
3. Mounting the stopper claw (Fig.3)
Insert the stopper claw (19) into the recesses of the housing (see Fig. 3) and secure
with the 2 fixing screws (19a). Use the tool supplied with the assembly tools.
4. Slide the chain around the sprocket, next slide the saw chain (1) around the guide bar
(2). Pay attention to the installation direction of the chain. (Fig.4-5)
5. Insert the chain tensioning screw (Z) into the lower hole of the chain bar (Y). (Fig.4)
6. Install the cover (17) and tighten the nuts (B) by hand.
Installation direction of the chain (shown Fig.5)
Tensioning the chain (Fig.6-8)
1. Hold the front part tight with your hand.
2. Adjust the chain tension using the tension screw (C) so that the chain rests entirely on
the bar, but not under great tension.
- Turn the tension screw (C) clockwise (C2) to increase the tension.
- Turn the tension screw (C) anticlockwise (C1) to reduce the tension.
 Loading...