30
www.ferrisindustries.com
Troubleshooting, Adjustment & Repair
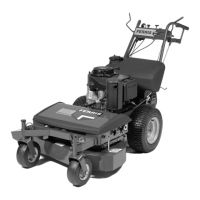
Spindle Belt & Blade Alignment (36”
Model)
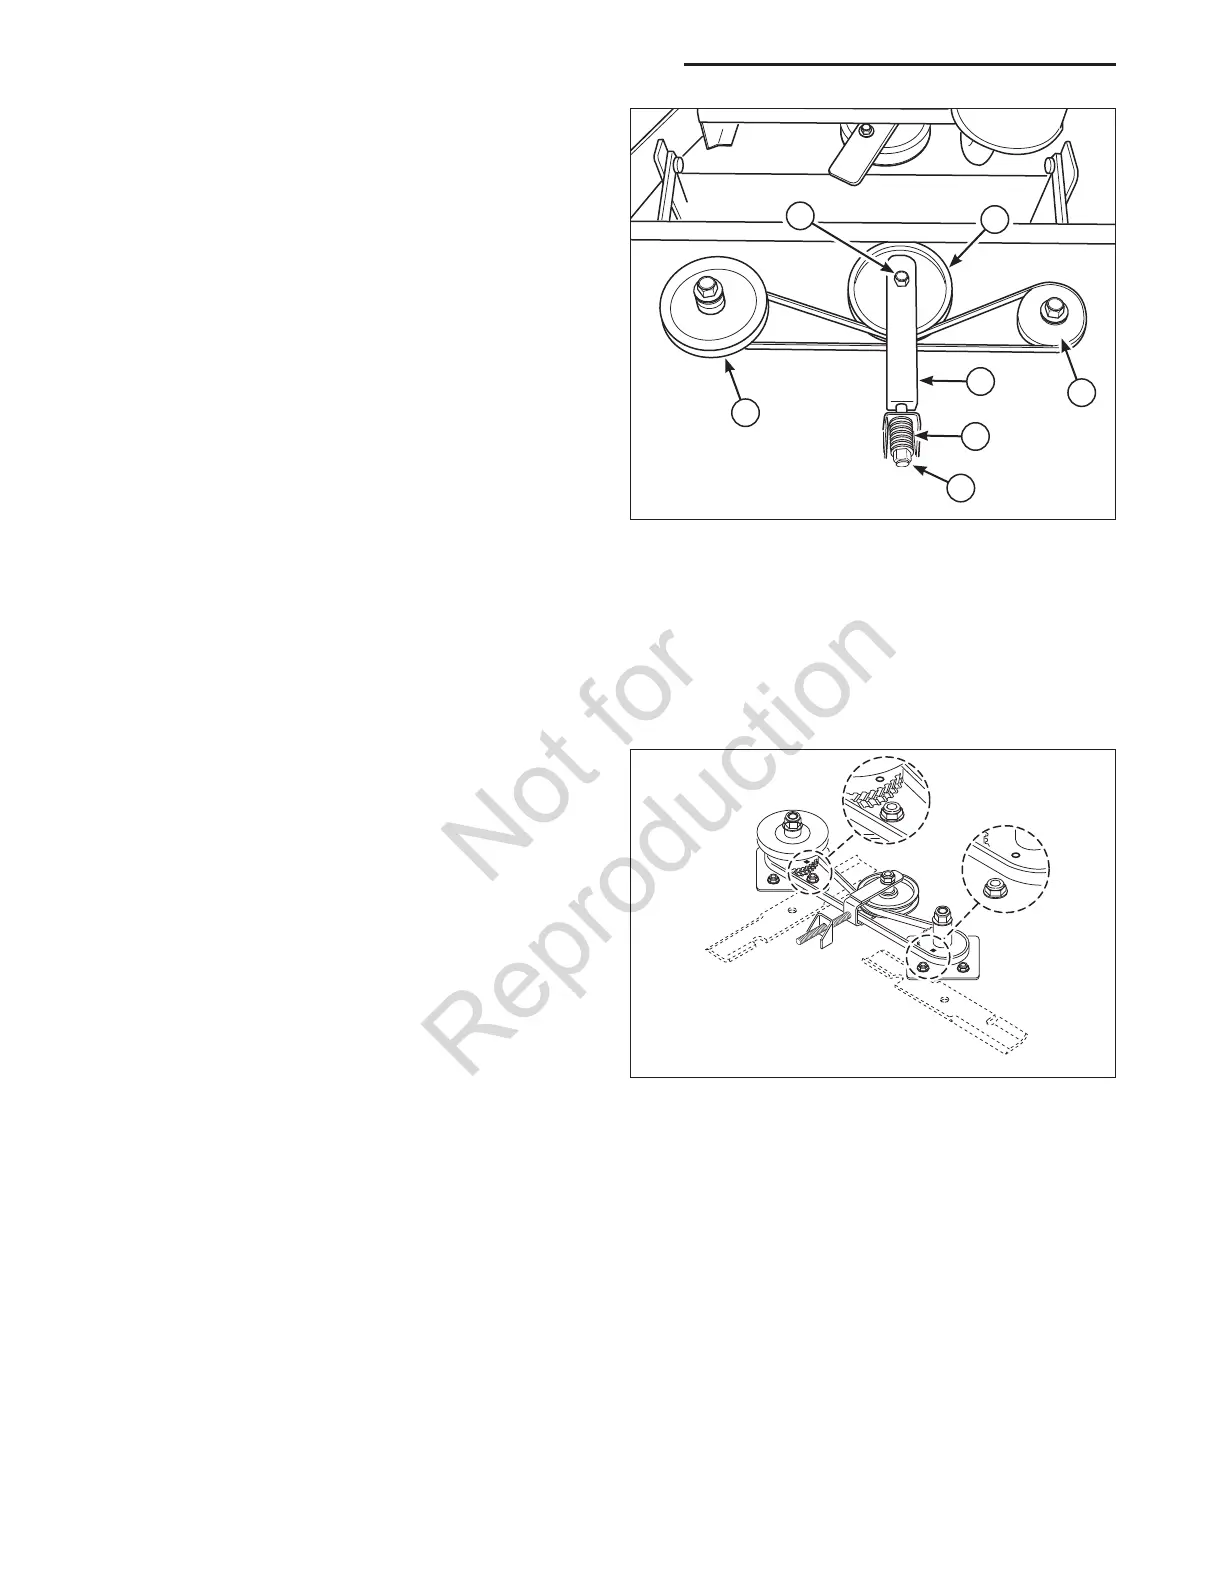
1. Remove the mower deck drive belt.
2. Loosen the idler pulley bolt (A, Figure 24) 2 full
turns. DO NOT remove the nut.
3. Remove the spring compression nut and flat
washer (G) and slide the idler mount (C) towards
the rear of the machine to remove all tension from
the belt.
4. Remove the old belt and replace with a new
one. Install the new belt on the RH sprocket (E)
and make sure the belt is properly seated in the
chevron of the sprocket.
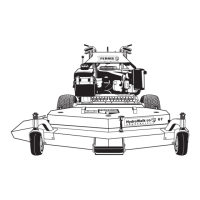
5. Refer to Figure 25. Align the holes in the
sprockets with the spindle mounting hardware as
shown. The blades will be perpendicular to each
other.
6. Install the new belt on the LH sprocket (D), again
making sure the belt is properly seated.
7. Reinstall the flat washer and spring compression
nut (G). Tighten the nut until the belt tension
spring (F) is compressed to 1-1/2” (3,81 cm) long.
8. Tighten the idler pulley bolt (A) and torque to
55 ft. lbs. (74.5 Nm).
9. Reinstall the mower deck drive belt.
Figure 24. Mower Deck Drive Belt
A. Idler Pulley Bolt
B. Idler Pulley
C. Idler Mount
D. LH Sprocket
E. RH Sprocket (hidden under spindle pulley)
F. Belt Tension Spring
G. Spring Compression Nut & Washer
G
E
Figure 25. Align Sprockets & Blades
A
B
D
F
C
 Loading...