10 Working with the machine
10.1 Switching on/off [1-2]
The tool is not started by pressing the
switch [1-2] alone – not a tool fault!
Once the screw is driven to the de
sired depth, the tool switches off au
tomatically.
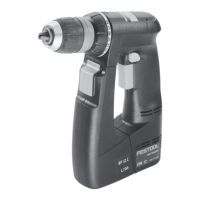
There are numerous ways to switch the tool on:
MANa)
CLOCKWISE
PRESS PRESS
[1-4] [1-3] [1-2] [1-6]
AUTOb)
ANTI-CLOCKWISE
- PRESS
-c)
ANTI-CLOCKWISE PRESS -
a)
► Set the tool's rotational direction to clock
wise using the right/left switch [1-3].
► Move the selector switch [1-4] to the MAN
position.
► To switch the tool on, actuate the
switch [1-2] and at the same time, press on
the screw with the drill bit.
By pressing on the switch [1-2], the speed can
be infinitely adjusted.
b)
► Set the tool's rotational direction to clock
wise using the right/left switch [1-3].
► Move the selector switch [1-4] to the AUTO
position.
► To activate the tool, press on the screw with
the drill bit.
It is not necessary to press the switch [1-2].
The top speed is set automatically.
c)
► Set the tool's rotational direction to anti
clockwise using the right/left switch [1-3].
► Switch the tool on using the switch [1-2].
The MAN/AUTO selector switch [1-4] is in
either position.
By pressing on the switch [1-2], the speed can
be infinitely adjusted.
The drywall screwdriver rotates anti
clockwise by pressing on the
switch [1-2] only, without also having
to press on the bit.
To unscrew screws fully, the depth
stop does therefore not need to be re
moved.
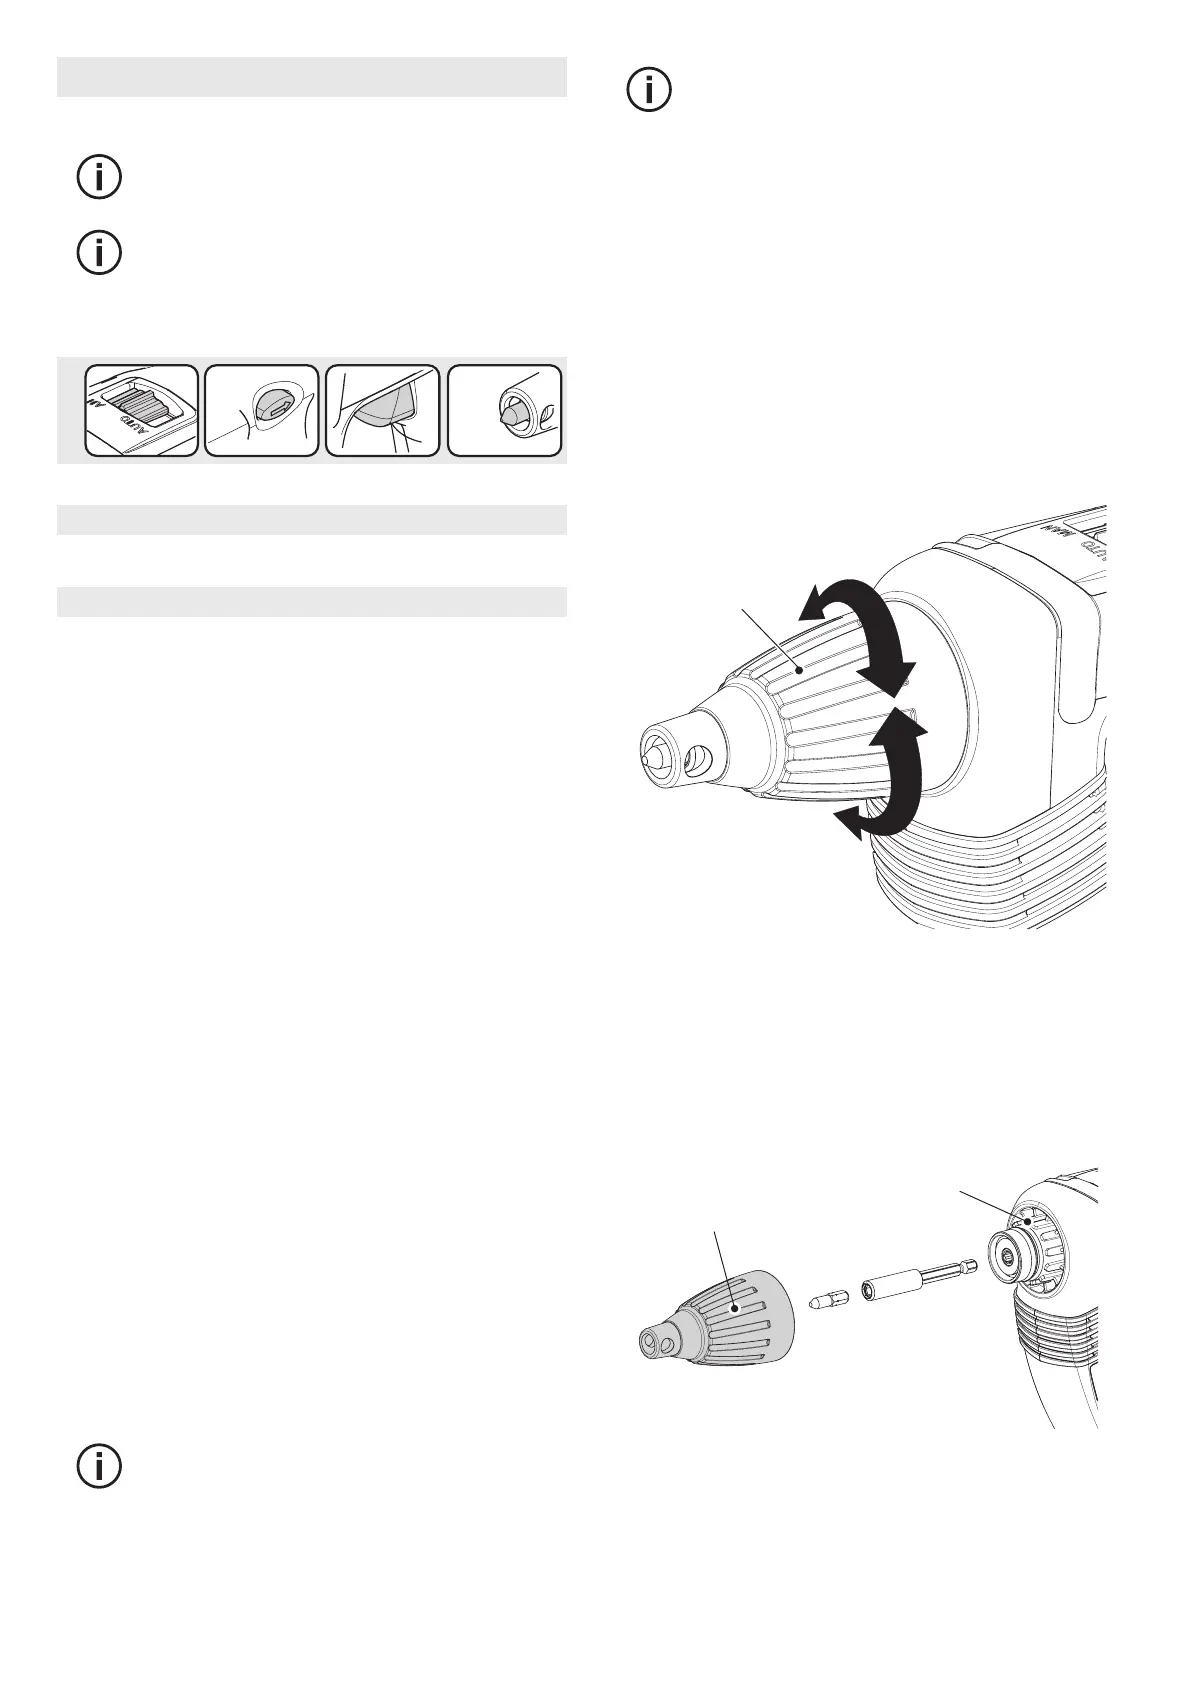
10.2 Depth stop
Turning on the depth stop [4-1] sets the screw
ing depth, as shown in figure [4]. The setting is
accurate to approx. ± 0.1 mm.
Anticlockwise rota
tion
Screw is countersunk
further out.
Clockwise rotation Screw is countersunk
further in.
Once the depth setting is made, drive in a test
screw then, if necessary, correct the depth.
Attaching the depth stop
► Place the depth stop [5-1] on the transmis
sion housing [5-2].
► Then, apply pressure until the depth stop
audibly clicks into place.
Removing the depth stop
► Take the depth stop out of the transmission
housing by pulling firmly.
English
12

 Loading...