9
10-1
10-6
10-2 10-3
10-4
10-5
10
max. 5 mm
11
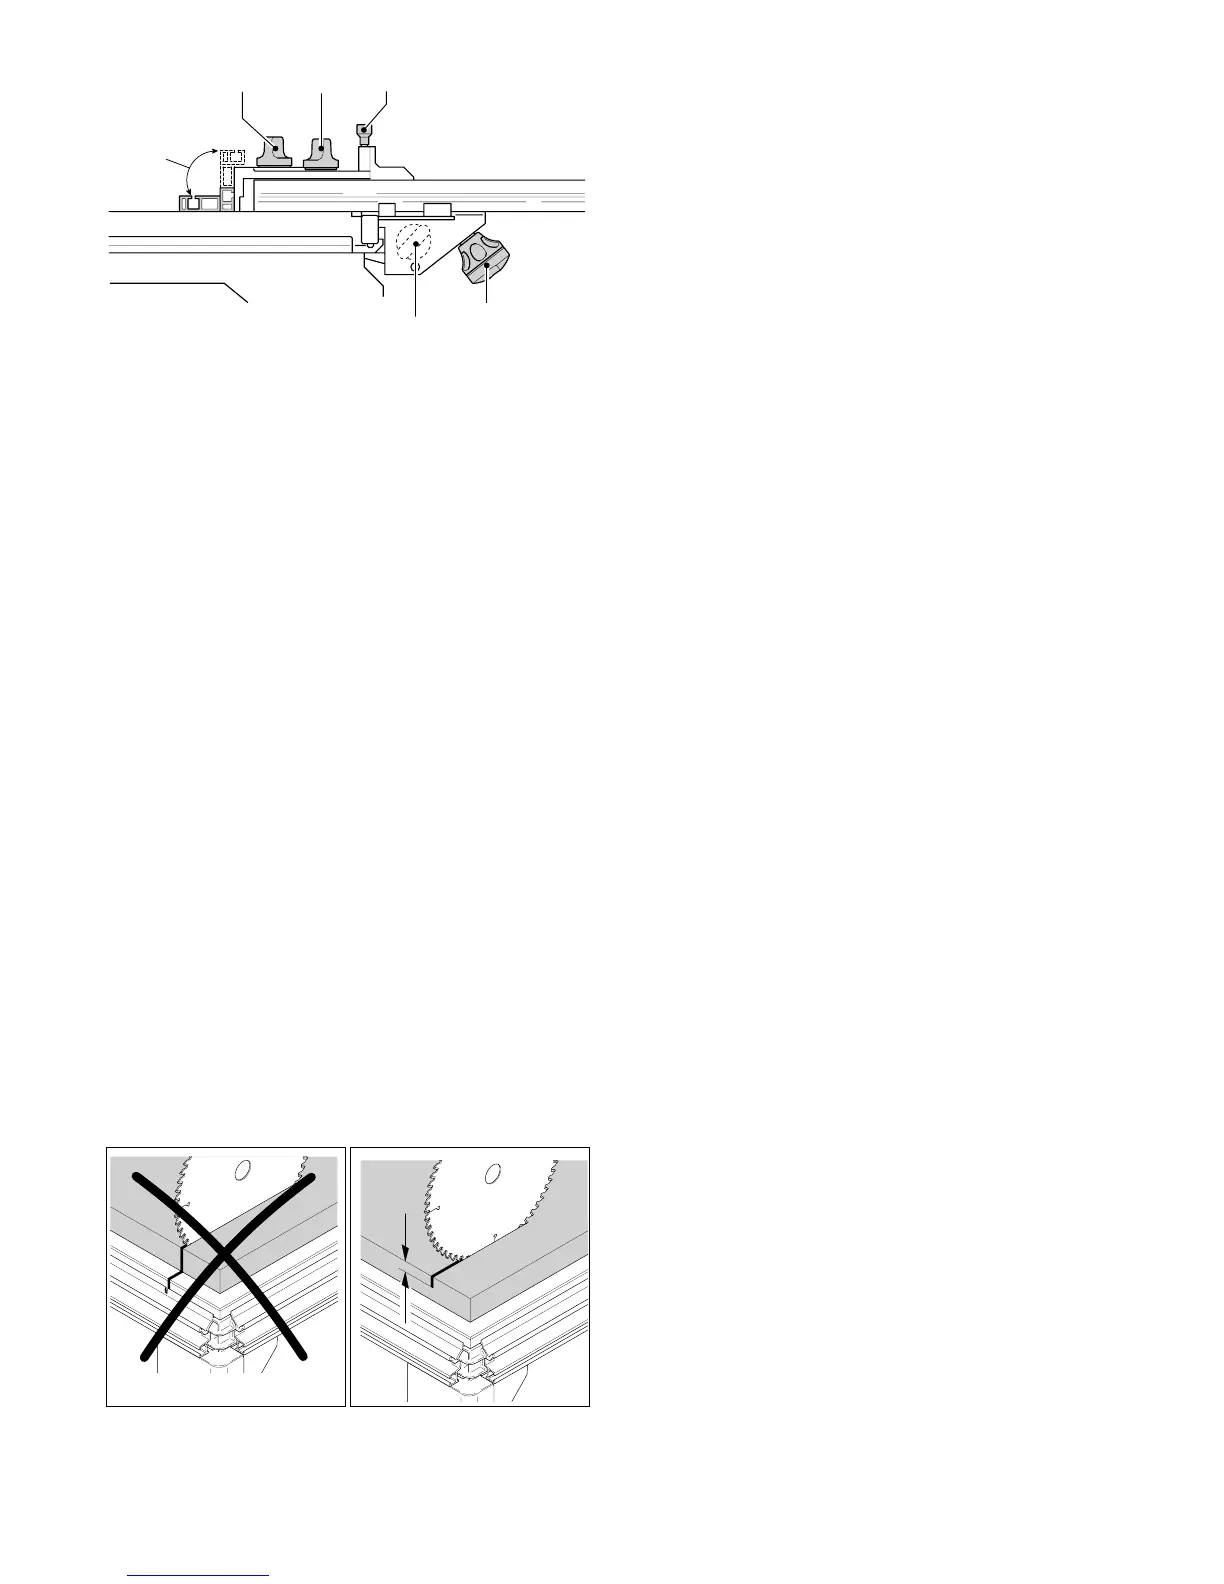
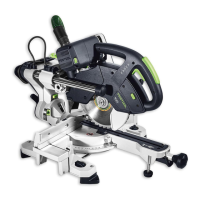
Adjustment parallel to the bench edge:
Loosen the rotary knob [10-4].
Adjustment at right angles to the
bench edge:
Loosen the rotary knob [10-4].
Adjusting the stop ruler [10-5]
lengthways
Loosen the rotary knob [10-1]. The stop
ruler can be moved to a lower position for
thin workpieces or a higher position for
thicker workpieces.
Angle adjustment using the scale
Loosen the rotary knob [10-2] and lift the
retaining pin [10-3]. The rotary retaining
pin engages in the most common angle
positions.
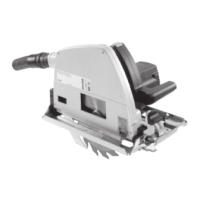
Step 8: Adjusting the guide rail
in relation to the workpiece
For sawing and routing applications, the
guide rail can be lowered via [1-2] and
[1-4] so that the rail rests evenly on the
workpiece. The workpiece and the rail are
retained securely.
A support piece of suitable thickness is
placed centrally under the guide rail between
the workpiece and the support unit [1-2] so
that the guide rail does not tilt when narrow
workpieces are machined.
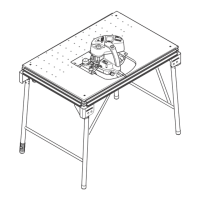
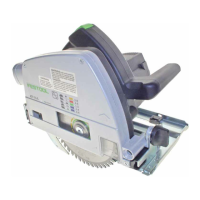
Step 9: Adjusting the cutting
depth for sawing [Fig. 11]
Always make sure that the cutting depth
setting is correct in relation to the workpiece
thickness. We recommend setting a cutting
depth to a maximum of 5 mm more than
the workpiece thickness to protect the pro-
fi le frame from damage.