2
1.1 Lock and Keypad Installation
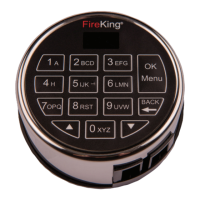
Carefully tuck the excess lock cable into the cavity on
the back of the Keypad and install the Keypad on the
shoulder bolts.
Be careful not to crimp or damage the lock cable upon
Keypad installation.
Included within your installation kit are shoulder bolts
and lock mounting bolts. Install the shoulder bolts on
the safe door in the pre-drilled holes above and below
the spindle hole.
Now insert the lock cable (attached to the Keypad)
through the spindle hole.
On the backside of the safe door you will see the lock
mounting plate and the pre-drilled lock mounting holes.
Connect the lock cable to the lock body and position the
lock body appropriately on the lock mounting plate.
Ensure that the lock cable is positioned so that it lies
in the channel on the back of the lock. This channel
is provided to protect the lock cable from damage or
crimping during installation.
Using the provided lock bolts, secure the lock body to
the mounting plate.
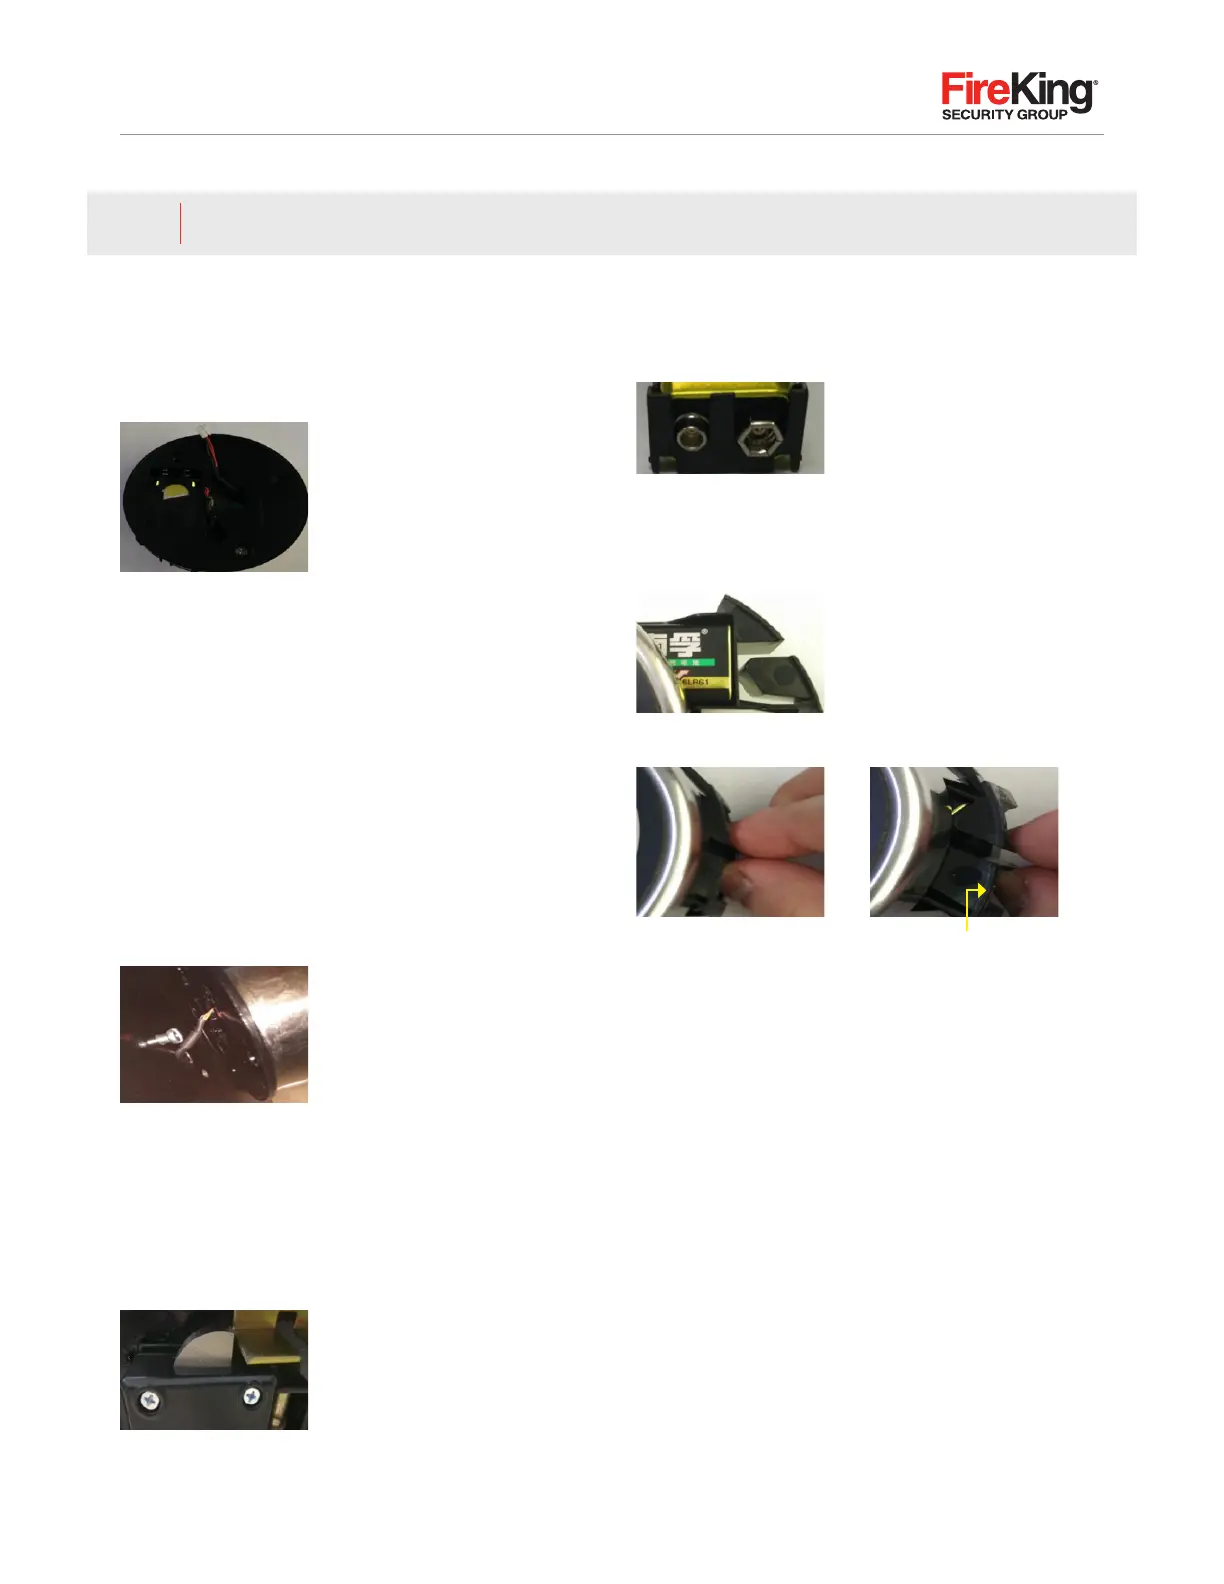
1.2 Installing/Removing the Battery
Connect the battery terminal clip to the 9V battery
(it is required to use standard alkaline batteries).
Position the battery so that the terminals are in
the downward position and push the battery into the
battery compartment.
Removing the Battery
1.3 Code Length
ES18B allows you to enter the password length of
6 to 8 digits.
Note: Because ES18B has 31 users, it is recommended to
use 8-digit password. After entering the password, press
“Menu/OK” key to save or unlock. It applies to all security
lock operators ID01 to ID33, which meets the requirement
of 1 million unique UL password code.
Installation1.0
Put your nger as shown Pull gently as indicated
by the arrow