13
SECURE TO CABINETRY VIA DRAWER REMOVAL (METHOD B)
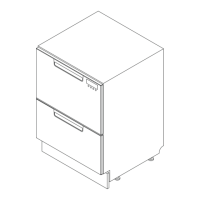
Optionally, fit the two top brackets.
Ensure the ends of the brackets are not
pushed into the chassis.
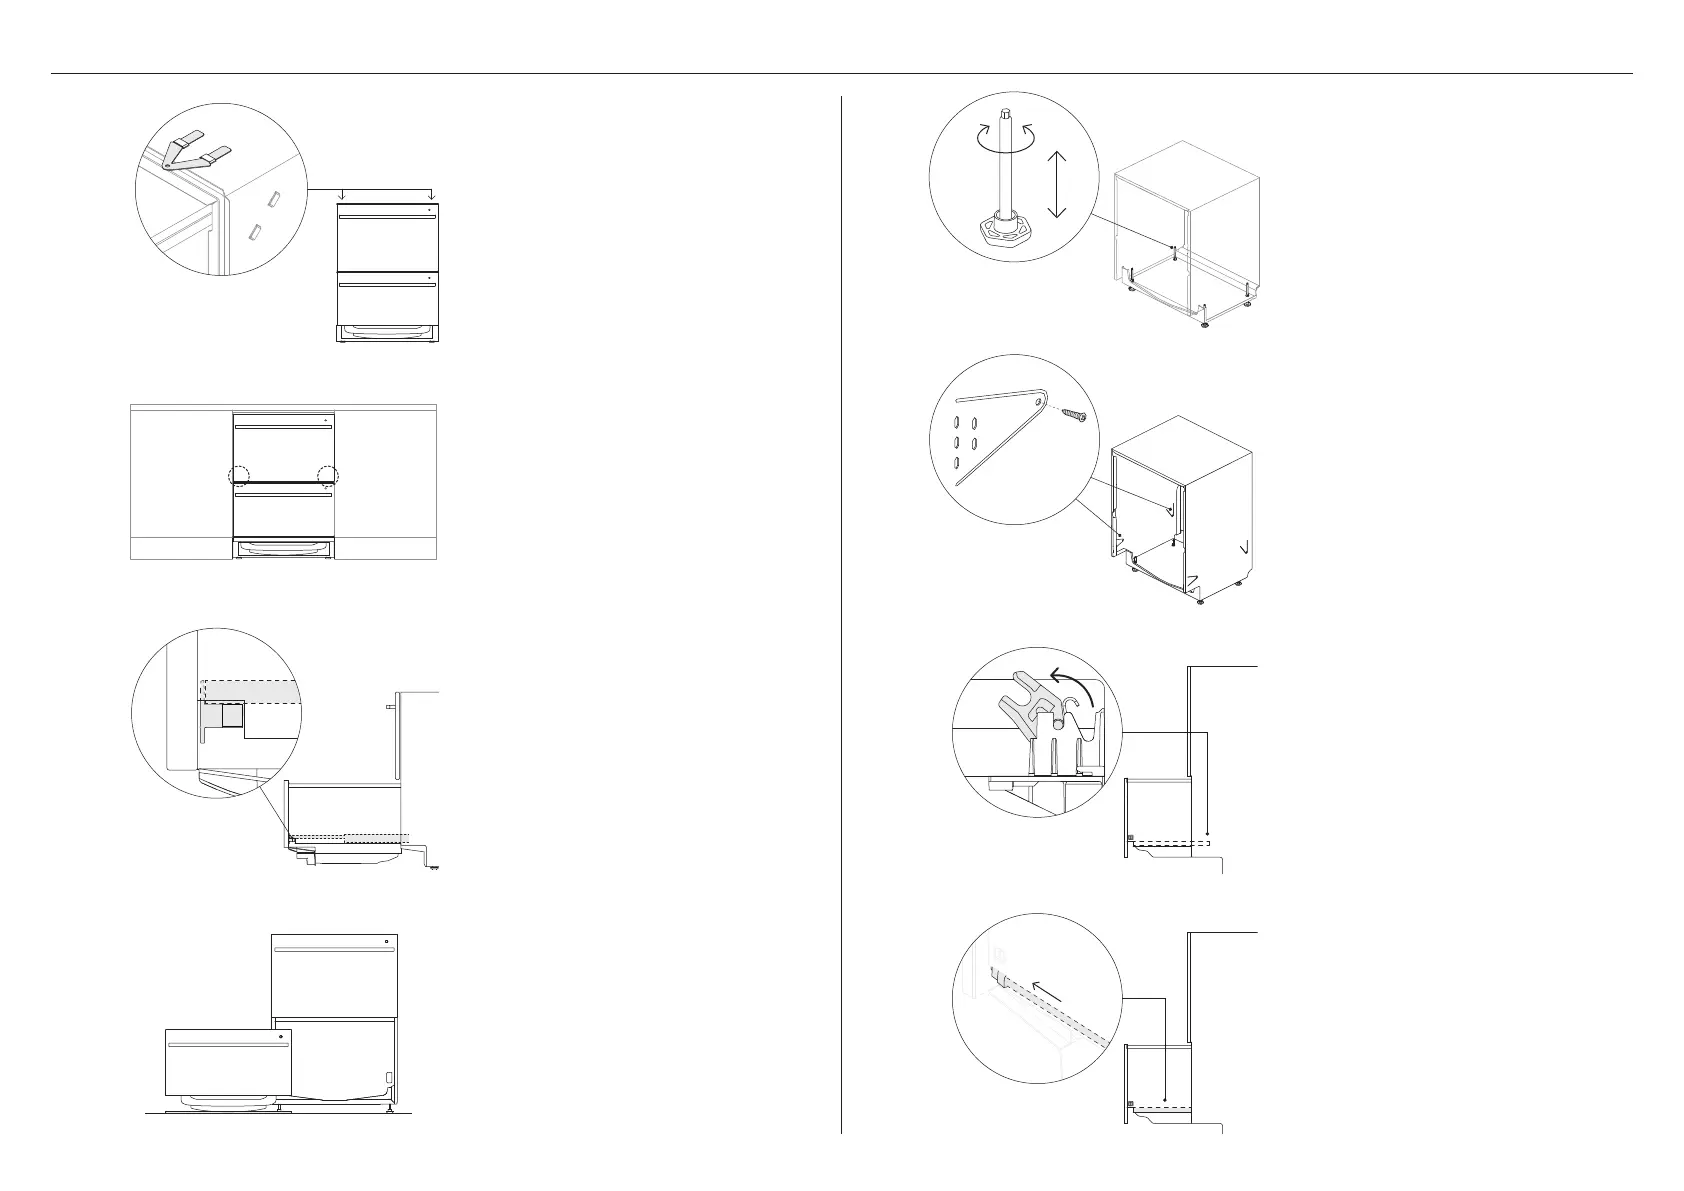
Loosen each foot by 1/2 a turn by lightly
tilting the product and rotating each leg
anticlockwise.
Push the product into the cavity, pulling
the hoses through as you push to avoid
crushing or twisting them and taking
care not to bend the legs.
Push the product in the positions
illustrated to avoid denting the door.
1
5
2
6
3
7
4
8
Open the lower drawer and press both
locking tabs back to release.
Lift the drawer off the runners and
set aside on a protected surface. Push
runners back in.
Take care not to pull drawer out too far
to prevent any strain on the hoses.
Using your hand or a screwdriver,
level the DishDrawer™ Dishwasher as
required. Rotate clockwise to increase
the height of each leg and anticlockwise
to lower.
It can help to reduce the loading on the
feet to assist the adjustment process.
Secure to cabinetry via all four fixing
locations in the chassis.
Ensure sound insulation is
replaced correctly.
If fitted, secure the two top brackets
to the cabinetry.
Refit the drawer to the runners and clip
into place via both locking tabs.
Before refitting the drawers, ensure the
hoses are not twisted and all latches are
facing forward.
 Loading...