Lit. No. 43766/43768, Rev. 01 7 November 1, 2017
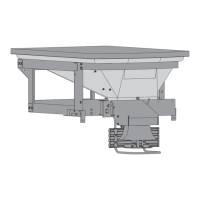
INSTALL TOP SCREEN BRACKETS
1. Install a top screen bracket at each end of
the spreader cross beams using the supplied
1/4" x 3/4" carriage bolts, 1/4" washers, and
1/4" locknuts.
2. Retain the linch pins supplied with the top screen
brackets. The top screens and linch pins will be
installed later.
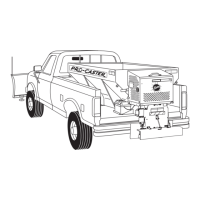
MOUNTING THE SPREADER
NOTE: Periodically throughout the snow and ice
control season, verify that mounting devices
are secure.
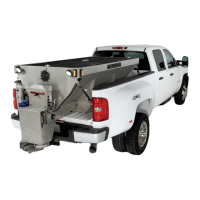
INSTALL INVERTED V
1. Remove and retain the linch pins securing the top
screens. Remove the screens and set them aside.
2. The inverted V is mounted underneath the hopper
cross beams for shipping. Detach the inverted V
from the cross beams and set it aside.
3. Remove the chute from the hopper and set it on its
side. Two people are recommended for this step,
as the chute weighs more than 70 pounds.
4. Align the holes in the legs of the inverted V with
the holes in the hopper sides. Install the inverted V
to the hopper using the supplied 3/8" x 1" carriage
bolts, inserting the bolts from the inside.
Inverted V
Carriage Bolts
1/4" x 3/4"
Carriage Bolt
1/4" Washer
1/4" Locknut
Spreader
Cross Beam
Top Screen
Bracket
 Loading...