6
ENG
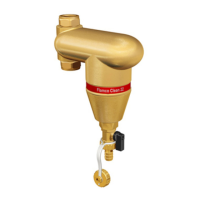
The Flamco Clean Smart dirt separator is intended for heating and cooling systems with a water or
water-glycol mix (maximum 50%).
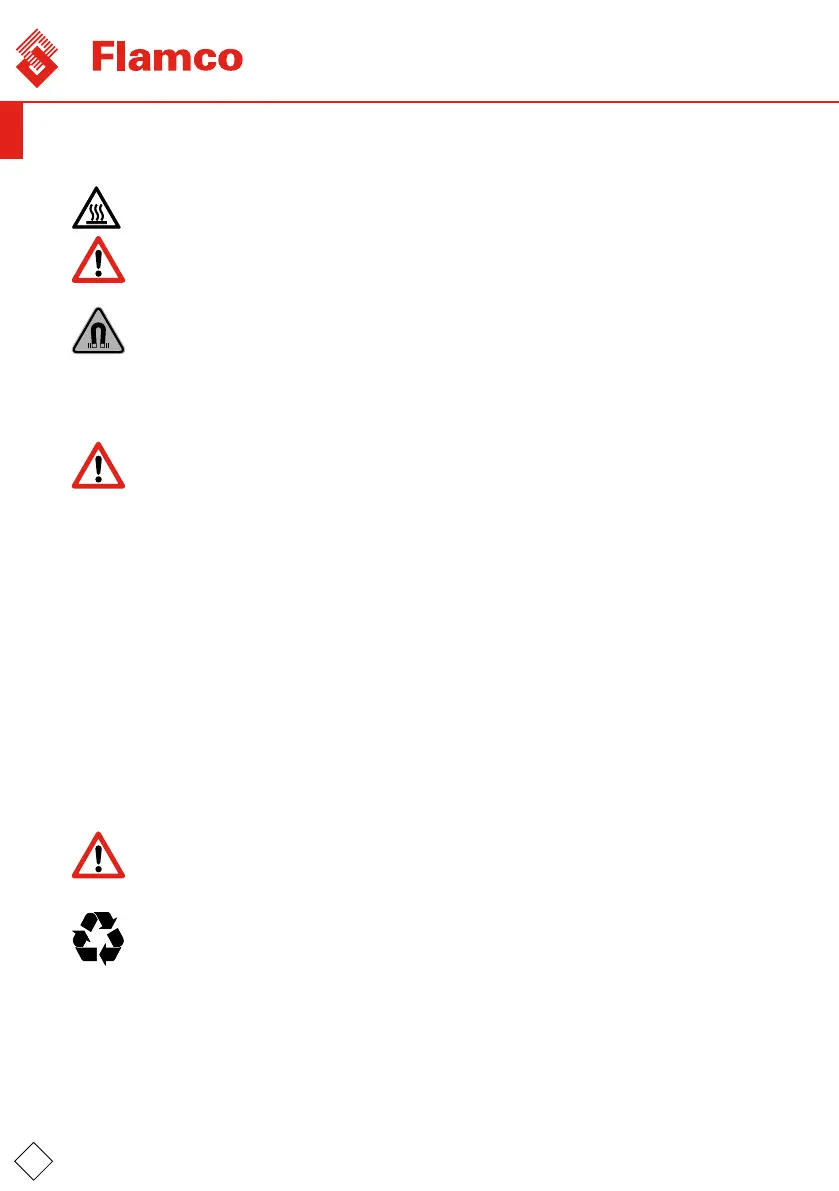
The Flamco Clean Smart may be hot during operation.
Minimum and maximum system temperature: –10 °C to +120 °C.
Minimum and maximum system pressure: 0.2 bar to 10 bar.
Maximum fl ow velocity: 3 m/s.
Safety requirements
This product contains a powerful magnet. Care must be taken in the vicinity of pacemakers, data
carriers and other products that are sensitive to magnetism.
Installation and maintenance must be carried out by qualifi ed personnel only.
Observe local regulations and guidelines.
2. Installation
Do not install the product above a suspended ceiling or in the vicinity of electronic installations!
Install the Flamco Clean Smart in a dry location not suscreptible to frost and which is easily
accessible for maintenance purposes. Flush the installation thoroughly before installing the
Flamco Clean Smart.
For optimum effi ciency, the connection diameter of the Flamco Clean Smart must correspond to
the pipe diameter of the system. It is further recommended that the inlet pipe into the device be
a straight pipe having a length of no less than 10 times the nominal pipe diameter. The use of
reducing couplings is not recommended. Installation is possible in horizontal, vertical and inclined
pipes; always position the housing vertically (drain valve at bottom) (fi g. 1). Install the Flamco Clean
Smart in the direction of fl ow in accordance with the arrow shown on the connection housing.
Install the Flamco Clean Smart directly before the boiler in the return line, preferably before the
circulation pump (fi g. 2A, 2B, 2C, 2D).
3. Inspection and maintenance
Perform regular visual inspections.
The dirt that collects in the bottom of the Flamco Clean Smart can be removed with the aid of the
drain valve (fi g. 4). Before draining, remove the magnet (Flamco logo) by pushing it downwards and
removing it (fi g. 3). Replace the magnet after draining.
A hose can be attached to the drain valve as required. Only use the drain valve for draining dirty
system water, never for fi lling or draining the installation (fi g. 5).
Use the Flamco service stickers to note the moment of servicing on the handle of the drain valve
(fi g. 6).
Only carry out maintenance when the system has cooled down, remembering to take account of
the pressure.
4. Dismantling
Depressurise the cooled system and remove the Flamco Clean Smart from the system.
Observe local regulations for disposing of the various parts of the Flamco Clean Smart.
After disassembly, it is not allowed to reinstall the product in another line position.
1. Informação geral
O separador de sujidade Flamco Clean Smart destina-se para sistemas de aquecimento e
arrefecimento com água ou uma mistura de água e glicol (máximo de 50%).
O Flamco Clean Smart pode fi car aquecido durante o seu funcionamento.
Temperaturas mínima e máxima do sistema: –10 °C a +120 °C.
Pressões mínima e máxima do sistema: 0,2 bar a 10 bar.
Velocidade máxima do fl uxo: 3 m/s.
Requisitos de segurança
Este produto contém um íman potente. Deve-se tomar cuidado na proximidade de pacemakers,
suportes de dados e outros produtos que são sensíveis a campos magnéticos.
A instalação e a manutenção devem ser executadas por apenas por pessoal qualifi cado.
Respeite as normas e diretrizes locais.
2. Instalação
Não instale o produto em cima de um teto suspenso ou na proximidade de instalações eletrónicas!
Instale o Flamco Clean Smart num local seco, não sujeito a gelo, que seja facilmente acessível
para fi ns de manutenção. Lave a instalação completamente antes de instalar o
Flamco Clean Smart.
Para uma máxima efi ciência, o diâmetro da ligação do Flamco Clean Smart deve corresponder ao
diâmetro do tubo do sistema. Recomenda-se ainda que o tubo de entrada para o dispositivo ser
um tubo rectilíneo, com um comprimento não inferior a 10 vezes o diâmetro nominal do tubo.
Não se recomenda a utilização de acoplamentos de redução. A instalação pode ser efetuada em
tubos horizontais, verticais e inclinados; posicionar sempre a caixa na vertical (válvula de
drenagem na parte inferior) (fi g. 1). Instale o Flamco Clean Smart no sentido do fl uxo, de acordo
com a seta indicada na caixa de ligação.
Instale o Flamco Clean Smart imediatamente antes da caldeira, na linha de retorno, de preferência
antes da bomba de circulação (fi gs. 2A, 2B, 2C, 2D).
3. Inspeção e manutenção
Realizar inspeções visuais regularmente.
A sujidade que se acumula no fundo do Flamco Clean Smart pode ser removida com a ajuda de
uma válvula de drenagem (fi g. 4). Antes de drenar, retire o íman (logótipo Flamco), empurrando-o
para baixo e retirando-o (fi g. 3). Após a drenagem, coloque o íman novamente.
Pode ser ligada uma mangueira à válvula de drenagem, se necessário. Só utilize a válvula de
drenagem para drenar a água suja do sistema, e nunca para o enchimento ou esvaziamento da
instalação (fi g. 5).
Utilize as etiquetas de serviços da Flamco para anotar a data de manutenção no punho da válvula
de drenagem (fi g. 6).Somente execute trabalhos de manutenção quando o sistema estiver
arrefecido, lembrando-se de ter em conta a pressão.
4. Desmontagem
Despressurize o sistema de arrefecimento e retire o Flamco Clean Smart do sistema.
Observe os regulamentos locais sobre a eliminação dos vários componentes do Flamco Clean
Smart.
Após a desmontagem, não é permitido alterar a ligação do produto e reinstalá-lo numa posição
diferente.
 Loading...