12
Alligator
®
Rivet
Baler Fastener Overview
Advantages of Alligator
®
Rivet Fastener System:
• High strength splice
• Superior abrasion resistance
• Portable tool allows for on-site installation
• Easy installation
• Fasteners are available in pre-cut common baler belt widths
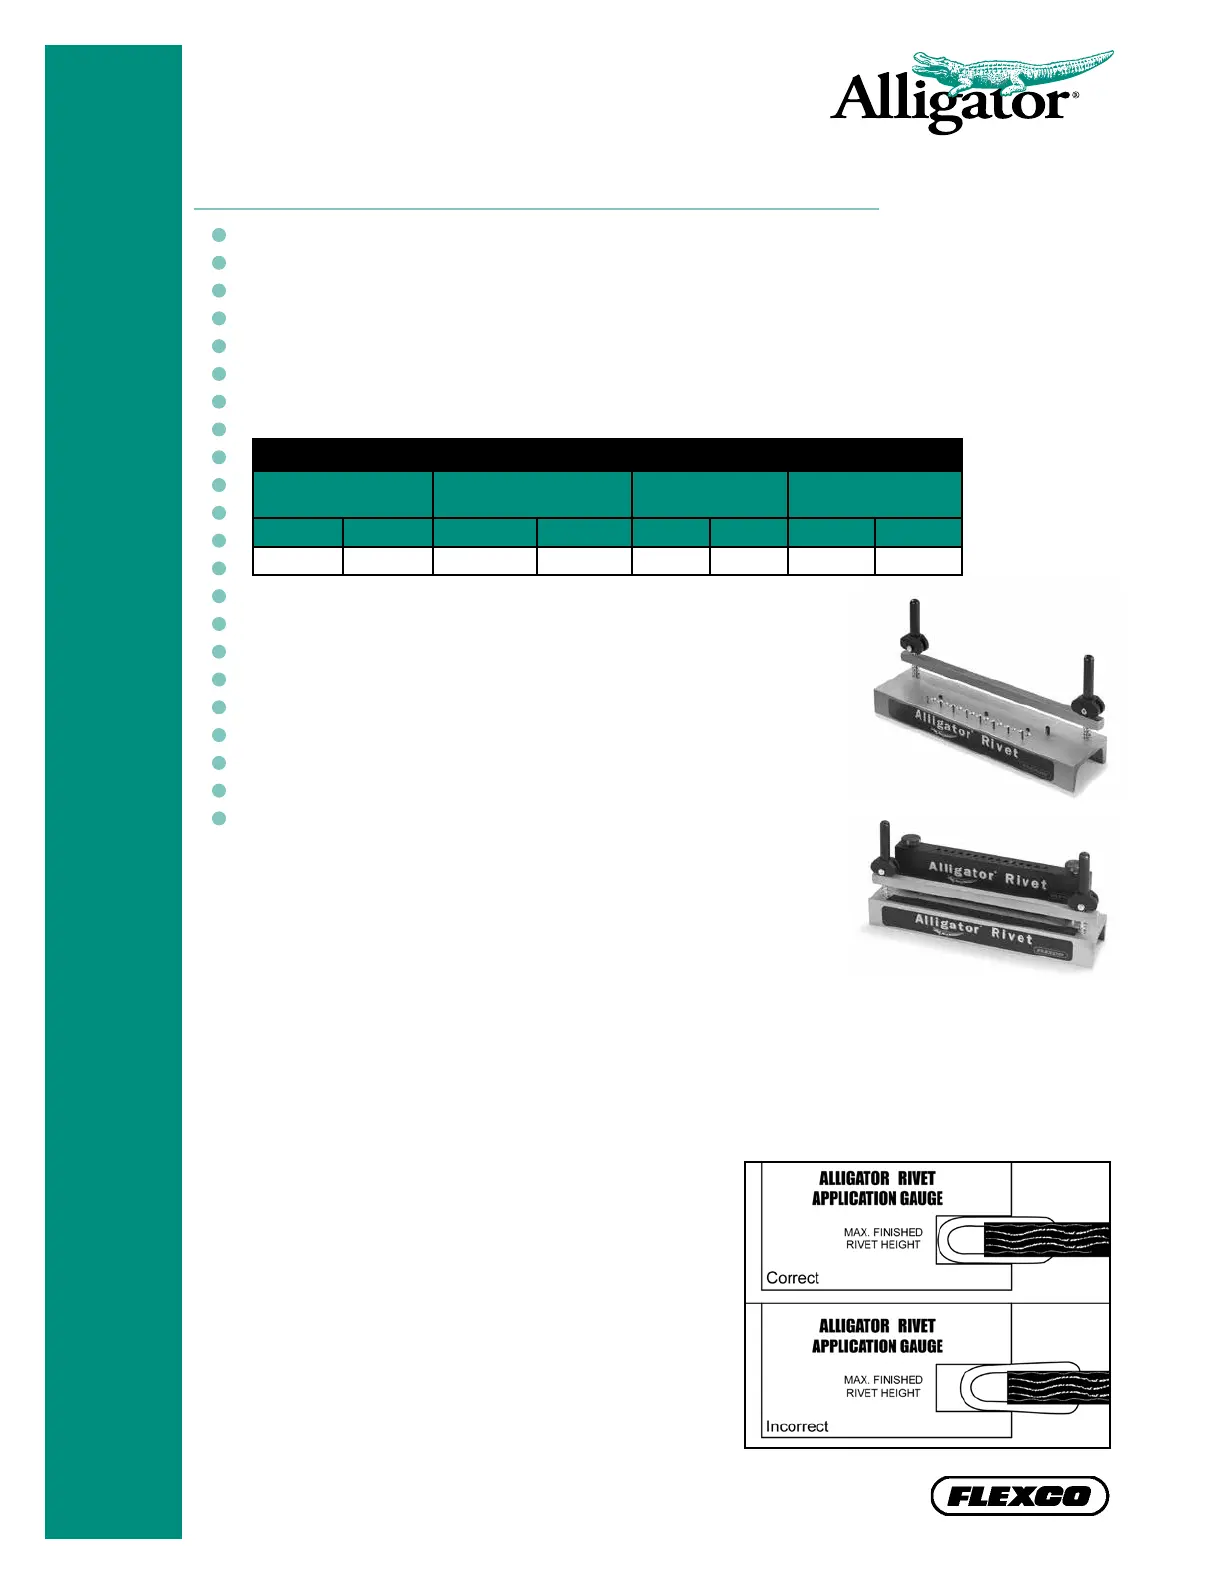
ALLIGATOR
®
RIVET SPECIFICATION CHART
Operating Tension
Range
Belt Thickness Range Pulley Diameter Hinge Pin Diameter
P.I.W. kN/m in. mm in. mm in. mm
300 52 1/8 – 7/32 3.2 – 5.6 3-1/2 88 .140 3.6
ALLIGATOR
®
RIVET
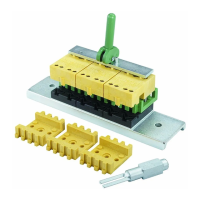
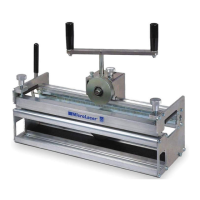
Multiple Rivet Installation Tool: Available in 7" and 14"
widths. This tool is comprised of a Hand Applicator Tool
plus the Multiple Rivet Installation block. Users can install
rivets with either a hammer and hand-punch, or with an
air hammer and pneumatic punch. Simplies installation
procedure and reduces fatigue.
Application Tools and Accessories:
Hand Applicator Tool: Available in 7" and 14" widths.
Portable for on-site installation. Tool has built-in belt stops
to prevent belt from entering fastener loop area. Belt clamp
secures belt during installation process.
2. There should be a slight puckering of the
belt at the front edge of the top plates.
Identifying a Properly
Installed Alligator
®
Rivet
Splice
1. Fasteners should be fully clinched and you
should not be able to catch your ngernail
under the front edge of the fastener plates.
NOTE: Using the Alligator Rivet Application
Gauge can help to insure fasteners are
properly set. Finished splice should t into
the “Maximum Finished Rivet Height” slot
in the gauge.