4
© Copyright 2016. All rights reserved.
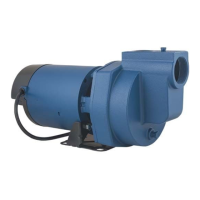
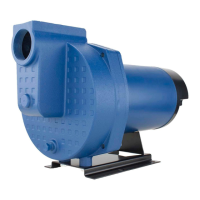
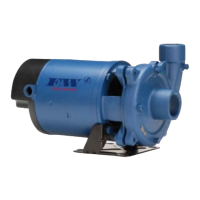
PUMP PREPARATION FOR WELL AND SURFACE WATER
CAUTION: Dry-t entire assembly to
ensure proper t before gluing or taping parts.
CAUTION: Follow all proper gluing
procedures as specied by the glue
manufacturer. Always glue in a vertical direction
whenever possible to prevent glue from
dripping inside pipe or ttings
CAUTION: Use thread tape and a thread
paste compound on all male threads except for
the unions. Tighten securely with a wrench and
add another 1/4 turn to ensure proper seal.
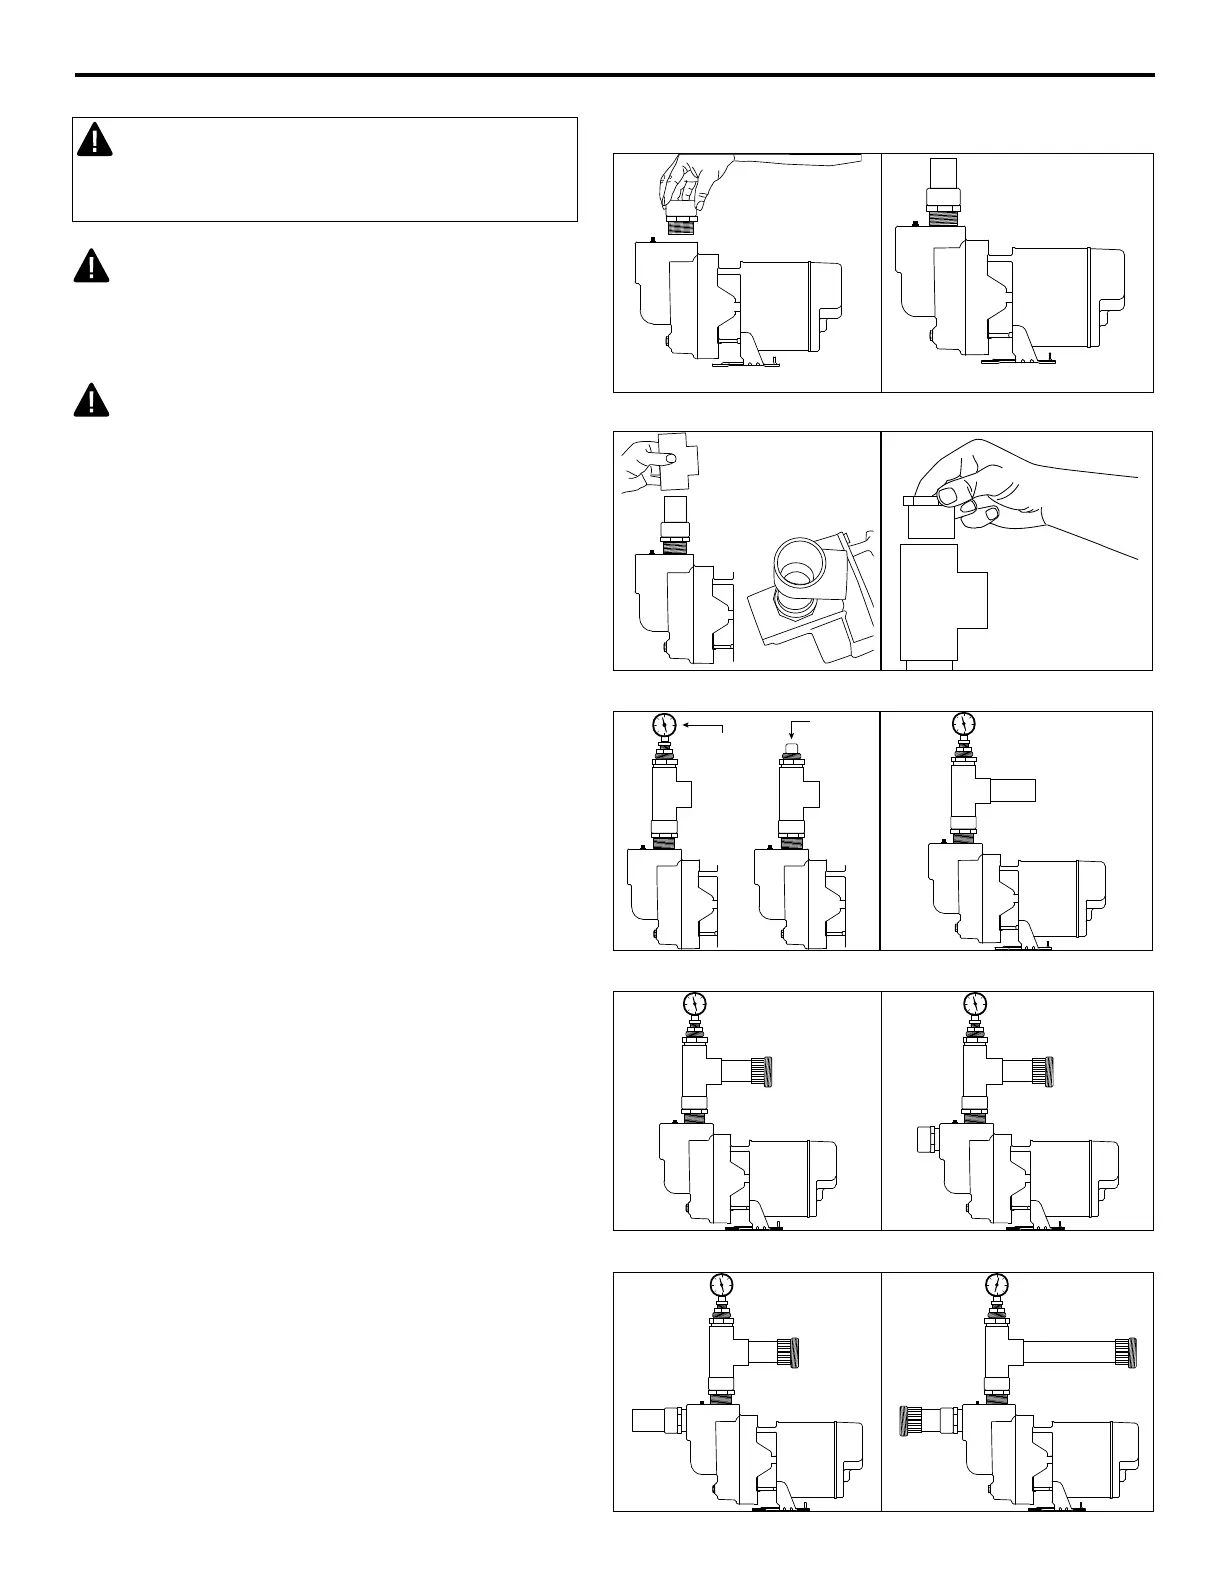
1. Thread 1-1/2 in. MPT x 1-1/2 in. slip adaptor
into the outlet port located at the top of the
pump.
2. Glue a 6 in. piece of 1-1/2 in. pipe into the
adaptor.
3. Glue a 1-1/2 in. tee to the pipe.
4. Glue a 1-1/2 in. slip x 1-1/4 in. adaptor to
the top opening of the 1-1/2 in. tee.
5. Thread in a 1-1/4 in. priming plug or optional
priming plug with pressure gauge.
NOTE: Hand tighten only, as this will be
removed for priming.
6. Glue another 6 in. section of 1-1/2 in. pipe
into the opening in the 1-1/2 in. tee.
7. Glue the male thread side of a 1-1/2 in.
union to the pipe.
8. Thread 2 in. MPT x 2 in. slip adaptor into
the inlet port located on the front of the
pump body.
9. Glue an 8 in. section of 2 in. pipe into the 2
in. adaptor.
10. Glue one side of a 2 in. union to the pipe.
Fig 2Fig 1
Fig 4Fig 3
Priming Plug
with Pressure
Gauge
1-1/4 in.
Priming
Plug
Fig 6Fig 5
Fig 8Fig 7
Fig 10Fig 9
 Loading...