Typical system setup procedure
7
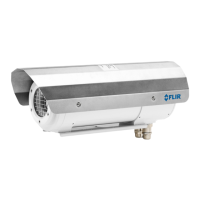
1. Unpack the camera unit from the cardboard box.
2. Install the camera unit at the intended location. It is the responsibility of the installer
to meet all applicable safety standards required by the authorities of the region in
which the unit will be operating in.
3. Connect the camera unit to an external power supply.
2
The unit requires 24 V DC in.
The color coding of the pigtail cable is:
• Brown: positive +.
• Blue: negative –.
• Green/yellow: earth.
Note
The external power supply must not be inside the classified zone.
4. Connect the camera unit to an optical-to-Ethernet converter.
2
Note
The optical-to-Ethernet converter must not be inside the classified zone.
5. Install the Thermovision System Tools & Utilities CD-ROM on a computer connected
to the network. This will install the following software:
• FLIR IP Config.
• FLIR IR Monitor.
• FLIR IR Camera Player.
6. Start FLIR IP Config to identify the unit in the network and automatically assign or
manually set IP addresses, etc. For more information, see the FLIR IP Config manual
on the User Documentation CD-ROM or on the Help menu in FLIR IP Config.
7. Start FLIR IR Monitor to control the camera, e.g., laying out measurement tools and
setting up alarms. For more information, see the FLIR IR Monitor manual on the User
Documentation CD-ROM or on the Help menu in FLIR IR Monitor.
#T559891; r.18204/18204; en-US
7
2. Not supplied with the camera unit.