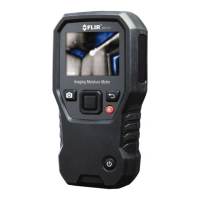
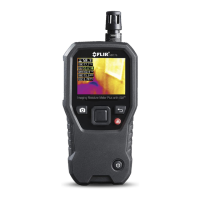
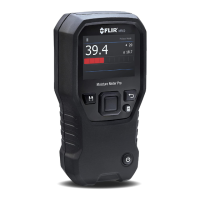
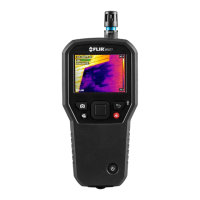
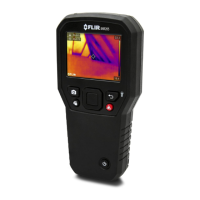
FLIR MR160 - GETTING STARTED Document Identifier: MR160-QS-en-US_AC
MAIN Menu
Press the Select button to access the Main Menu (Fig. 2) and to select icons. Use the four navigation buttons
to move left-right-up-down. Use the Back button
to move out of a menu.
1. Image Review mode (view and deleted stored display images)
2. Image mode selection
3. Moisture mode selection and options
4. Lock/Unlock Palette auto-scaling
5. Settings menu
IMAGE Mode Selection
Press Select to access the Main Menu and then select the IMAGE mode icon (1). See Fig. 3.
1. Image mode icon from the Main Menu
2. IR Thermal Image mode only
3. IR + IGM Moisture mode (IR Thermal image and Moisture reading)
4. Moisture reading with bargraph
MOISTURE Mode Selection
Press Select for the Main Menu and select the MOISTURE mode icon (1). See Fig. 4.
1. Moisture Mode Icon from the Main Menu
2. MATERIAL GROUP: Select a material wood group (pin mode); see User Guide for group tables.
3. PIN MODE: For external pin-based probe use
4. PINLESS MODE: For internal sensor use
5. SET REFERENCE: Compare displayed readings to a stored reference (pinless mode only)
Settings Menu
Access Settings by pressing the Select button and selecting the Settings mode icon
1. LANGUAGE: From the Settings menu, scroll to Language and press Select. Use the Navigation buttons
to scroll to the desired language and then press the Select button. The selected language will show a blue dot to its right.
2. PALETTE: Select the color scheme (Iron, Rainbow, Ice, Grey) for IR Thermal image viewing by pressing the Select button.
3. ALARM: Scroll to Alarm and press Select. Use the up/down buttons to turn the alarm ON/OFF. Use the left/right buttons to select a
threshold digit and then use the up/down buttons to change its value. Press Select to save and return.
4. AUTO POWER OFF: Scroll to Auto Power OFF and then use the Select button to step through the options (1, 5, 20 minutes, or OFF). Navigate
to another SETTINGS option or press the back button to exit the Settings mode.
5. DATE & TIME: From the SETTINGS menu, scroll to Date & Time and press Select. Use the Navigation and Select buttons to program the Year,
Month, Day, Hour, & Minute. Press Select to save and return to the SETTINGS Menu or press the Back button to cancel.
6. HELP SCREEN: View technical support and training contact information.
7. METER INFORMATION: Scroll to Meter Information and press Select to view Firmware version and calibration date. Press the back button
to return to the SETTINGS menu.
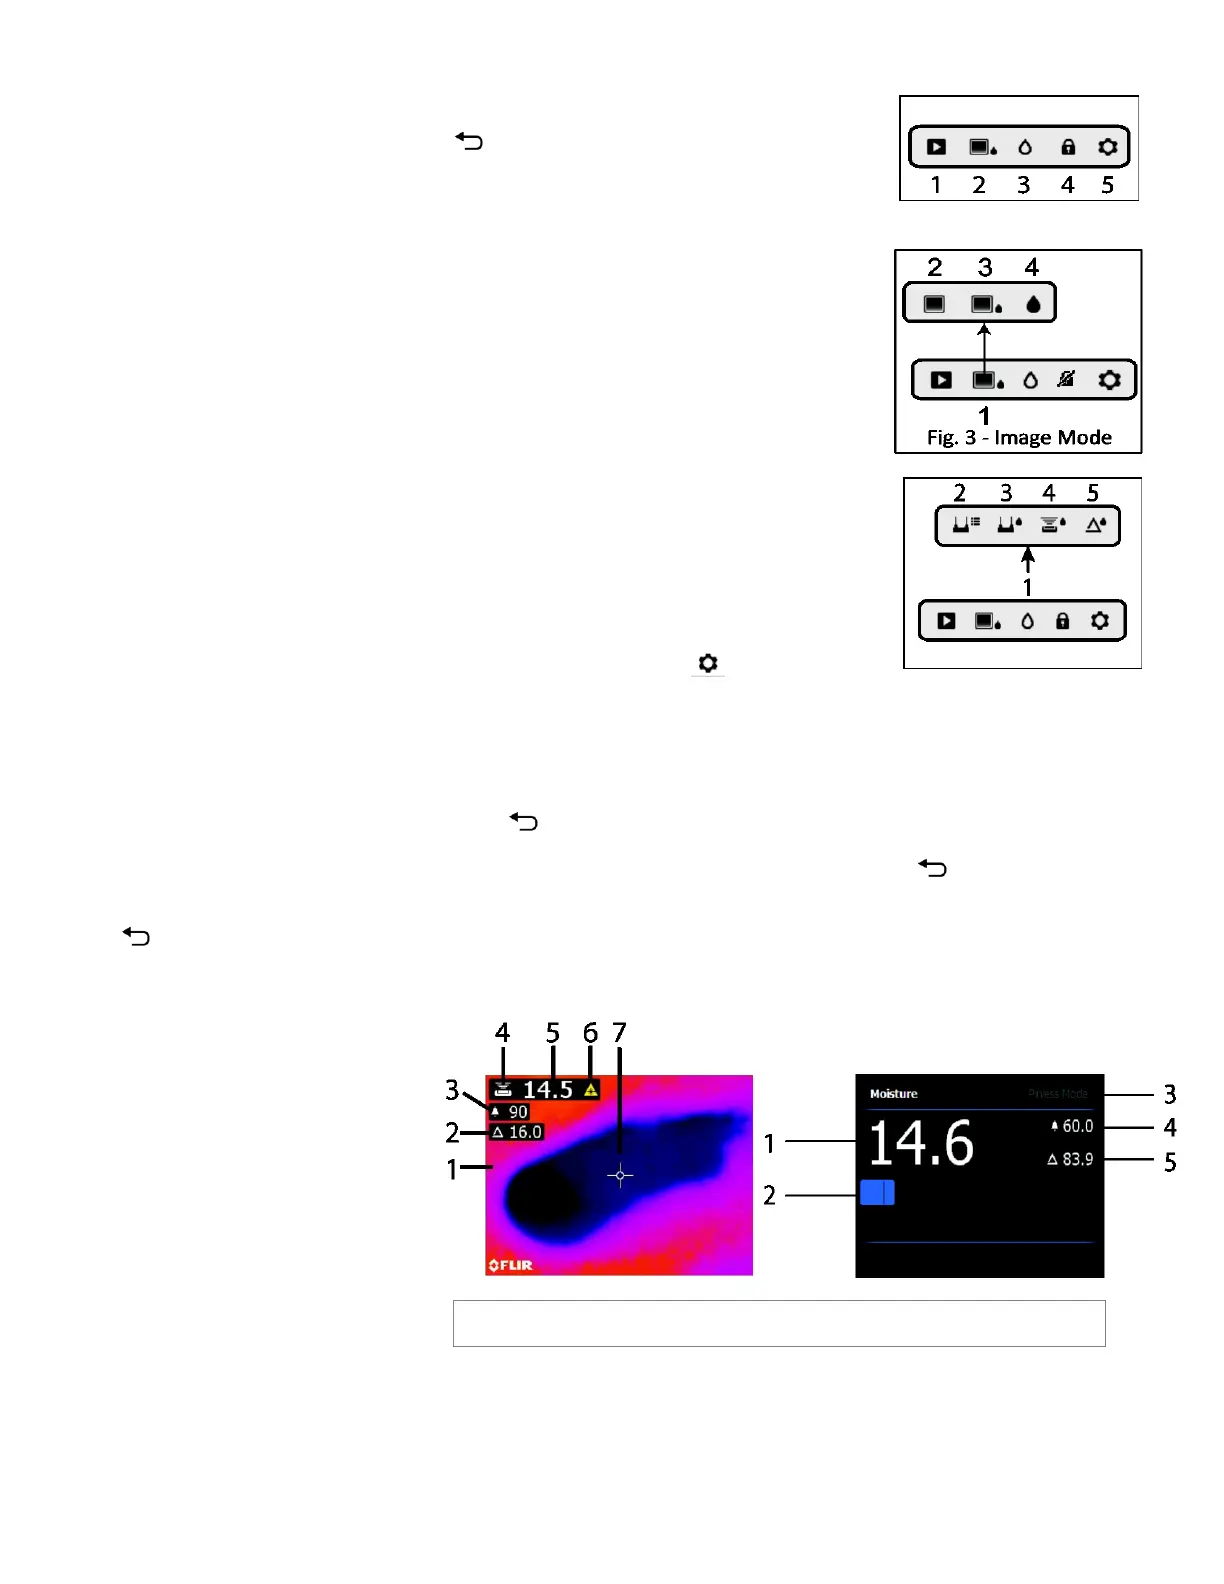
Basic Display Descriptions (Refer to Fig. 5)
IR + IGM Moisture Mode Fig 5(a)
1. Thermal Image
2. Set Relative icon and reference value
3. Alarm icon and Alarm Threshold value
4. Moisture Mode icon (Pinless mode shown)
5. Moisture reading
6. Laser pointer icon
7. Cross-hairs
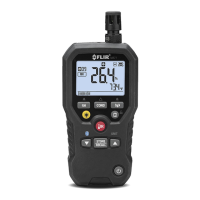
Moisture-only Mode Fig 5(b)
1. Moisture reading digits
2. Moisture reading bargraph
3. Selected mode
4. Alarm icon
5. Set Reference mode icon

 Loading...