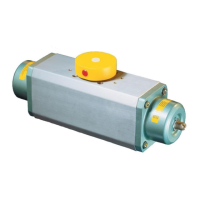
ROTADISK Pneumatic Actuator RD & RDF
Operating Manual – BA3002 EN
8 Repair
Page 45 of 79
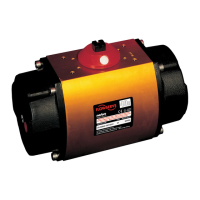
8.3.1 Replacing Seals on the ROTADISK Pneumatic Actuator (RDF 2,5–160)
The ROTADISK Pneumatic Actuator is
▪
taken out of operation (no compressed air supply is connected).
▪
Disconnected from the valve and all other sub-assemblies (e.g. solenoid valve,
limit switch, position indicator or position controller).
Danger of injury due to high spring tension!
A lid under spring tension can cause severe injury or even death if you remove it without
an assembly device with press.
Do not loosen/unscrew lid screws without an assembly device with press.
Contact Flowserve Flow Control GmbH if no assembly device with press is available.
1. Make different marks on the edges of both lids [2] on the top of the body.
The marks simplify correct installation of the ROTADISK Pneumatic Actuator after
disassembly.
Make sure that you do not adjust the nuts of the threaded pins/end stops so that the
pre-set end position setting and thus the angle of rotation of 90° ± 3° is retained.
2. Mark the position of the drive shaft groove on the body [10].
Standard design Alternative design (inverse direction of rotation)
Fail Close (FC) Fail Open (FO)
3. Clamp the ROTADISK Pneumatic Actuator in an assembly device with press.
The assembly device with press prevents the lid [2] from being flung off by spring tension
when the lid screws [1] are unscrewed.
 Loading...