EasyManua.ls Logo

Flowserve Limitorque L120-85 - User Manual

Flowserve Limitorque L120-85
52 pages
Print Icon
To Next Page IconTo Next Page
Loading...
Experience In Motion
USER INSTRUCTIONS
Installation
Operation
Maintenance
Limitorque
®
L120-85 Actuator
FCD LMENIM1202-03-A4 – 06/15

Table of Contents

Questions and Answers

  • N
    Nancy HuntAug 17, 2025
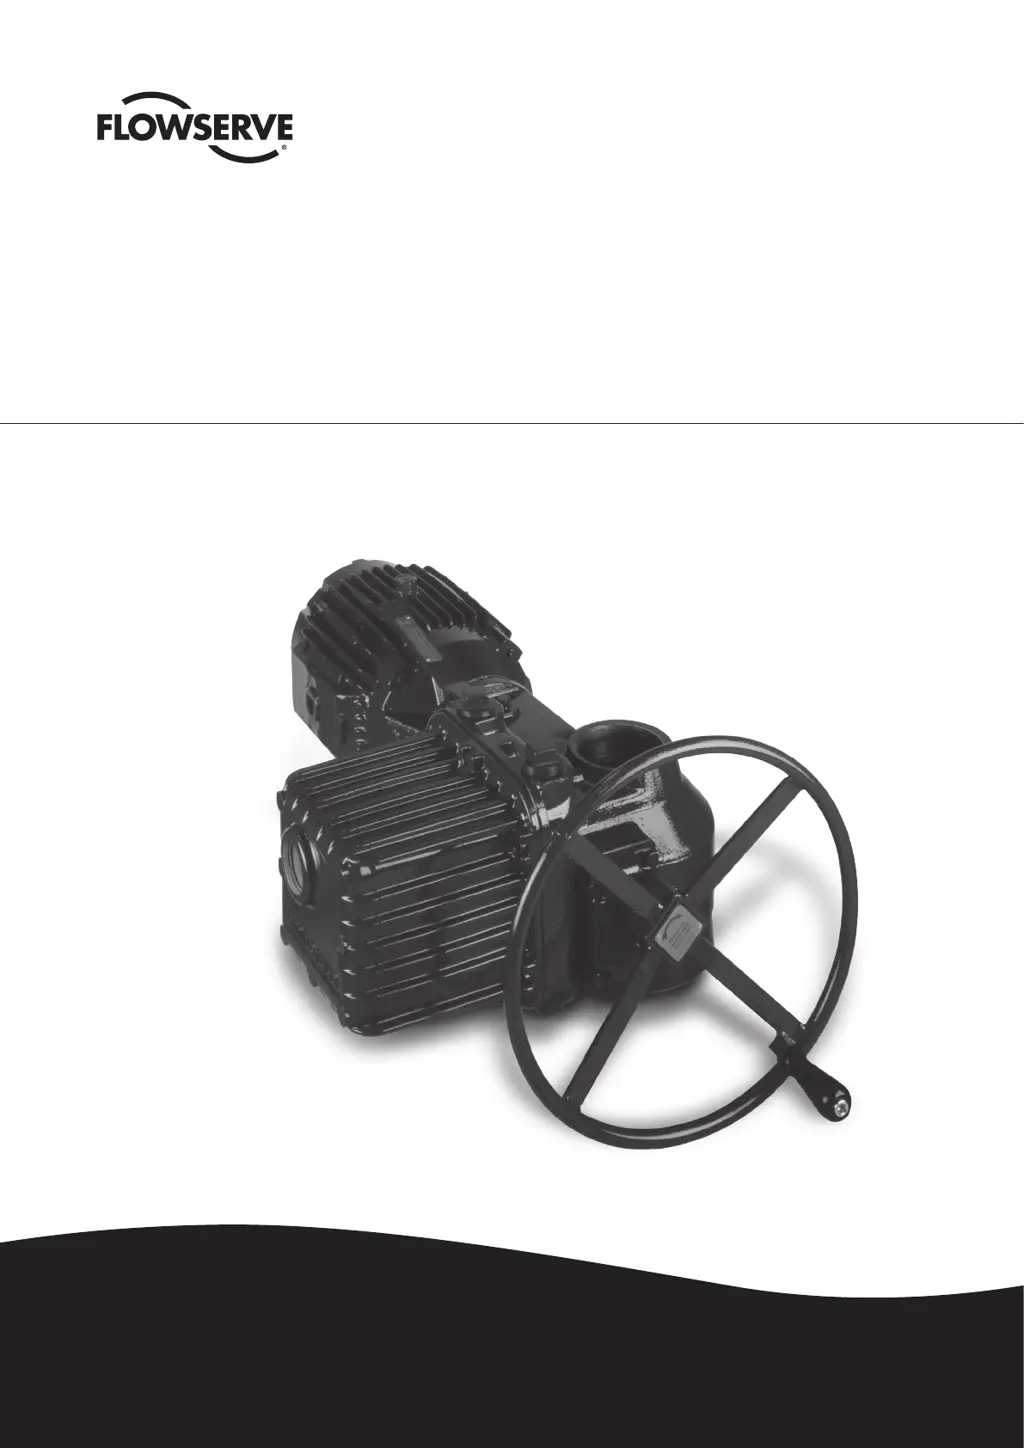
    What to do if my Flowserve Controller actuator will not operate electrically?
    • A
      ashleynelsonAug 17, 2025
      If your Flowserve Controller actuator isn't operating electrically, begin by verifying the electrical supply is correctly phased and present at the actuator. Ensure the electrical power leads are connected according to the wiring diagram. Inspect for a tripped circuit breaker, overload, open disconnect switch, or blown fuse. Also, check the wiring for proper and secure connections, and examine the limit switch settings for agreement with the wiring diagram. Finally, check the continuity of switches with an ohmmeter to rule out foreign material on switch contacts.
  • P
    pgarciaAug 20, 2025
    Why does my Flowserve Controller motor run, but there is no output from the actuator?
    • D
      Douglas BonillaAug 20, 2025
      If the motor of your Flowserve Controller is running, but the actuator isn't producing any output, it could be due to several reasons. First, inspect the Torque Drive Nut and Valve Shaft to verify the key is in place and properly staked. Then, verify the Torque Drive Nut is correctly installed. If these steps don't resolve the issue, remove the Worm Shaft Assembly and inspect the worm gear for unusual wear, replacing it if necessary. Also, disassemble the actuator and inspect the gearing for any rough or damaged spots, replacing them as required, with particular attention to the motor gear set.
  • J
    john47Aug 22, 2025
    How to prevent motor overload tripping in my Flowserve Controller?
    • C
      Christina NunezAug 23, 2025
      To prevent motor overload tripping in your Flowserve Controller, inspect the valve for possible causes of high running load, such as excessive tightness of valve packing and proper lubrication of the valve. Consult Limitorque for a review of the application. Also, verify that the proper overloads are selected for the motor rating.
  • K
    Kayla LandryAug 26, 2025
    What causes a fuse to blow in my Flowserve Controller and how to fix it?
    • B
      Brian BoydAug 26, 2025
      A blown fuse in your Flowserve Controller could be due to several reasons. First, verify the fuses are sized correctly. Next, inspect the control compartment to ensure the Control Cover isn't pinching or making contact with wiring when installed. Finally, investigate the control circuit for any power surges.
  • P
    perezleahAug 28, 2025
    Why is the Flowserve Controller actuator operation noisy?
    • D
      dbushAug 28, 2025
      Noisy operation of your Flowserve Controller actuator can stem from inadequate lubrication (either poor quality or insufficient quantity). Inspect the quality and amount of lubrication. Add or replace lubricant as needed. It could also be caused by worn or damaged bearings, in which case you should disassemble the actuator and replace worn bearings, seals, and lubricant.
  • C
    Carl ReillyAug 31, 2025
    What causes excessive current draw in a Flowserve Controller?
    • S
      scottrodneyAug 31, 2025
      Excessive current draw in your Flowserve Controller can be caused by valve running loads being higher than expected. Inspect the valve for possible causes of high running load, in particular, check for excessive tightness of valve packing and for proper lubrication of the valve. Consult Limitorque for a review of the application.
  • B
    bsparksSep 2, 2025
    What to do if the Flowserve Controller torque switch trips prematurely?
    • J
      James ButlerSep 2, 2025
      If the torque switch on your Flowserve Controller is tripping prematurely, try increasing the torque switch setting, but do not exceed the maximum setting established by the Torque Switch Limiter Plate. Also, inspect the valve packing for excessive tightness and repair the valve by replacing the packing if required, referring to your valve manufacturer for specific instructions. Remove the bolts between the actuator and the valve and check for proper actuator alignment. Check valve lubrication.
  • T
    Tiffany BryantSep 5, 2025
    What causes excessive gear wear in a Flowserve Controller?
    • E
      Edward MaySep 5, 2025
      Excessive gear wear in your Flowserve Controller can be due to several factors. Verify that the actual loads are in accordance with both the start and run capabilities of your actuator. Inspect the quality and quantity of lubrication. Add or replace lubricant as required. Inspect worn gears for evidence of an uneven wear pattern. If you have modulating actuators, review the number of starts, as frequent repositioning may indicate an unstable “loop” system; review this with Limitorque.
  • D
    Dale EvansSep 8, 2025
    What should I do if the Flowserve Controller torque switch fails to stop the actuator?
    • T
      Trevor GeorgeSep 8, 2025
      If the torque switch fails to stop the actuator of your Flowserve Controller, consult Limitorque to verify the design rotation. If the actual rotation is opposite of the design rotation, the Torque Switch needs to have contact wiring reversed. Check the incoming voltage supply.
  • T
    Terri KellySep 12, 2025
    Why is excessive torque required to turn the handwheel on my Flowserve Controller?
    • M
      Margaret TuckerSep 12, 2025
      If excessive torque is needed to turn the handwheel on your Flowserve Controller, inspect the valve for possible causes of high running loads. In particular, check for excessive tightness of valve packing, proper lubrication of the valve stem, a bent or damaged valve, a tight Stem/Torque Drive Nut fit, or a worn or damaged Stem Nut. Take the bolts off between the actuator and the valve and check for proper actuator alignment.

Summary

1 Introduction

1.1 Purpose

Explains manual's scope for installation, maintenance, and parts.

1.2 User Safety

Details precautions to reduce injury risk and equipment damage.

2 Initial Inspection and Storage Instructions

2.1 Inspection and Recording

Steps for initial inspection and recording actuator information.

2.2 Short-Term Storage

Guidelines for storing actuators for periods less than one year.

2.3 Product Identification

Details information found on actuator and motor nameplates.

2.4 Product Description

General description of the L120-85 actuator's function and features.

2.5 Product Features

Lists key features and specifications such as torque and thrust capacity.

3 Actuator Weight

4 Installation Instructions

4.1 Actuator Mounting

Covers mounting for torque-only (Drive 1) and torque/thrust (Drive 2) applications.

4.1.1 Torque Only Applications

Details for fitting the Torque Drive Nut for Drive 1 applications.

4.1.2 Torque and Thrust Applications

Details for fitting the Thrust Base Drive Sleeve for Drive 2 applications.

4.1.3 Mounting Bolts

Specifies recommended mounting bolts, quantities, and tap sizes.

4.1.4 Stem Cover for Rising Stem Applications

Safety and installation overview for stem covers on rising stem actuators.

4.2.1 Initial Electrical Connections

Safety warning before making electrical connections to the actuator.

4.2.2 Motor rotation (phasing) and OPEN;CLOSE Pushbutton Operation

Checking motor rotation and pushbutton operation for correct actuator function.

4.2.3 Three-Phase Motor

Procedure to verify motor rotation direction for three-phase motors.

4.2.4 DC Motor

Procedure to verify motor rotation direction for DC motors.

4.3 Limit Switch Settings

Explains the function and operation of limit switches in the actuator.

4.3.2 Adjustment-General

Tools and general precautions for adjusting limit switches.

4.3.3 Setting the OPEN Limit Switch

Step-by-step instructions for setting the OPEN limit switch.

4.3.4 Setting the CLOSE Limit Switch

Step-by-step instructions for setting the CLOSE limit switch.

4.4 Torque Switch Setting and Wiring

Explains the function and operation of torque switches.

4.4.2 Setting the Torque Switch

Procedure for setting the torque switch for desired torque output.

4.4.3 Balancing the Torque Switch

Procedure for rebalancing the torque switch after removal or installation.

4.4.4 Rewiring the Torque Switch for Non-Standard Drive Sleeve Rotation

Modifications for wiring the torque switch for opposite drive sleeve rotation.

4.5 Position Indication

Procedure for setting the local position indicator (MDPI).

4.5.2 Remote Position Indication

Setup and calibration for remote position indication systems.

4.5.3 Setting the Potentiometer

Procedure to calibrate the potentiometer for remote valve position indication.

5 Operation

5.1 Description of Motor Operation

Describes how the motor operates the actuator mechanism.

5.2 Description of Manual Operation

Describes manual operation using the handwheel and declutch lever.

5.3 Electrical Start-up Procedure

Steps for electrically starting up the actuator after installation.

6 Maintenance

6.1 Lubrication

General information and guidelines for actuator lubrication.

6.1.1 Initial Inspection

Initial inspection steps for proper actuator lubrication.

6.1.2 Frequency

Guidance on determining the frequency for lubrication inspections.

6.1.3 Routine Inspection

Key considerations for routine lubrication inspections.

6.1.4 Factory Lubricants

Specifies lubricants applied at the factory for the actuator.

6.1.5 Minimum Lubricant Qualities Required

Minimum quality requirements for lubricants used in the actuator.

7 Disassembly

7.1 Removal From Valve

Procedures for safely removing the actuator from the valve.

7.2 Open Electrical Compartment & Disconnect Motor

Steps to access the electrical compartment and disconnect the motor.

7.3 Remove Control Wiring

Procedure for removing control wiring from the actuator.

7.4 Remove Limit and Torque Switch

Steps for removing the limit and torque switch assemblies.

7.5 Remove Motor Assembly

Procedure for removing the motor assembly from the actuator.

7.6 Remove Handwheel

Steps to remove the handwheel and associated components.

7.7 Remove Handwheel Shaft Assembly

Procedure for removing the handwheel shaft assembly.

7.8 Remove Declutch Lever Assembly

Steps to remove the declutch lever assembly.

7.9 Remove Clutch Assembly

Procedure for removing the clutch assembly.

7.10 Remove Clutch Pinion Assembly

Steps to remove the clutch pinion assembly.

7.11 Remove Worm Shaft Assembly

Procedure for removing the worm shaft assembly.

7.12 Remove & Disassemble Thrust Base

Steps to remove and disassemble the thrust base assembly for Drive 2.

8 Assembly

8.1 Handwheel Shaft Assembly and Shimming

Procedure for re-shimming the handwheel shaft assembly.

8.2 Verifying Handwheel Operation

Test handwheel operation after assembly to ensure proper engagement.

8.3 Thrust Base Assembly and Shimming

Procedure for assembling and shimming the thrust base.

9 Troubleshooting

9.1 Typical Wiring Diagram

Presents a typical wiring diagram for three-phase actuators with control packages.

10 How to Order Parts

10.1 L120-85 Illustrated Parts Breakdown

Provides illustrated parts breakdown for various actuator components.

10.2 L120-85 Parts List

Lists all parts with their descriptions and quantities.

11 EC Declaration of Conformity

Application of Council Directives

Lists applicable council directives for the product.

Standards to which Conformity is Declared

Lists standards to which the product's conformity is declared.

Flowserve Limitorque L120-85 Specifications

General IconGeneral
Frequency50/60 Hz
ModelL120-85
BrandFlowserve Limitorque
EnclosureNEMA 4/4X
ControlModulating
PhaseSingle or Three-phase

Related product manuals