FlowCam® 8000 Series Dynamic Imaging Particle Analyzer
Note: When changing the objective lens from one magnification to another, you must also change the
pump syringe. See Appendix A for more information.
To install an objective lens:
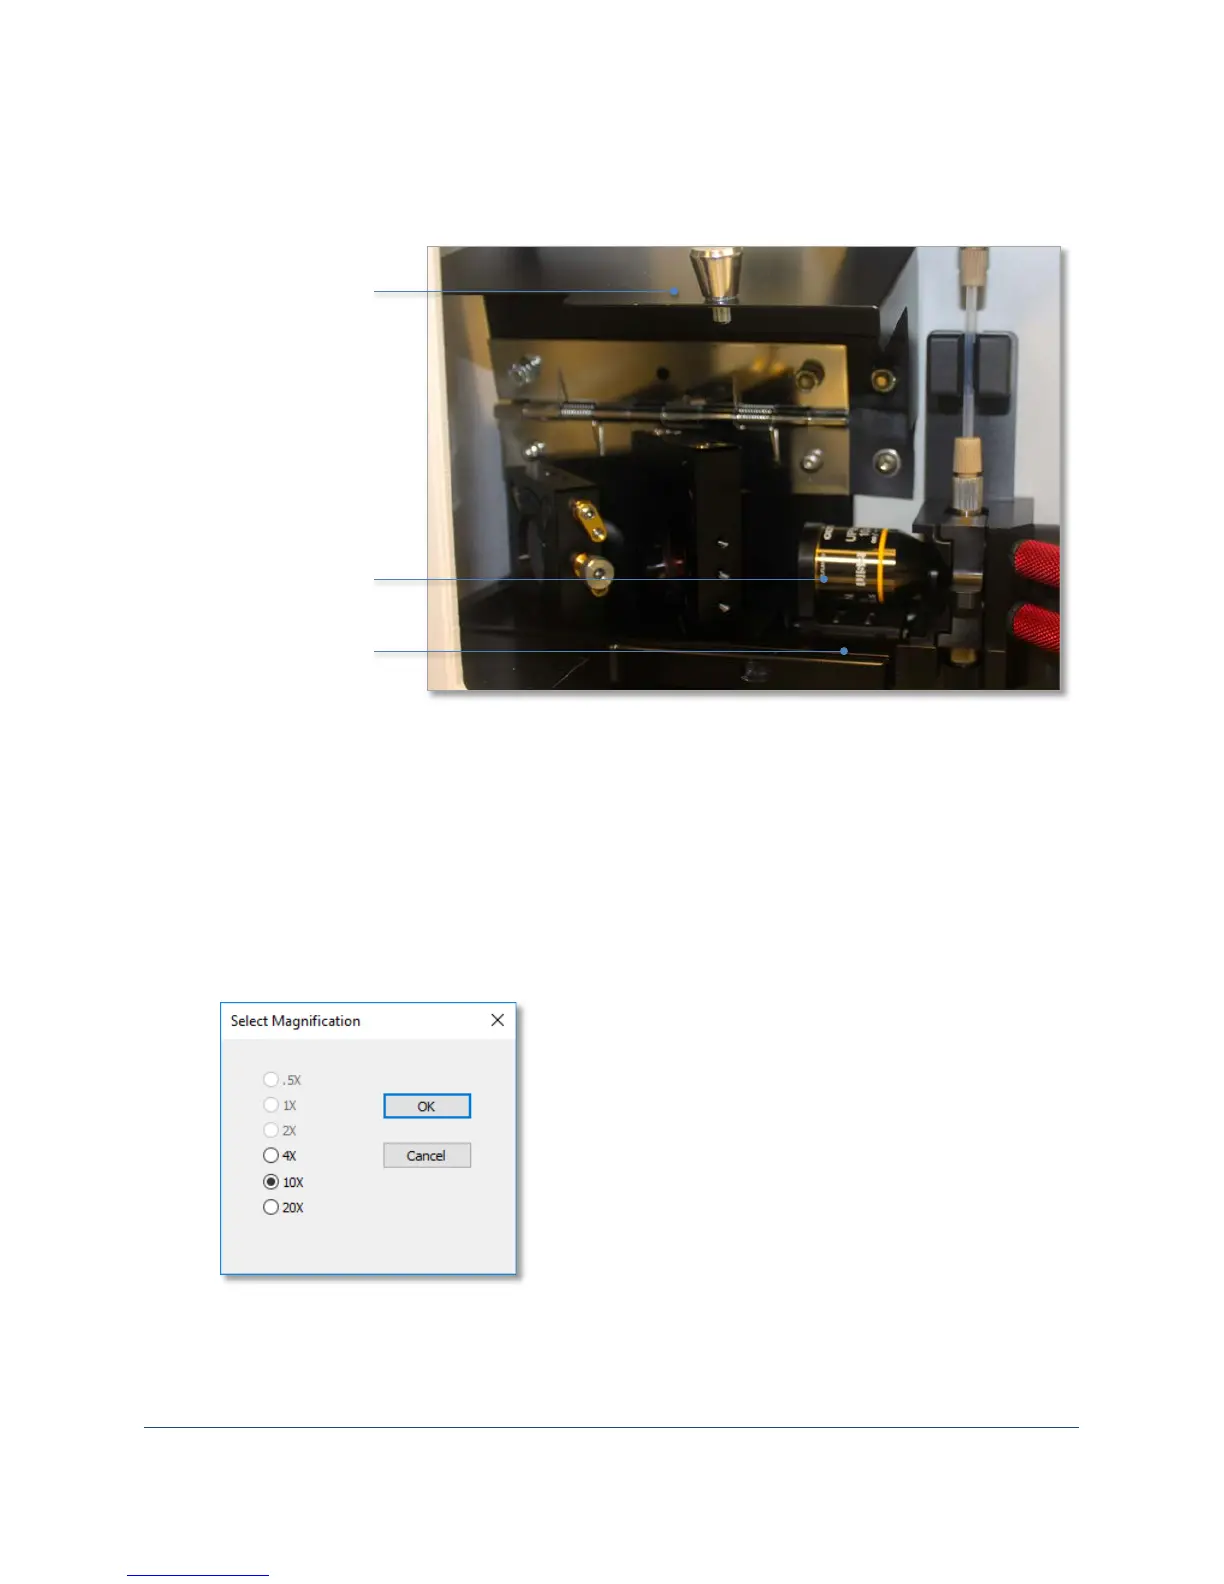
1. Open the analyzer’s upper hatch and pull the silver knob to open the objective shroud.
2. In VisualSpreadsheet, select Setup> Change Objective. This causes the stage that holds the
objective lens to move to the left so you can access the objective fitting.
3. Carefully remove the objective lens from its container by unscrewing it from its cap.
4. Gently thread the lens clockwise into the fitting. Do not overtighten.
5. Click OK on the Change Magnification dialog.
6. The Select Magnification dialog appears. Select the applicable magnification and click OK.
7. Click OK on the Objective Lens Setup dialog. The stage moves the objective back into position
and the VisualSpreadsheet status bar displays the new objective lens value.
8. Close the objective shroud and the upper hatch.
shroud
lens
stage
 Loading...