20
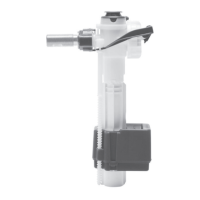
REPLACE FILL VALVE SEAL
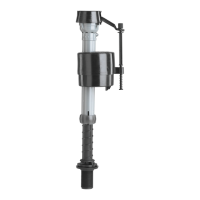
• Place cap assembly on top of gray valve body by
aligning cap arm and adjustment rod next to rell tube.
• Press down on top cap while rotating top & arm clockwise to locked position.
A: Remove cap (see above).
B: Replace seal with a *genuine Fluidmaster
242 Seal.
C: Replace valve cap.
*
Always use genuine Fluidmaster parts when installing or repairing. Fluidmaster will not be
responsible or liable for use of non-Fluidmaster parts during installation or repair.
TROUBLESHOOTING
IF THE FILL VALVE: • DOES NOT TURN ON
• WON’T TURN OFF
• WON’T REFILL TANK
REMOVE CAP AND CHECK FOR DEBRIS
A: Turn o water supply, then ush toilet.
B: With right hand push oat up, grip and
hold shaft under oat.
C: With left hand twist cap and lever arm
counterclockwise to unlock cap. Let cap
hang on oat cup.
D: Hold empty cup upside down over un-
capped valve to prevent splashing.
E: Turn water supply on and o a few times,
then leave it turned o.
F: Replace valve cap.
• Place cap assembly on top of gray valve
body by aligning cap arm and adjustment
rod next to rell tube.
• Press down on top cap while rotating top &
arm clockwise to locked position.
See Our Troubleshooting HOW-TO VIDEO
http://bit.ly/2yAdZn7
VIDEO
Seal
Cap