1630
Earth Ground Clamp
8
Calibration Adjustment
To prepare the UUT for calibration, remove the back case and complete the following steps:
1. Remove the battery compartment by sliding a small, flathead screwdriver down
between the tabs and pca and lifting the compartment out.
2. Remove the bottom black shield to access the calibration potentiometers underneath
this shield. See Figure 2.
To enter calibration adjustment mode:
1. Press H, F, and D simultaneously while turning the UUT power on.
2. Continue to hold the buttons down until you hear a beep. “Harmonic” displays on the
LCD when the buttons are released.
The UUT is now in the calibration adjustment mode. Refer to Figure 2 for adjustment locations
and complete the adjustments as instructed in Table 4. If the UUT fails to meet any expected
results, contact Fluke Service for repair. See Contacting Fluke.
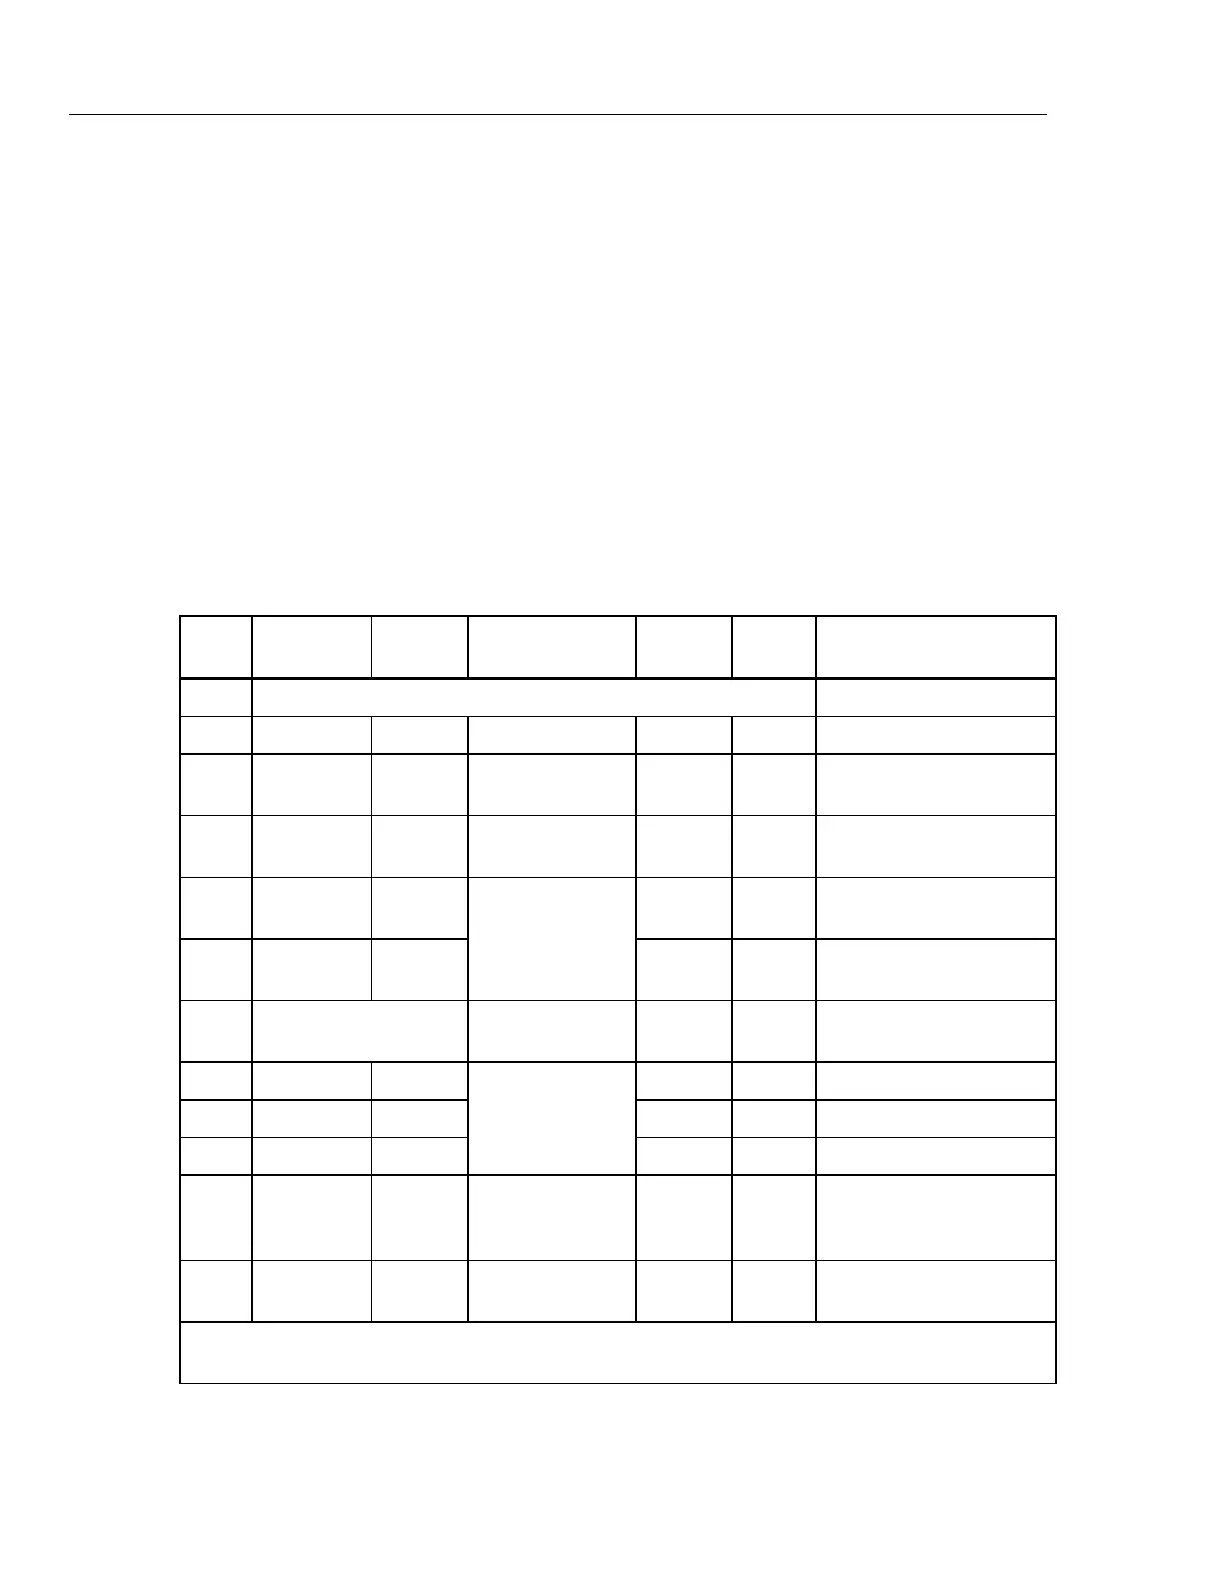
Table 4. Calibration Adjustment Steps
Step Action
Meter
Function
Source
Applied
Value
Adjust
Expected
Result/Instruction
1 Enter Cal Mode Harmonic displays
2 Adjust ~ A None VR11 15 to 16 digits displayed
3 Adjust Ω None VR2
Rotate VR2 for minimum
value
4 Adjust Ω None VR1
Adjust VR1 for 150 digits on
display
5 Check Ω 1 kΩ
Reading should increase to
250 (± 10) digits
6 Check Ω
Decade
Resistance and
6-in. wire loop
5 Ω
Reading should be 18.00 to
22.00
7
Enter Normal
Measurement Mode
Remove unit from
wire loop
Turn unit Off and then On
8 Adjust Ω 5 Ω VR10 5.000 Ω to ± 0.005
9 Adjust Ω 50 Ω VR3 50.00 Ω + 0.00, - 0.05
10 Adjust Ω
Decade
Resistance and
6-in. wire loop
20 Ω VR11 19.90 to 20.00
11 Check Ω
Repeat Steps 8, 9, and 10
until expected results are
met.
12 Adjust ~ mA
Calibrator and 6-in.
wire loop
90 mA /
60 Hz
VR20 89.90 to 90.00
Before proceeding to Step 13, reassemble the UUT by replacing the shield, battery compartment, and back
case.

 Loading...