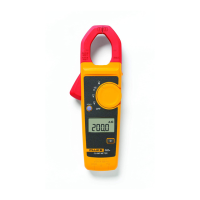
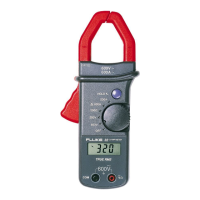
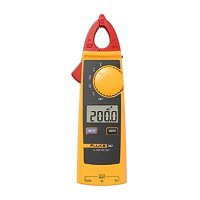
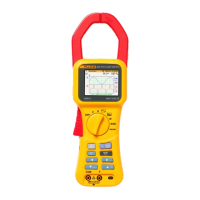
Clamp Meter
Calibration Adjustment
13
Calibration Adjustment
The Product features closed-case calibration adjustment and uses known reference
sources. The Product measures the applied reference source, calculates correction factors,
and stores the correction factors in nonvolatile memory.
Should the Product fail any of the performance tests, do the calibration adjustment
procedure.
To do the calibration adjustment:
1. Remove the Product battery door. See “Battery Replacement”.
2. Apply 3.0 V across the battery contacts on the pca. Note the polarity that is shown in
Figure 6.
3. Turn the rotary switch to the function to be adjusted.
4. Remove the calibration seal.
5. Short across the CAL keypad on the pca and then remove the short. See Figure 6.
This puts the Product into calibration mode.
6. When “C-1.2” is shown on the display, apply the correct input signals shown in
Table 6 to the Product. For each function, the calibration step shown on the display
will advance.
7. After each step, push the HOLD button to confirm the calibration step, store the
value, and go to the next step.
8. Set the Calibrator to Standby after you complete adjustment of each function.
Notes
If any calibration point is missing, “Err” is shown on the display.
After you push the HOLD button, wait until the calibration step number
advances before you change the calibrator source. Some adjustment steps
can take several seconds to execute before the Product goes to the
subsequent step.
9. When calibration adjustment is complete, remove the 3.0 V supply. The Product will
exit the calibration mode automatically.
10. Replace the batteries and battery door.
w ww. . com
information@itm.com1.800.561.8187