CableMeter
Making Tests and Measurements
15
Measuring Cable Length
The test tool measures the length of both twisted-pair and
coaxial cables. If the test tool is not calibrated to the cable
under test, then factory default characteristics are sued to
compute hte length. If a more accurate length
measurement is desired, refer to “Calibrating the Test
Tool to the Cable”.
Before a length measurement is made, the test tool
performs diagnostic tests to prevent any cable failures
from corrupting the length measurement. All failures are
described in the “Testing Cables”.
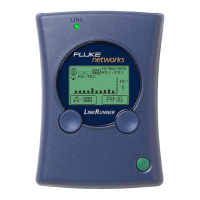
To measure the length of a cable, do the following:
1.
Connect the cable under test to the appropriate
connector on the test tool.
2. Turn the rotary switch to LENGTH.
3. This step can be omitted if you know the cable
selection is correct for the cable under test. Press
E to check the cable selection. The test tool
displays the cable selection for a few seconds and
then starts the test. “CAL” appears in the second line
of the display if a cable calibration has been
performed for the selected cable type. If the test tool
is not set up for the cable under test, refere to
“Preparing the Test Tool for Use" to select a new
cable setting.
Note
When the display flashes 999’ (350 m) during a
length measurement, the length of the cable
exceeds the tst tool’s range of measurement.
The information that is displayed depends on the type of
cable selected. For twisted pair cables, each pair has its
corresponding length measurement. A 5 percent
difference in length between pairs is not uncommon.
For EIA/TIA 4PR cable with no failures, the display shows
the following:
abm21f.eps
abm22f.eps