620
Users Manual
22
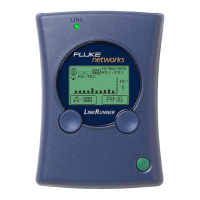
Performing a Self-Test
The test tool periodically performs an internal self-test.
When the internal self-test detects a problem, the test tool
displays the following message:
abm43f.eps
A more thorough self-test can be performed by using the
following self-test procedure:
1. With the test tool off, press and hold A while
turning the rotary switch to TEST.
2. Press E until “SELF-TEST?” is displayed.
3. Press C or D to select YES.
Note
To exit without performing a self-test, either
press
A
or ensure that the second line is
displaying “NO” and press
E
to move to the
next setup selection.
4. Press E to activate the self-test program.
You will be prompted to install the Cable ID Unit on
the UTP/FTP connector. (NOT on the end of the
cable.)
5. After installing the Cable ID Unit, press E to
continue the self-test program.
The test tool displays PASS or FAIL. The self-test
continually repeats until A is pressed or the test tool
turns itself off (Battery Save Mode). If any failure is
detected, return the unit to a service center for repair.
Verifying Proper Operation
1. Connect the provided patch cable to the UTP/FTP
connector.
2. Set up the test tool for the patch cable’s type, wiring,
category, and wire size.
3. Connect a Cable ID Unit to the end of the patch
cable.
4. Verify that the Cable ID Unit is properly identified by
the test tool and the cable length is within ±1.0 m (±2
ft) of the patch cable length.
Returning the Test Tool for Repair
If after performing the previous tests you believe the test
tool is not performing properly, you can send it to your