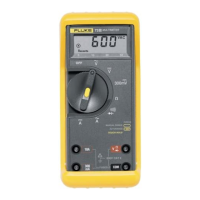
732A
Figure
4-10.
732A
Procedure
‘B’ 10V
Calibration
Figure
4-11.
Calibration
of 1.081V
{and
IV) to
732A Procedure
27.
Set
the Precision
Divider
to
0.1018000.
28.
Decrease the range setting on the Null
Detector slowly
while adjusting
the
1.018V
calibration
potentiometer,
through
the
front
panel
opening
on the U UT, for a
null
indiction
on the Null
Detector.
Use
the non-conducting adjustment tool
supplied
with the
instrument.
29.
Adjust the
1.018V
calibration potentiometer
to obtain a null
indication with the Null Detector on
the
3
juV
range.
Let
the system stabilize for about 1
minute before
adjustment.
Verify
the null.
30.
Move
the
wire connected to the UUT
1.018V
output
to the uuj
IV
output. Reset the Null
detector
to the
3V
range.
31.
Set
the Precision
Divider
to
0.1000000.
32.
Decrease
the range setting on the Null
Detector
slowly
while adjusting the
IV
calibration
potentiometer,
through the front panel opening on
the
UUT,
for a
null
indication in
the
Null Detector.
Use
the
non-conducting adjustment
tool.
33.
Adjust
the
l.V calibration potentiometer to
obtain a
null
indication
with
the Null Detecor in the
3
uV range.
Let the
system
stabilize for about I
minute
before
adjustment. Verify
the
null
34. If the
IN CAL
indicator is illuminated, go to
step
35.
if not,
connect a short wire to one of
the
front
pane!
COMMON
terminals. Momentarily
touch
the
other end
of this
wire
to the circuit board
4-13