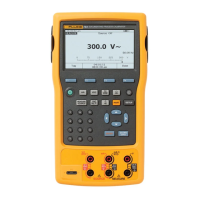
Documenting Process Calibrator
HART Mode Verification (754 Only)
31
It is not necessary to open the case or adjust the Product to do this test. Make the
necessary connections and verify that the Product responds as necessary.
1. Push s. The first setup screen shows.
2. Push or to select HART Channel.
3. Push .
4. Push or to select mA Jack.
5. Push .
6. Connect the Product to the HART transmitter as shown in Figure 15.
7. Push r to start HART mode. If necessary, push the applicable softkey to enable
Loop Power.
The Product recognizes and identifies the HART transmitter. When used with a
Model 3051, the Product shows:
qb20s.bmp
Figure 14. Active Device Screen
The Active Device screen gives this data for all HART transmitters, supported or
generic:
• Poll address (if not 0)
• Model number and Tag ID
• PV (Primary Variable)
• PVAO (digital representation of the Analog Output)
• PV LRV (PV Lower Range Value)
• PV URV (PV Upper Range Value)
• Softkeys for accessing HART operation menus
8. Communication to the HART transmitter has been established if step seven has
been completed. The Product has passed the HART mode verification test.
9. If the calibrator does not recognize the transmitter, the test has failed and Product
repair is necessary. Speak to your nearest approved Fluke Service Center for
servicing.
 Loading...