Using the Visual Fault Locator
45
Using the Visual Fault Locator
1
Clean the connectors on the test reference cord, if used,
and the fiber to be tested.
2
Connect the fiber directly to the tester’s VFL port or
connect using the test reference cord.
3
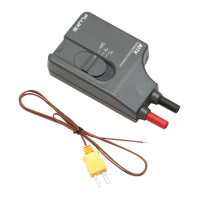
Turn on the visual fault locator by pressing the button
near the VFL connector, as shown in Figure 20. Press
again to switch to flashing mode. Press again to turn
off the locator.
4
Look for the red light to locate fibers or faults (Figure
20):
•
To check continuity or trace fiber connections, look
for the red light at the end of the fiber. View the
VFL’s light indirectly by holding a white card or paper
in front of the fiber connector emitting the light.
•
To locate faults, move along the fiber from either
end, looking for a red glow coming from the fiber
jacket or a connector housing.
Note
The locator’s light may not be visible through dark-
colored fiber jackets.