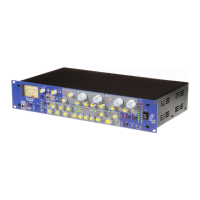
Using the Noise Reducing
Expander
The Noise Reducing Expander reduces the volume of
quiet sections in the performance.Use it to get rid of
background noise,either while recording (for example,
getting rid of bleed from headphones into the microphone)
or while mixing down (for example,getting rid of tape
hiss).The expander has a gentle noise reducing effect:you
can set it so that it reduces background noise without
affecting the beginning and end of vocal passages.
In – when lit,switches on the Noise Reducing Expander.
Threshold – determines when noise reduction begins.The
higher the threshold,the more low-level noise is
reduced.
Depth – determines how much noise reduction is applied.
The higher the depth,the further quiet sections are
reduced in volume.
Meter – shows when noise reduction is being applied,and
should light progressively during quiet passages.During
louder sections,the lights should go out.By watching
the meter when a vocal passage is starting and finishing,
you can check that the Noise Reducing Expander is not
affecting the vocals – if the meter stays lit during the
vocal,increase the Threshold control.
Gate – when lit,changes the expander to a noise gate.When
recording,the noise gate should only be used on
something other than vocal,as it is more aggressive than
the expander.Use the gate for vocals when mixing
down pre-recorded tracks,when more time is available
to set up the unit up correctly without causing
destructive effects.
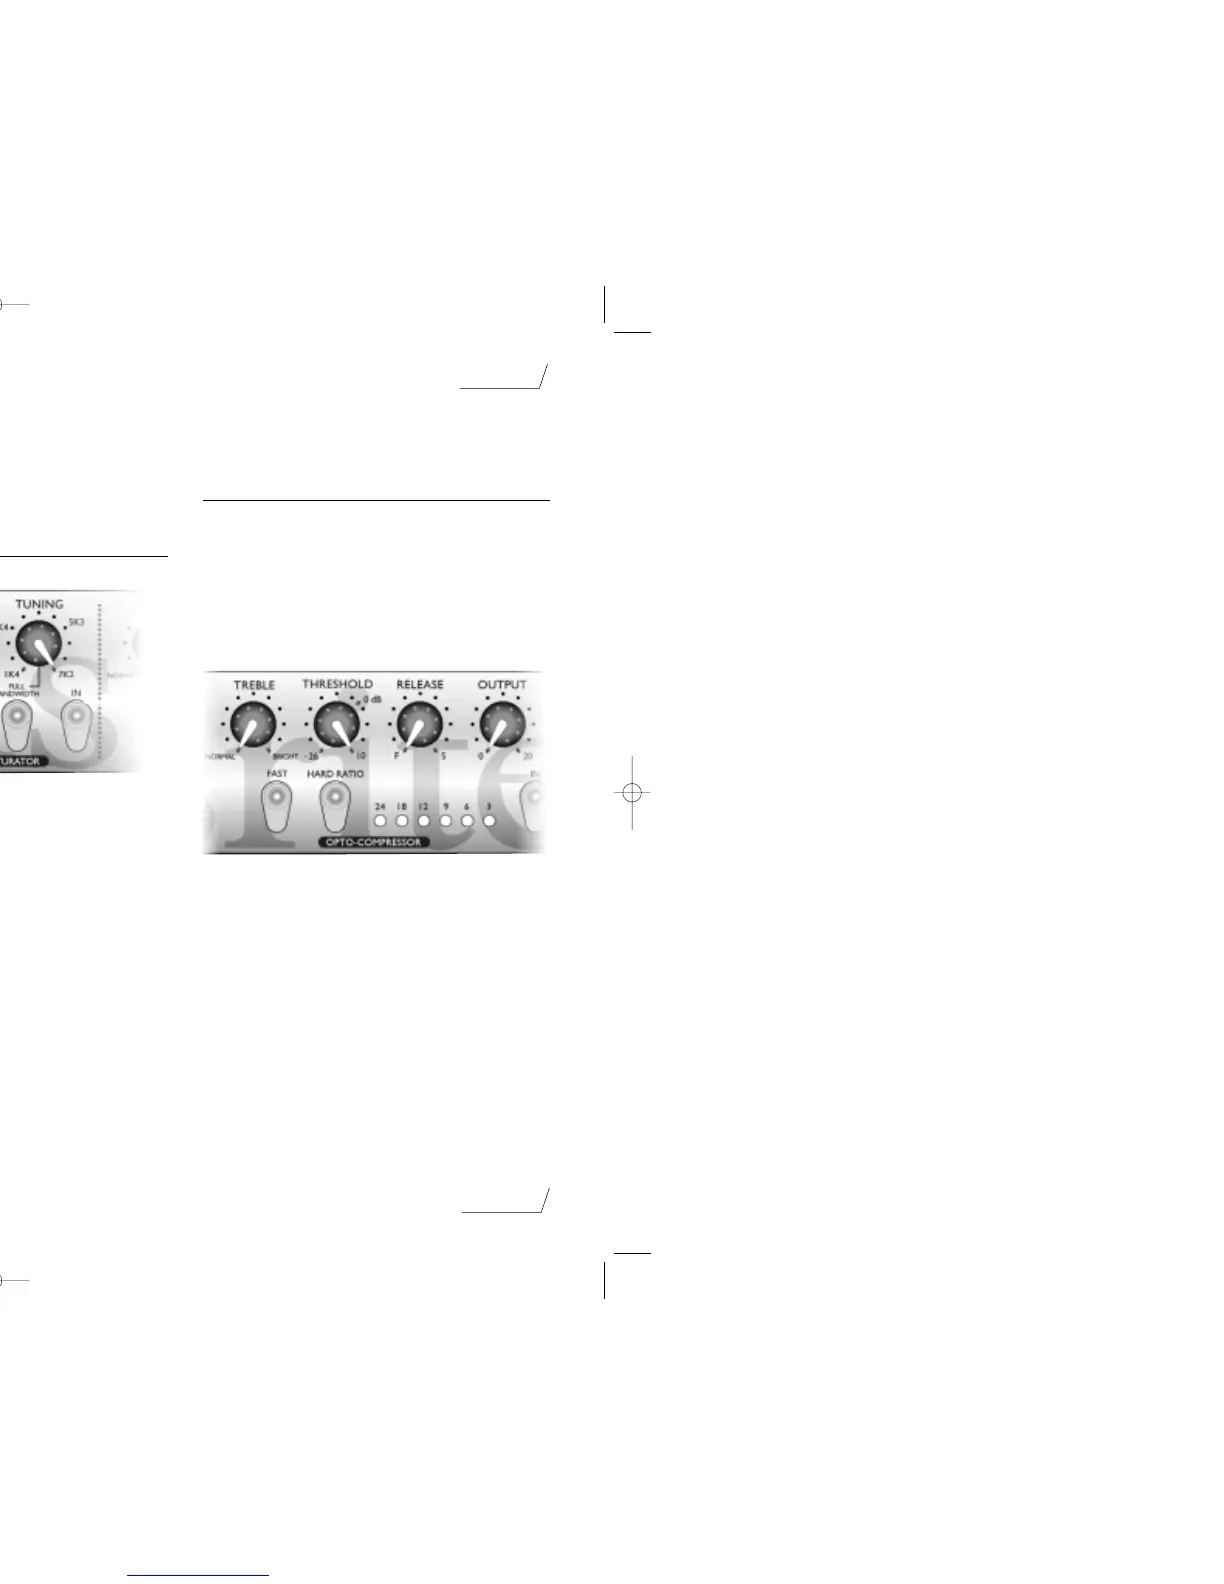
Using the Vocal Saturator
The Vocal Saturator simulates valve and tape distortion.
In – when lit,switches on the Vocal Saturator.
Drive – determines how much saturation is applied.As you
move the drive control from Clean to Unclean,you
overdrive the signal more,adding harmonic-rich
compression and creating a rounding effect.As the signal
level gets louder,so more harmonics are created.
SIG LED – indicates that saturation is being applied to the
signal.The longer it stays on,the more saturation is
being applied.
O/L LED – indicates that clipping distortion is occurring
instead of saturation.In normal circumstances,the O/L
(overload) LED should not light,as it means that less
musically-related distortion is being added.However,
you may find the sound acceptable – trust your ears!
Tuning – affects which frequencies are saturated.In its Full
Bandwidth position,the whole signal is saturated;as you
adjust the control,only the frequencies around the
selected frequency are saturated.Setting this control to
the higher frequencies allows parts of the vocal through
unaffected,so the effect is more selective.
Using the Opto-Compressor
The Opto-Compressor acts like an automatic volume
control,turning down the volume of a signal if it gets too
loud.This reduces variation between loud and quiet
passages,as it automatically reduces the gain when the
signal gets louder than a certain volume (threshold).
Therefore,using the Opto Compressor tends to even out a
performance,stopping a vocal getting very loud or very
quiet in the mix.
In – when lit,switches on the Opto-Compressor.
Threshold – determines when the Opto-Compressor starts
to compress the signal - the lower the threshold,the
more the signal is compressed.By setting a threshold,
you compress the signal only when it is louder than the
threshold,so that quieter passages maintain their natural
dynamic range,and only loud passages (that go above
the threshold) are compressed.
Meter – displays the amount of compression applied to the
signal.Since compression reduces the volume of the
signal,the meter drops as compression is applied:for
example,a 9 dB drop shows as 9 on the meter.
page 6
English
 Loading...