Output – sets the output volume of the compressed signal.
Since compressing a signal makes it quieter,use the
Output control to restore the signal to its original
volume.Compare the volume of the original and the
compressed signal by using the In switch to switch the
Opto-Compressor on and off.
Release – sets the overall loudness.The faster the release,the
louder the signal appears to be.
Fast – when in,compresses the initial attack of a signal (for
example,use Fast to get rid of the initial pluck of a
guitar string).This tends to be more noticeable than
when the Fast button is not used,and gives a more
obviously compressed sound (which may be the desired
effect).For a punchy sound,do not use the Fast button.
Hard Ratio – gives a very flat,compressed sound.Do not use
the Hard Ratio switch if you want to maintain some of
the original dynamics.
Treble – adds high frequency to the compressed signal.
Compression gives the perceived effect of losing treble,
so the Treble control can be used to compensate for that
effect,by adding treble based on the compression.If you
compress only lightly,the effect of the Treble control is
very subtle;as you add more compression,so the Treble
control becomes more of a creative tool.
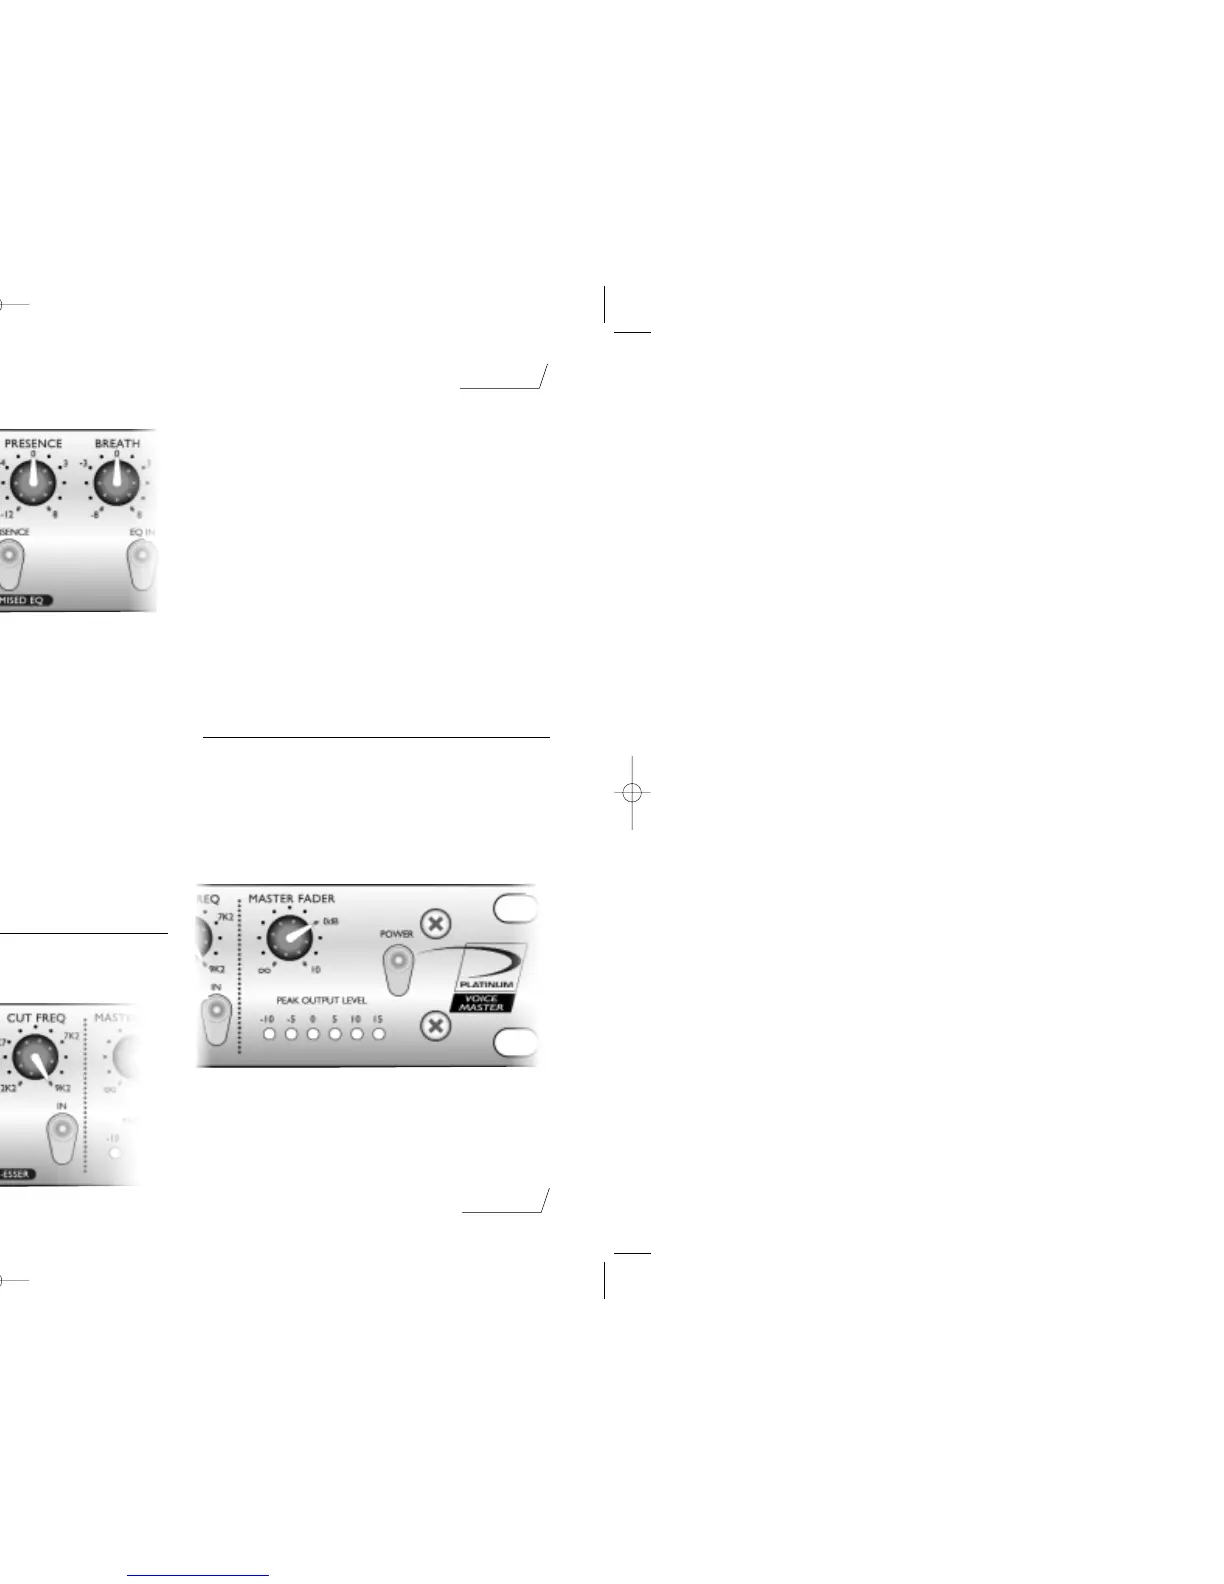
Using the Voice Optimised EQ
The Voice Optimised EQ is a sophisticated tone control,
that boosts or cuts selected frequency bands and so
modifies the tone quality of vocals.For example,you can
use it to fix problems with the original sound,or to help a
track stand out in the mix.
In – when lit,switches on the Voice Optimised EQ.
Breath – boosts or cuts the high frequencies in the signal.
Adjust the Breath control to accentuate or reduce the
breathy part of a vocal.
Presence – brings out the edge and high mid of the voice,
and so pushes it forward in the mix.
Warmth – boosts or cuts low frequencies in the signal.The
frequencies that are affected are determined by the
Tuning control.Cutting frequencies with the Warmth
control affects a narrower range of frequencies than
when boosting (which gives a more selective effect).
Tuning – determines which frequencies are affected by the
Warmth control.The tuning you use is dependent on
the sex of the performer,with lower frequencies for
males and higher for females.
Absence – reduces the volume of the frequencies that make
a vocal sound coarse or harsh.Use the Absence switch if
the vocal has an unwelcome coarse sound to it.
Using the Opto De-Esser
The Opto De-esser lets you remove excessive sibilance
from a vocal performance (if “ess”sounds are over-
emphasised).
In – when lit,switches on the Opto De-Esser.
Threshold – determines how much de-essing is being
applied to the selected frequency (see Cut Freq below).
The lower the threshold,the more de-essing is applied.
Active LED – lights when de-essing is being applied.As more
de-essing is applied,the Active LED becomes brighter.
Cut Freq – sets the frequency to remove.Adjust the Cut
Freq control to remove the sibilant part of the vocal.
When using the Opto De-esser,ensure that you do not set
the threshold too low,or you will affect too much of the
vocal.When you have the threshold set correctly,the effect
of the Opto De-esser does not sound obvious until you
compare the affected signal with the original signal (by
using the In button to compare them).
Using the Master Fader
The Master Fader is used to match the output level from
the VoiceMaster™ to the input level of the next unit in the
chain (such as a DAT recorder or PC sound card).When
setting the output level,always start quietly and increase the
output level until you reach the correct level – do not start
with the output level set high,as it may damage the next
unit in the chain.
If you are inserting the VoiceMaster™ into a channel of a
mixing console,you normally set the Master Fader at 0 and
adjust levels using the console.
page 7
English
 Loading...