27
- Insert the screws, with the entire assembly, in the holes of the fork fitting making sure the ar-
row faces upwards.
- Makecertainthepadsareinsertedinsidethediscwithoutforceoranyinterference.
- Tightenthescrewswitha5mmhex.socketwrench(doNOTovertighten).
- Pullthepumplever2–3timestocenterthecaliper.
- Keepthepumpleverpulledandtightenthescrews18 with a torque setting of 9Nm±5%.
Gotostep4).
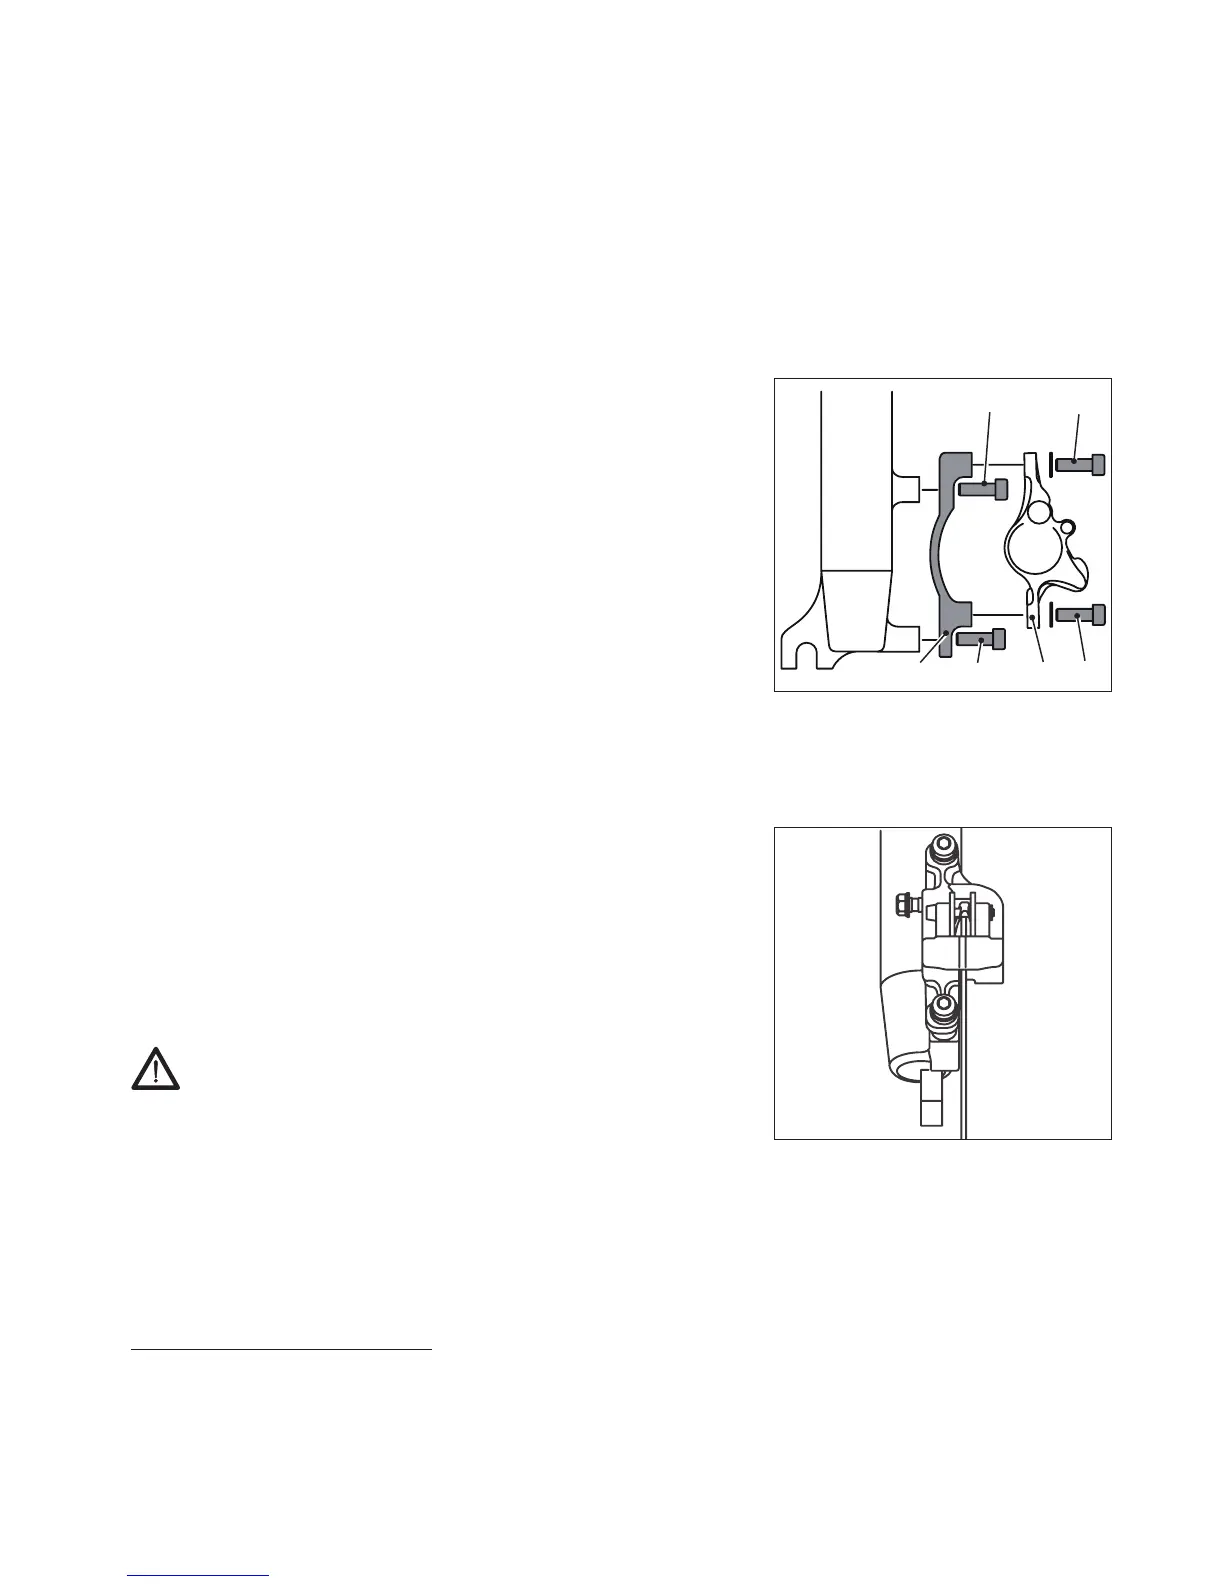
3) Installing with adaptor on POST MOUNT fork
- Place the adapter 21 in the fork fitting, making sure the
arrow faces upwards
- Insert the screws 22andtightenwitha5mmhex.socket
wrench.
- Tighten with a torque setting of
9Nm±5%.
- Place the caliper 23 on the adapter making sure the disc
is inserted inside the pads without force or any interfer-
ence.
- Tighten the screws 24witha5mmhex.socketwrench
- Pullthepumplever2–3timestocenterthecaliper.
-
Keep the pump lever pulled and tighten the screws
24
with a torque setting of
9Nm±5%.
(Proceedtostep4).
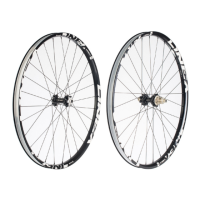
4) Slowly turn the wheel and make sure the disc is straight
and centered and does not rub against the pads.
Brake2–3timestobringthepadsinalignmentwiththe
rotor.
BEDDING IN PROCEDURE:
WARNING:AllFORMULAbrakesystemsrequire
abreakin(beddingin)periodtoobtaintopper-
formance.Werecommendrunningthebikeona
flatsurfaceataspeedof30Km/hand braking
itatleast50timesallowingittocometoafull
a stop (taking the required precautions)before
considering the system broken in and fully ef-
ficient.
REAR POST MOUNT FORK
- Therearpostmountforkissuppliedaccordingtotheuser’srequirementsthereforeitcomes
with a specific description.
22
21
24
23
22
24