14 01-28005-0017-20041101 Fortinet Inc.
Connecting to the command line interface (CLI) Getting started
To connect to the web-based manager
1 Set the IP address of the computer with an ethernet connection to the static IP
address 192.168.1.2 with a netmask of 255.255.255.0.
You can also configure the management computer to obtain an IP address
automatically using DHCP. The FortiGate DHCP server assigns the management
computer an IP address in the range 192.168.1.1 to 192.168.1.254.
2 Using the crossover cable or the ethernet hub and cables, connect the internal
interface of the FortiGate unit to the computer ethernet connection.
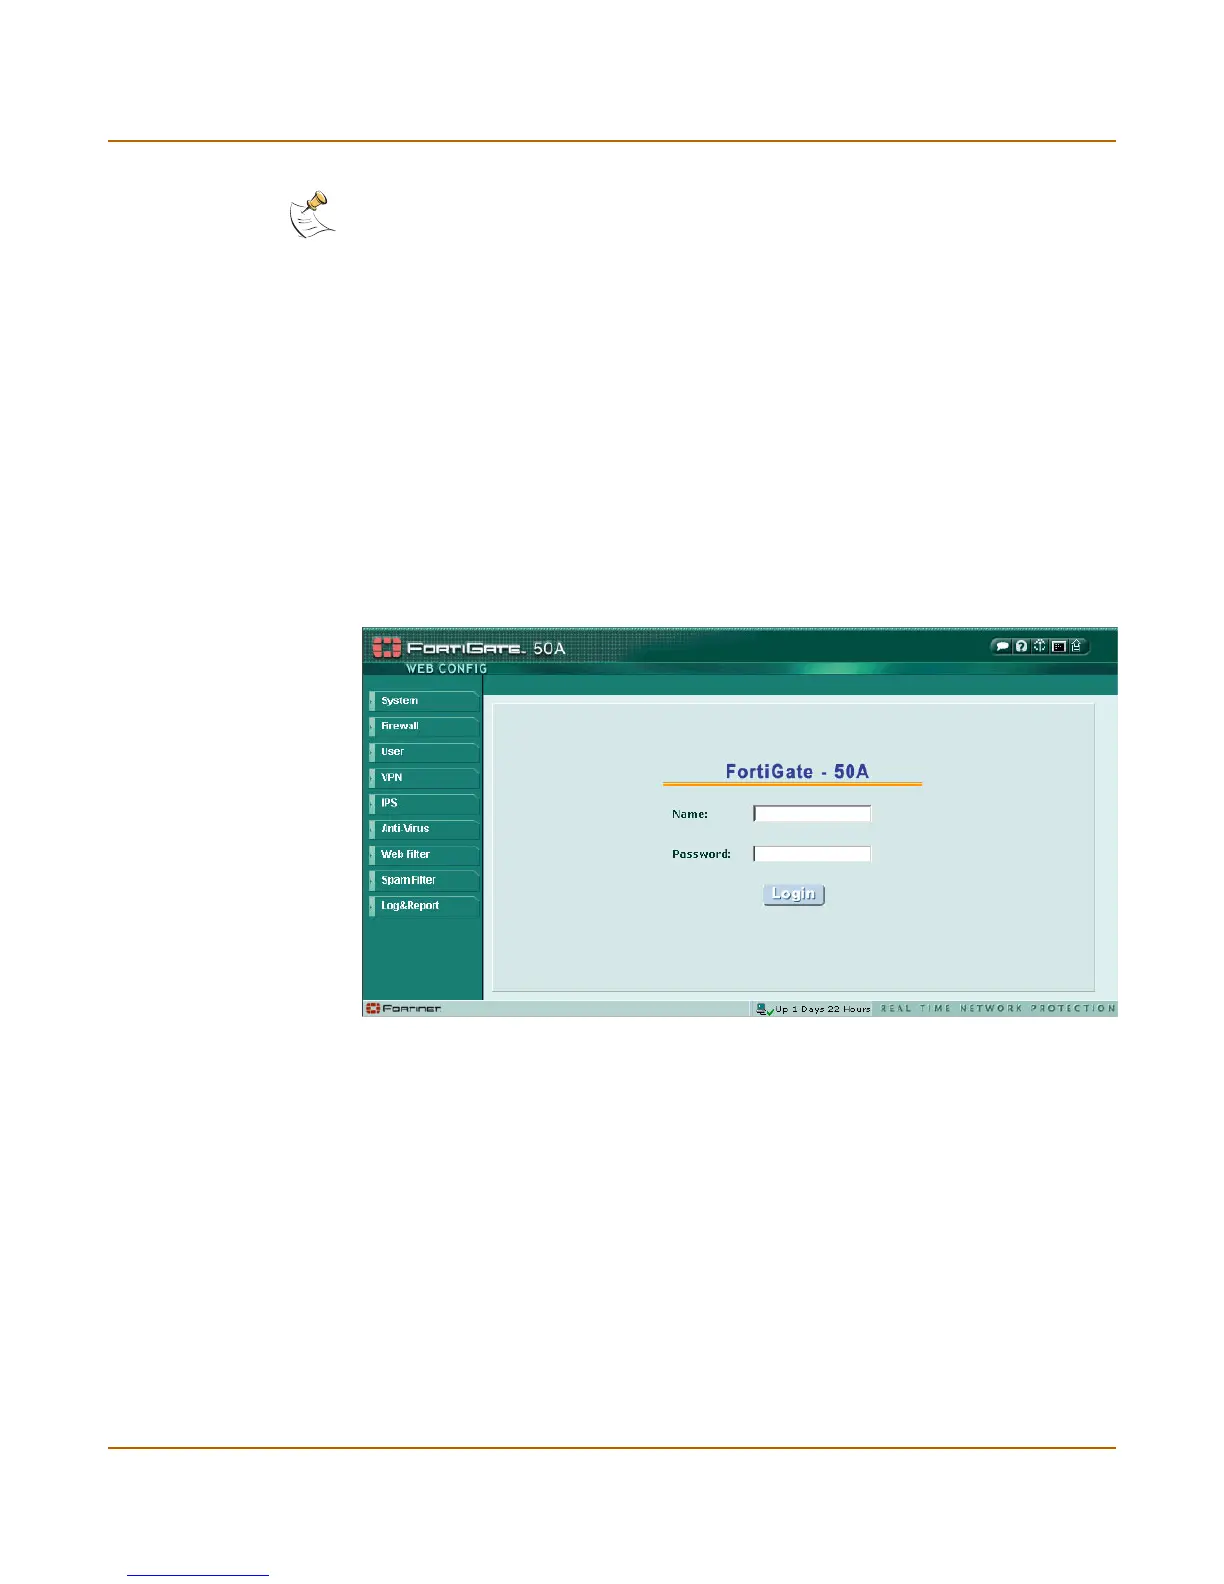
3 Start Internet Explorer and browse to the address https://192.168.1.99. (remember to
include the “s” in https://).
The FortiGate login is displayed.
Figure 3: Example FortiGate login
4 Type admin in the Name field and select Login.
The Register Now window is displayed. It is important to register the Fortigate unit so
that Fortinet can contact the unit for firmware updates. You must register to receive
updates to the FortiGate antivirus and attack definitions.
Connecting to the command line interface (CLI)
As an alternative to the web-based manager, you can install and configure the
FortiGate unit using the CLI. Configuration changes made with the CLI are effective
immediately without resetting the firewall or interrupting service.
Note: You can use the web-based manager with recent versions of most popular web
browsers. The web-based manager is fully supported for Internet Explorer version 4.0 or higher.
 Loading...