3
GB
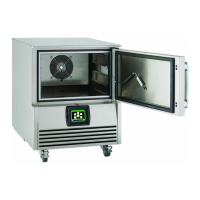
Stopping Cycles or Silencing Audiable Alarms
To stop a cycle press and hold the ‘Stop’ button shown on screen until
the three progression boxes ll with red. On releasing the button the
cycle will have stopped and the screen will revert to the home page.
Likewise stop an audible alarm, press the mute button and the alarm
will silence. As long as the alarm isn’t detrimental to the cycle the
process will continue but a red alarm bell will ash alongside the home
page icon until acknowledged. By pressing this alarm bell icon the
controller will navigate to the alarms history menu, showing when and
what alarm was silenced. This warning will show in the alarms history
if it requires no further attention or in the active list if the unit requires
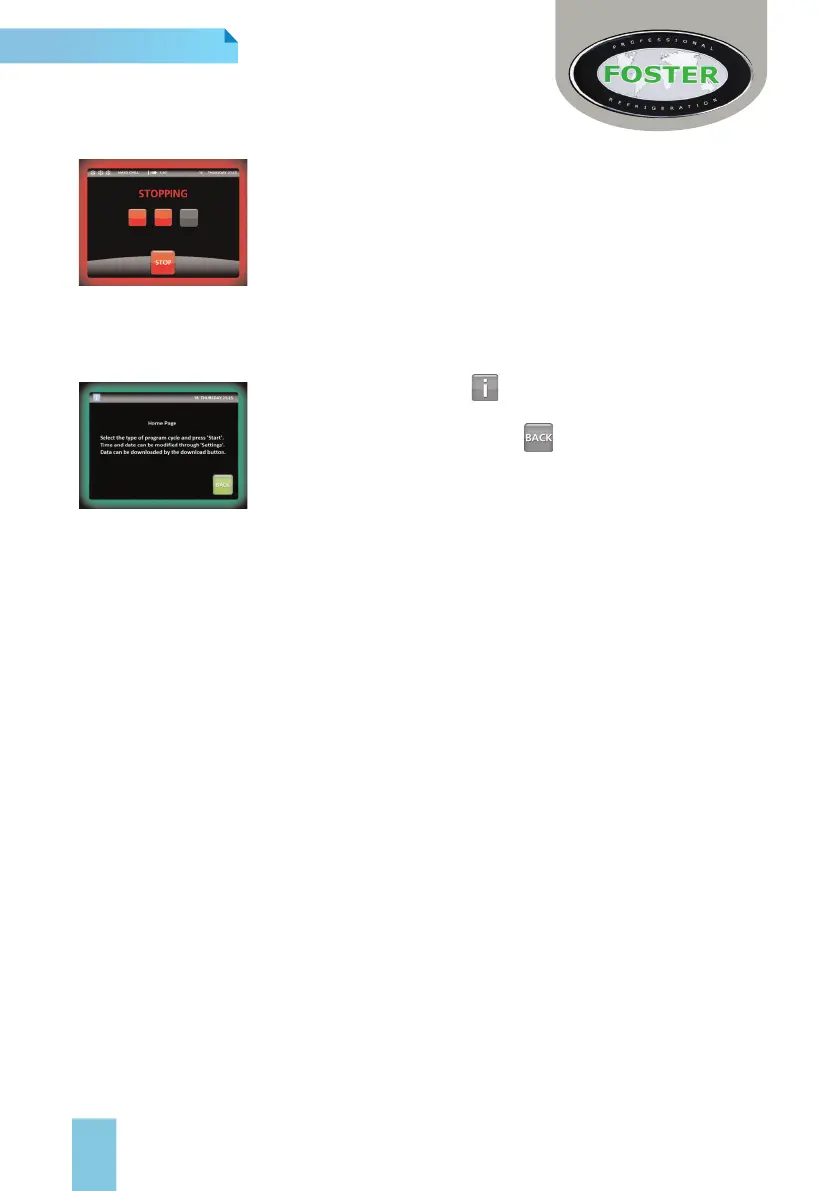
an engineer. Both these alarms will stay in the history until an engineer deletes them. Press the
Home icon to revert to the cycle screen.
Information Screens
On each screen you will see . When pressed this will be able to
give a brief description of what the function you are currently viewing
does.
To exit this information screen press or leave for 20 seconds.
Information screens while in a chill cycle differ slightly as they also
show the current relay statuses, probe states and temperatures and
also the digital input information.
Castor's/ Legs
All models are fitted as standard with swivel castor's. Ensure during installation the unit is level, if
not the door may not close correctly. Adjust castor's levels by inserting spacers under the
appropriate Castor and the base of the unit. As an alternative adjustable legs can be fitted on all
cabinet models.
Ramp - BCCFTRI1
Fit the ramp into the retaining slots.
Vapouriser Tray - BCCFTRI1
Fit electrically operated condensate vapouriser tray to the external rear wall of the BCCFTRI1
using the screws provided. Alternatively connect drain pipe direct to the main drain via use of a
‘bolt on’ tundish.
Shelves, Pans, Trolleys and Supports
Neither pans, trolleys nor shelves are supplied with any unit, but theses can be purchased
separately. Pan/Tray Supports are tted as standard to all cabinets.
Loading and Airow
Evenly distribute loads on shelves & pans making sure that no more than the total weight
capacity denoted by the model size is divided equally throughout the unit. Ensure the air can
circulate around/through the stored product.
Product entry temperature should be 70
0
C and not exceed more than 90
0
C
Basic Do’s & Don’ts of Blast Chilling
Different foods give up their heat at different rates and therefore there are certain factors that
need to be considered when determining chill or freeze time, and which programme should
be used. A 10kg meat joint will not have the same chilling requirements as 10kg of patisseries
product.
> Density, water content, and fat content all affect the time required to achieve
temperature.
> Delicacy of the foods’ structure and surface must be taken into account when selecting
the programme required.