b. Connect the PCS communication cable (I2) of the Master battery to the BMS communication port of
the inverter.
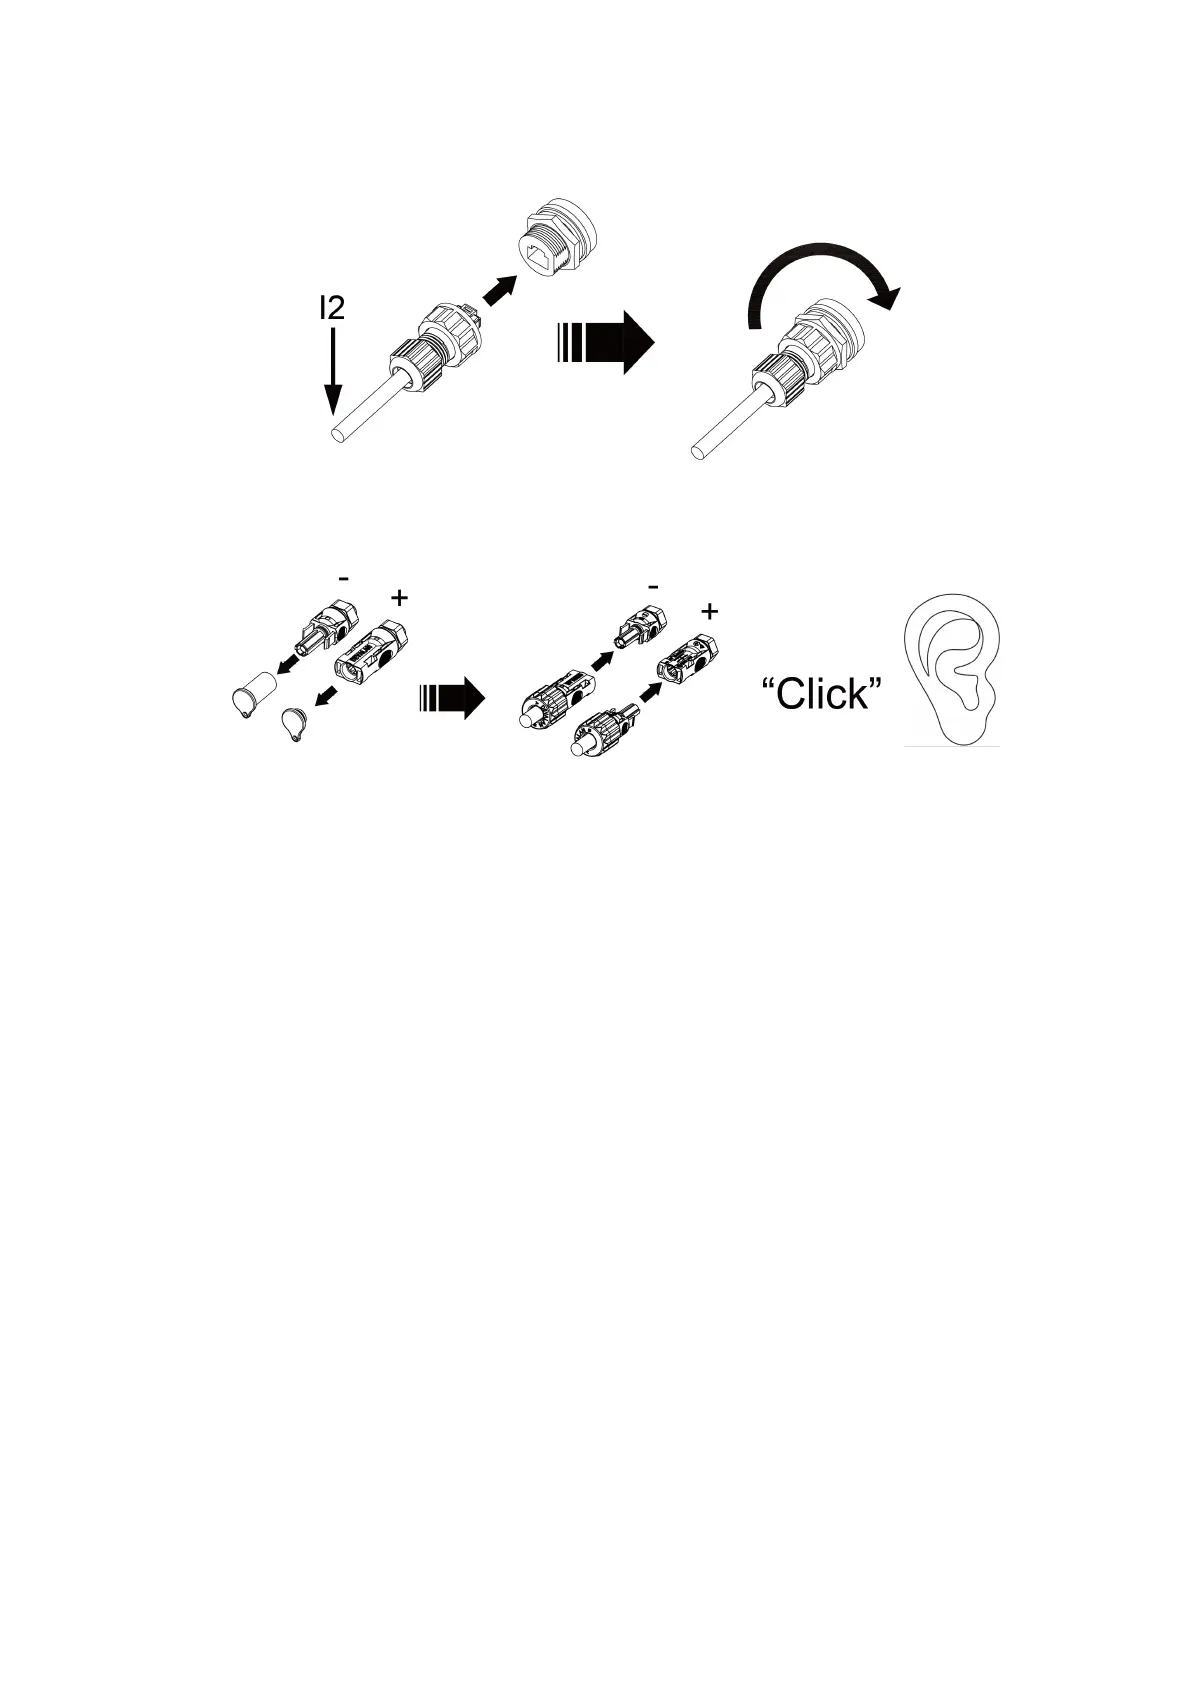
c. Connect the power cable (K2) of each battery to the junction box (need to purchase
separately).Connect the output power cable of the junction box to the battery port of the inverter.
6.5 System start up preparation
· When connected to the inverter, turn on the battery first to ensure that the battery voltage output is
normal, then turn on the inverter.
· All installation and operation must comply with local electrical standards.
· Check all power cables and communication cables carefully.
6.6 System start up
· Rotate the DC Switch of each battery to the “ON” position, then press and hold the Power Switch on
the Master battery for about 3 seconds, and then release the switch.
· Each battery LED will light up and flash, indicating that the battery is powered on.
6.7 System black start
In special cases, such as when the grid and solar panels are not in use, the battery can be activated
through the “Black Start” function. That means that our energy storage inverter and battery can continue
to operate. The startup steps for black start is as follows:
a. Press the Power Switch on the Master battery for 1-3 seconds (can not longer than 5 seconds), then
release the switch to activate the Black Start function.
b. When at least one battery's LED turns green and remains steady, and the LED of the other batteries
does not turn red, it indicates that the batteries have entered normal running state.
6.8 System stop
· If user needs to stop the battery, they can press and hold the Power Switch for more than 5s until all
LED flash and release it. When all LED turn off, it indicates that the system has stopped running.
Note: Do not stop the battery during charging and discharging.