IMPORTANT!
The appliance must be integrated in a potential equalization system. The corresponding clamp
is marked with a label. This connection must comply with regulations and must be tested for
effectiveness.
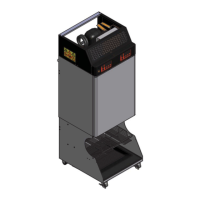
. CHANGING THE DOOR HINGE
The freezer should open on the side from which the fries are easier to fill.
The appliance is delivered with a right-hinged door by default. Depending on the situation, the
hinges may need to be changed. Instructions on changing the hinges can be found in the Service
Manual.
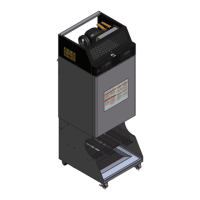
. ELECTRICAL CONNECTION
Locally applicable electrical installation and safety regulations must be observed.
The connection to the electrical supply grid must conform to the relevant standards.
Before establishing the power connection, check that the voltage and frequency given on the
rating plate match the values of the electrical supply grid.
- Move the appliance into position and lock the brakes of the two front castors.
- F3D3P/F3D3SP: Insert the connector into a 230V (50Hz) power socket. The power cable
provided is 3m long.
- F3D3/F3D3S: Insert the connector into a 230V (50 & 60Hz) or 120 V (60 Hz) power socket.
The power cable provided is 3m long.
. FINAL STEPS
Pulling off the protective films
- Carefully pull the protective film off the stainless steel surfaces.
- Remove any glue residues with a suitable solvent.