FRANKIA OPERATING MANUAL106 FRANKIA OPERATING MANUAL 107
Engine performance unsatisfactory:
• Carry out the same check as for straight line driving
• Check the fuel filter for soiling
• A fully loaded motorhome cannot be compared with a car in all its handling. Inclines and strong head-
winds reduce driving performance.
• If the engine control lamp lights up, visit the nearest workshop immediately.
Headlights defective:
• If a light does not come on, please check before changing a light bulb that its contacts are not oxidi-
sed and that the fuse in question is intact
• Blown bulbs must be replaced with new ones of the same type and output.
• Only touch halogen lamps by the base or with protection on the glass bulb. Touching the glass bulb with
your fingers. Can lead to reduced brightness, damage to the reflector and the rupture of the glass bulb.
Exterior lighting Light bulbs Wattage
Front Low beam headlight H7 12V 55 W
High beam headlight with indica-
tors and position lights (for A.T)
H7 12V (Optional LED)
T4W 12V
55 W
4 W
Indicator lights PY21W 12V 21 W
Fog lights H7 12V (A,T) ; H3 12V (I) 55 W
Position lights Coachbuilt LED – FRANKIA Item no.: 0605830
Position lights A-class LED – FRANKIA Item no.: 0605760
Rear Indicator-rear-brake light LED – FRANKIA Item no.: 0608360
Reversing light LED – FRANKIA Item no.: 0608370
Rear fog light LED – FRANKIA Item no.: 0608380
Third brake light LED – FRANKIA Item no.: 0608390
Outline rear light LED – FRANKIA Item no.: 0608400
Page Sidemarker lights
horizontal
vertical
LED – FRANKIA Item no.: 0608100
LED – FRANKIA Item no.: 0608110
Headlights defective (Coachbuilt motorhomes): High beam and low beam
• Turn the end cap at the rear end of the headlights anti-clockwise and pull off, disconnect the cable,
open the release bracket.
• Pull out bulb
• Insert new bulb
• Installation is done in the reverse order.
• For optional LED headlights, please contact an authorised FRANKIA dealer
Side light:
• Turn the end cap at the rear end of the headlights anti-clockwise and pull off
• Pull out bulb
• Insert new bulb
• Installation is done in the reverse order.
Travel direction indicator:
• Disconnect electrical connector
• Turn the socket together with the bulb to the left and pull it out
• Turn the bulb to the left and pull it out of the socket
• Insert new bulb
• Dismantling takes place in reverse order
Daytime driving lights / position lights (for Coachbuilt):
• maintenance free lights
• if they do no function, check the 5A fuse in the additional chassis distribution (for EBL)
Fog lights (for Coachbuilt):
• Pull off the rubber cap at the rear end of the headlights
• Disconnect electrical connector, release the lock
• Remove the bulb from the socket
• Insert new bulb
• If the fog light still does not function, check the 10A fuse in the additional chassis distribution (for EBL)
Sidemarker lights, rear lights, position lights:
The sidemarker lights, the entire rear lighting and the position lights on all models are equipped with LEDs as illumi-
nants. These have an extremely long lifespan. Should a defect nevertheless occur, the entire light must be replaced.
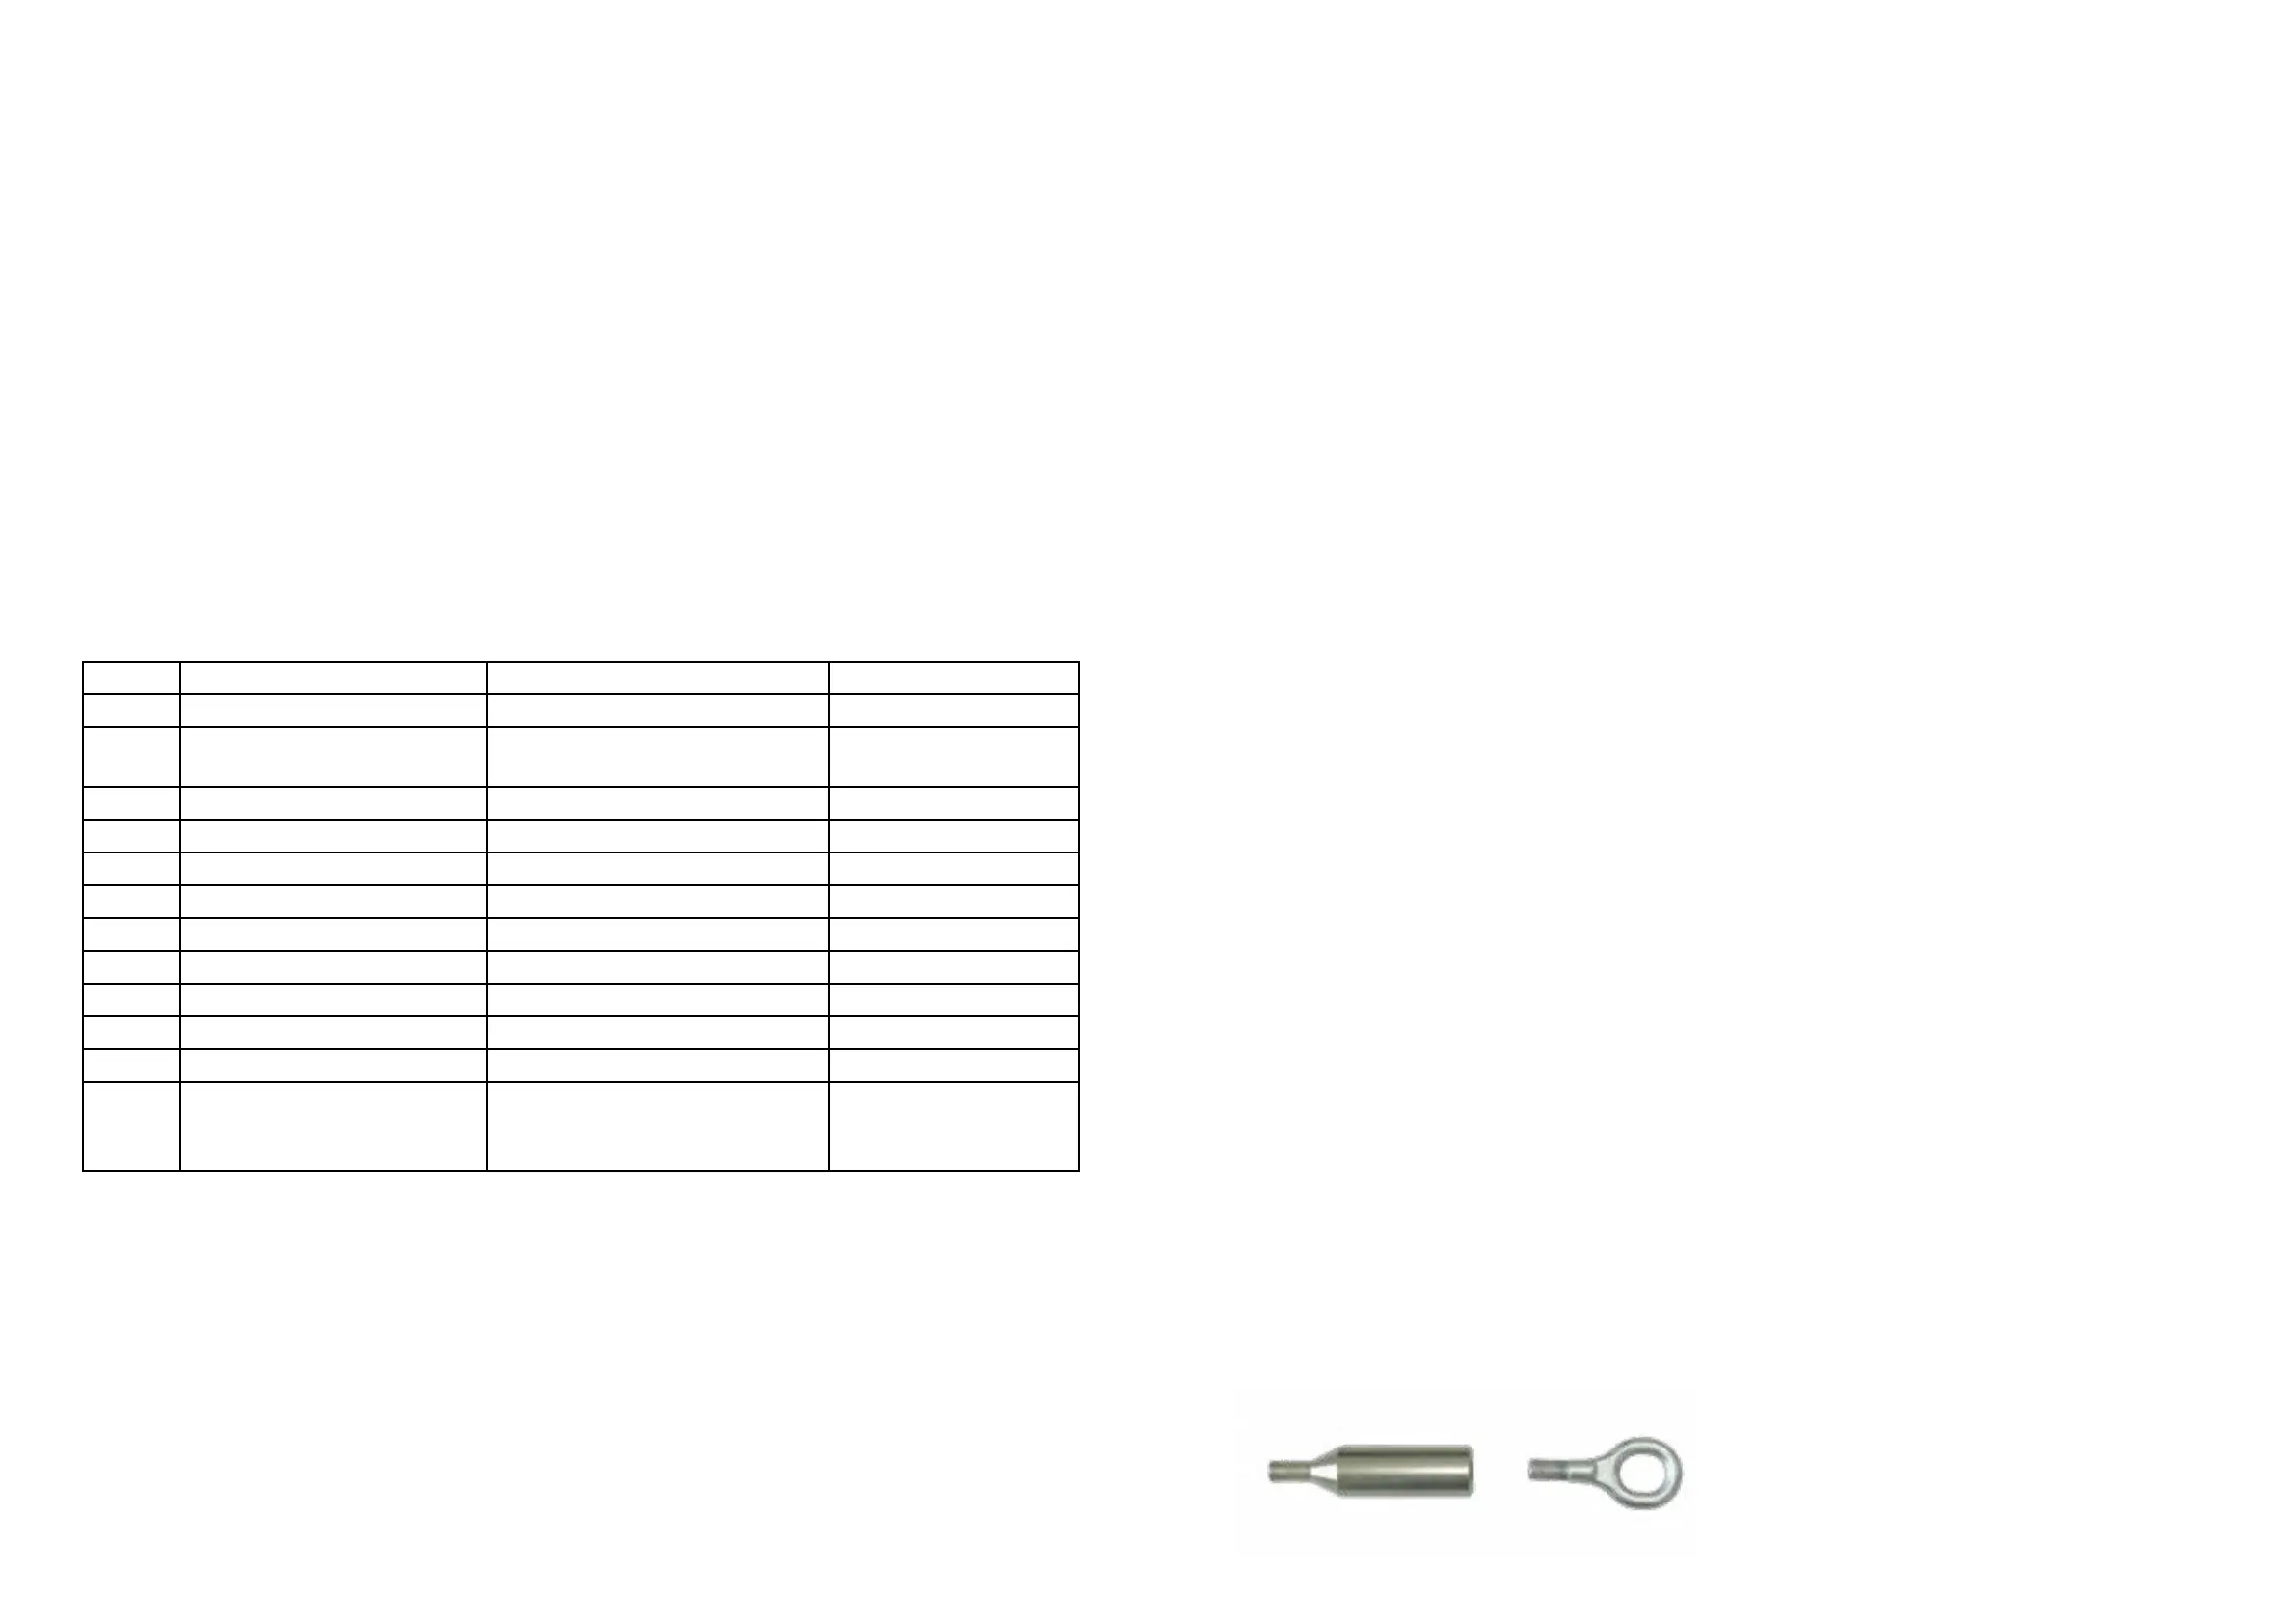
Towing Mercedes-Benz models:
If your motorhome has to be towed, you must use the atta-
ched extension piece for Coachbuilt models based on Mer-
cedes-Benz. Screw the original towing eye (it is located in
the tool kit bag)into the extension until it stops.