move the top plate and inspect the bracket lin-
ers. Replace liners that are broken or less than
0.125 inch (3 mm) thick at the top of the liners.
For the liner replacement procedure, see the
Fontaine website,
www.fifthwheel.com.
6. Check the jaw and stationary jaw for mushroom-
ing, and check that the serrations at the jaw and
wedge are in good condition.
7. Test the secondary safety lock latch for ease of
operation.
8. Check for loose nuts or bolts on the fifth wheel
and the mounting. Set a torque wrench to the
maximum torque value for the bolt being
checked, and confirm that the torque is to speci-
fication. Do not loosen the bolt to check the
torque. See
Group 00 for bolt torque specifica-
tions.
9. Check all springs to see if they are securely fas-
tened, and are not deformed.
WARNING
Do not disassemble the fifth wheel to inspect the
springs. The springs are under extreme pressure,
and could cause serious injury.
10. Check the wedge adjustment.
10.1 Close the fifth wheel on a standard 2-inch
(50-mm) kingpin or similar 2-inch (50-mm)
diameter shaft so that it locks.
10.2 Push on the wedge stop rod with hand
pressure. It should move in 1/4 inch (6
mm) and spring back out on release.
If the free travel is not 1/4 inch (6 mm),
adjust the distance to 1/4 inch (6 mm) by
turning the wedge stop rod, on the right
side of the top plate, clockwise to reduce
the gap and counter-clockwise to in-
crease it.
11. Replace cracked, worn, or damaged parts with
new parts. Replace all loose mounting bolts with
5/8–11 SAE grade 8 bolts, grade C locknuts, and
hardened washers. Do not re-use bolts, nuts,
and washers on fifth wheel mountings.
12. After inspecting the fifth wheel, lubricate all mov-
ing parts with a chassis or multipurpose grease.
Apply a generous coating of grease to the top
plate to fill the grooves, or depressions, on the
top plate. See
MOP 31–03 for lubrication instruc-
tions.
Jost
1. Disconnect the tractor from the trailer. For in-
structions, see the 108SD and 114SD Driver’s
Manual.
2. Thoroughly steam clean the fifth wheel.
3. Check the mounting for missing or damaged fas-
teners, and broken components. Replace or re-
pair as needed.
4. Inspect the bracket pin bolts. Make sure the lock-
ing tabs are properly securing the bolts in place.
See
Fig. 5.
5. Check the fifth wheel for bent, worn, or broken
parts. Replace as needed.
6. If the fifth wheel is equipped with low-lube plates,
check the plates and replace if damaged or worn
down to the securing bolts. It is normal for out-
side edges of the plate to pucker slightly; this
does not affect performance.
7. Check the fifth wheel adjustment. Using a lock
tester, lock and unlock the fifth wheel several
times. Make sure that the locking mechanism
works properly.
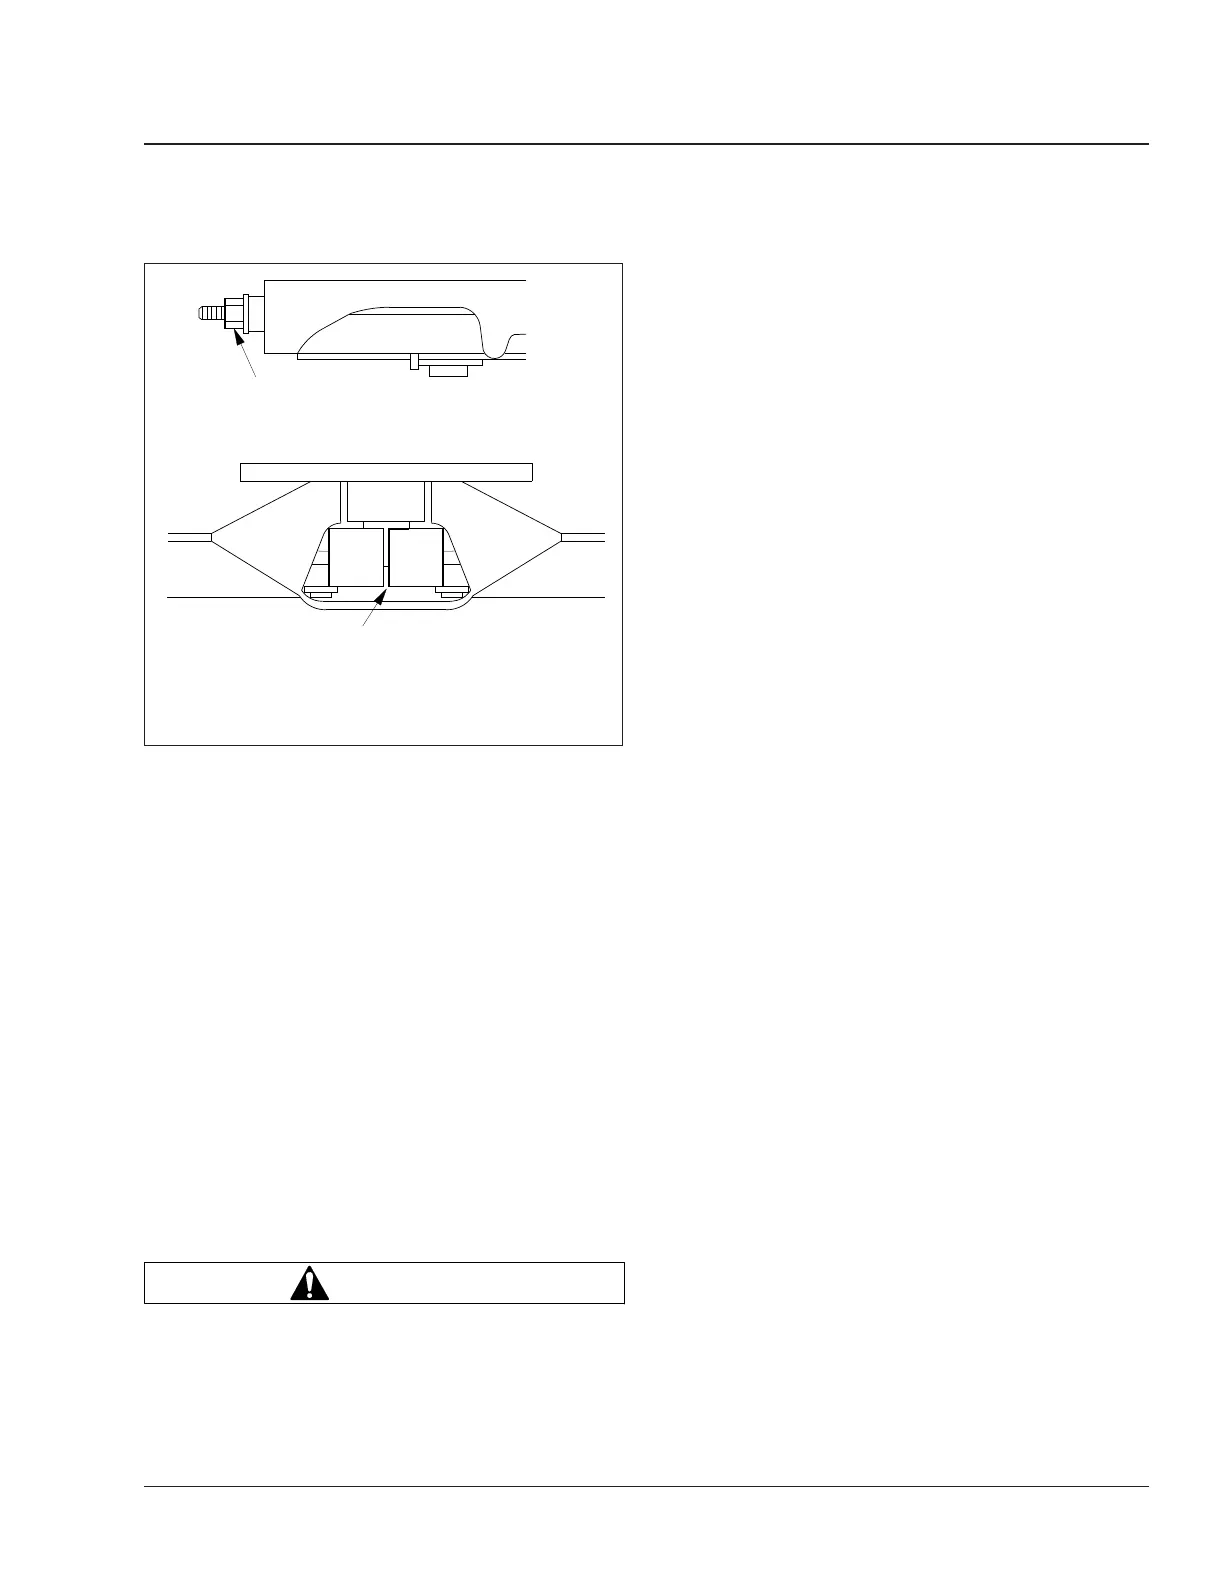
04/11/2011
f310887
A
B
A. The nut and washer should be snug against the fifth
wheel.
B. The locks should be completely closed around the
kingpin.
Fig. 3, Holland Fifth Wheel Properly Closed
Frame and Frame Components 31
108SD and 114SD Maintenance Manual, May 2018 31/3