Do you have a question about the Frigidaire FAZ12ES2A and is the answer not in the manual?
Lists essential tools for installation, including screwdrivers, tape measure, and drill bit.
Details additional tools required for through-the-wall installation, such as saws and wood screws.
Lists components included in the package, such as seals, brackets, curtains, and screws.
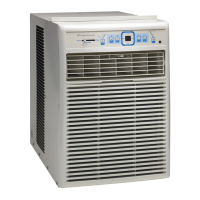
Specifies the required width (27-36 inches) and minimum height (17 inches) for window openings.
Details the necessary width, height, and depth for through-the-wall openings, including frame considerations.
Warns of injury risk when moving or installing the unit, advising two or more people.
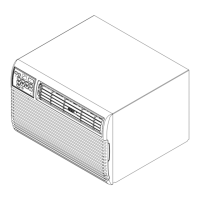
Guides on safely removing and cleaning the unit from packaging, avoiding damage to surfaces.
Instructions for attaching the top channel to the air conditioner cabinet before window placement.
Steps for attaching the side curtain connector tabs into the air conditioner's housing channels.
Guides on applying the foam adhesive seal along the bottom of the curtain bottom channel.
Steps for centering the cabinet, securing it against the windowsill, and measuring for side adjustments.
Procedure for drilling starter holes and attaching the cabinet to the windowsill using screws.
Ensures the cabinet is tilted outward to allow water to drain properly.
Guides on fitting the left curtain into the channel, drilling, and securing it with screws.
Instructions for repeating the curtain attachment process for the right-hand side.
Details on inserting the seal, placing the bracket, drilling, and securing it to lock the window.
Key reminders about handling, cord placement, louvers, and technician qualifications.
Describes alignment of the wood frame with the inside wall when using molding.
Specifies recessing the wood frame into the wall for flush plaster installation.
Steps for constructing, measuring, and cutting the wall opening for the wood frame.
Guides on inserting the cabinet into the framed opening and ensuring correct extension into the room.
Instructions for leveling the cabinet, checking tilt, sealing with insulation, and caulking openings.
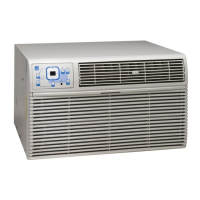
Steps for attaching the front panel and plugging into a grounded outlet.
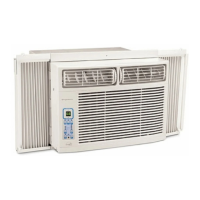
| Type | Window Air Conditioner |
|---|---|
| Cooling Capacity | 12, 000 BTU |
| Voltage | 115V |
| Weight | 75 lbs |
| Power Supply | 115V/60Hz |
| Amps | 10.8 A |
| Noise Level | 54 dB |
| Features | Remote Control, Energy Saver Mode, Sleep Mode |
| Operating Range | 90°F |
| Amperage | 10.8 A |