Do you have a question about the Frigidaire FFRH1822R2 and is the answer not in the manual?
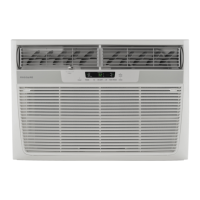
This document is a comprehensive Use & Care Manual for a Frigidaire Room Air Conditioner, providing detailed instructions for its operation, maintenance, and troubleshooting. It emphasizes safety precautions, proper installation, and efficient use to maximize the appliance's lifespan and performance.
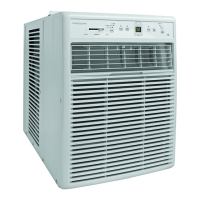
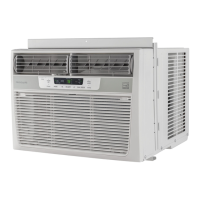
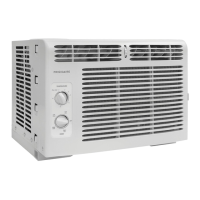
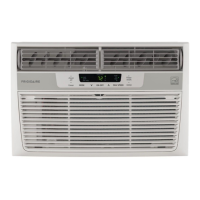
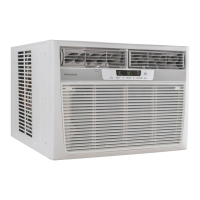
The primary function of this device is to provide cooling and, in some models, heating for a room, along with air circulation and filtration. It is designed for household use and offers various modes to suit different comfort needs and energy-saving preferences.
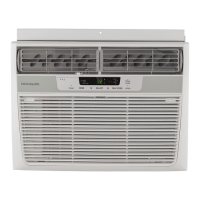
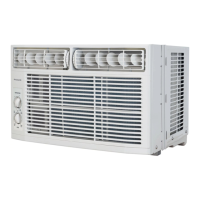
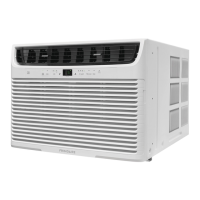
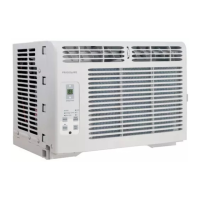
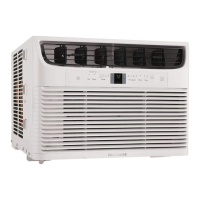
The air conditioner features an electronic control panel and a remote control for convenient operation. Users can familiarize themselves with the control panel and remote functions before use.
To turn the unit on, simply press the ON/OFF button. The unit will typically start in energy saver (econ) mode when used for the first time. In this mode, the fan runs for 1 minute after the compressor shuts off, then cycles on for 20 seconds at 10-minute intervals until the room temperature rises above the set temperature, at which point the compressor restarts. To turn the unit off, press the ON/OFF button again. If the unit is turned off in heat or fan-only mode, it will return to the same settings when turned on again. In cool or energy saver mode, it will return to energy saver mode, but temperature and fan speed settings will be retained.
The desired temperature can be adjusted using the UP (Λ) or DOWN (V) buttons on either the control panel or the remote. The temperature can be set between 60°F (16°C) and 90°F (32°C) in cool mode, and between 55°F (13°C) and 80°F (27°C) in heat mode (up to 86°F (30°C) on some 115V models). The display will show the set temperature in cooling mode, but in fan-only mode, it will show the actual room temperature.
Fan speeds can be adjusted by pressing the FAN SPEED button. Options typically include auto, high (hi), medium (med), and low (lo). In auto fan mode, the fan starts at high speed and adjusts to slower speeds based on room temperature. If the room is not too warm, it stays at the slowest speed. If the temperature rises quickly, the fan automatically switches to the highest speed and readjusts as the room cools. Users can manually override auto fan by pressing the fan speed buttons.
This feature allows users to program the unit to turn on or off after a set period. For Delay Stop, the unit must be on; for Delay Start, it must be off. To set the timer, press the TIMER button, then use the UP (Λ) or DOWN (V) arrows to adjust the delay time in 0.5-hour increments up to 10 hours, and then in 1-hour increments up to 24 hours. The control counts down the remaining time. Delay Start automatically selects cooling with maximum fan speed (if cool, energy saver, or fan only was the last mode selected), and the temperature remains as previously set. The Delay Start/Stop function can be canceled by pressing the ON/OFF button.
When "ON," the electronic air purifier is energized to remove pollen and impurities from the air. To cancel, press the Clean Air button (the light will turn off). This feature can only be activated on the unit touch pad.
This feature allows the remote control to measure the temperature at its location and send this information to the unit, ensuring the unit maintains the desired temperature where the user is. To activate, point the remote control towards the unit and press the remote sensing Start button. Use the UP (Λ) or DOWN (V) buttons on the remote to set the desired temperature. The unit's control panel light will pulse to indicate it received the signal. The remote control light will also pulse with each signal sent. If the unit does not receive a signal for 3 minutes, it will beep, and the remote sensing mode will end. The remote display shows the actual temperature at the remote's location. This feature is terminated by pressing the remote sensing Stop button or the main ON/OFF button on the unit.
The Fresh Air Vent allows control over air circulation:
These louvers control the direction of airflow. Auger-type louvers allow directing airflow Up/Down and Left/Right by rotating the Auger Wheels and pivoting horizontal louvers.
The power supply cord includes a current detection device to reduce fire risk. To test it, plug in the unit, press the TEST button (the RESET button will pop out), then press the RESET button again (it will engage). The power cord is then supplying electricity. This device should not be used to turn the unit on or off, and the RESET button must always be pushed in for correct operation. If the cord is damaged or fails to reset, it must be replaced by the manufacturer. The unit must be properly grounded using a three-prong grounding plug in a grounded wall receptacle. Extension cords or adapter plugs should not be used.
The air filter should be checked at least once a month. A dirty filter can accumulate frost on the cooling coils and reduce efficiency. To clean, push the vent handle to the Vent Closed position, open the front panel, grasp the filter by the center, and pull it out. Wash the filter with liquid dishwashing detergent and warm water, rinse thoroughly, and gently shake off excess water. Ensure the filter is thoroughly dry before replacing. Alternatively, the filter can be vacuumed clean. When replacing, ensure the tabs on the air filter are on the upper part and placed outward.
This feature reminds users to clean the air filter for efficient operation. An LED light illuminates after 250 hours of operation. To reset the light after cleaning, press the "Filter Reset" button.
Unplug the air conditioner before cleaning to prevent shock or fire hazards. The cabinet and front can be dusted with an oil-free cloth or washed with a cloth dampened in a solution of warm water and mild liquid dishwashing detergent. Rinse thoroughly and wipe dry. Avoid harsh cleaners, wax, or polish on the cabinet front. Ensure excess water is wrung from the cloth before wiping around controls to prevent damage to the air conditioner.
If storing the air conditioner during winter, remove it from the window according to installation instructions. Cover it with plastic or return it to its original carton.
The manual describes several normal operating sounds:
The manual provides a comprehensive troubleshooting guide for common issues such as the unit not operating, air not feeling cold enough, ice forming on coils, room being too warm, rapid cycling, noise, water dripping, and remote sensing deactivating prematurely. Solutions include checking power connections, resetting the current device, cleaning the filter, adjusting temperature settings, positioning louvers, and ensuring proper installation.
To save energy, users are advised to:
This manual ensures users can effectively operate, maintain, and troubleshoot their Frigidaire Room Air Conditioner, promoting safety and optimal performance.
| Cooling Capacity | 18, 000 BTU |
|---|---|
| Air Conditioner Type | Window |
| Voltage | 115 V |
| Weight | 112 lbs |
| Remote Control | Yes |
| Filter Type | Washable |
| Operating Voltage | 115 V |
| Power Cord Length | 6 ft |
| Noise Level | 56 dB |
| Refrigerant | R-410A |
| Installation Type | Window |
| Number of Cooling Speeds | 3 |
| Number of Fan Speeds | 3 |
| Programmable Timer | Yes |
| Room Size Coverage | Up to 1000 sq. ft. |