2
Establishing
connection to
battery/discon-
necting
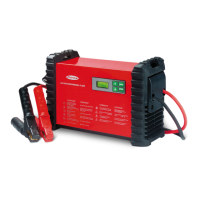
Establish a connection as follows:
1. Unplug the charger from the mains
2. Plug charger lead into charger socket
3. Connect (+) charging terminal to positive pole (red) on battery
4. Connect (-) charging terminal to negative pole (black) on the battery, or to vehicle body
(e.g. engine block) in the case of vehicle power supplies.
NOTE! When disconnecting, it is imperative to follow the above instructions in
the reverse order in order to avoid short circuits and arcs.
If using an on-board plug or a system plug to connect the charger lead, steps 3 and 4 do
not apply. Instead, connect charger cable to a suitable on-board socket or system
socket.
WARNING! Risk of explosion from short circuits and arcs. Before connecting
to/disconnecting from battery, disconnect charger from mains supply. During
operation, check that charging terminals and battery poles are properly con-
nected.
Open circuit voltage + + + o o
Startability* + o - o -
Alternator* + + + o o
Charging + + + - -
On-board socket
(+) switched off
when motor is
started.*
On-board socket
switched on by
ignition.*
On-board socket
switched on by
ignition.
Switched off
when motor is
started.*
Direct to
battery
On-board socket
(+)*
+ recommended o possible - not possible
Testing and
charging
Important! The best results are obtained by connecting the charger directly to the
battery.
The on-board socket can be supplied in different ways, depending on the vehicle manuf-
acturer. Before testing or charging, refer to vehicle manufacturer’s instructions.
(* only for chargers
used in vehicle
applications)
 Loading...
