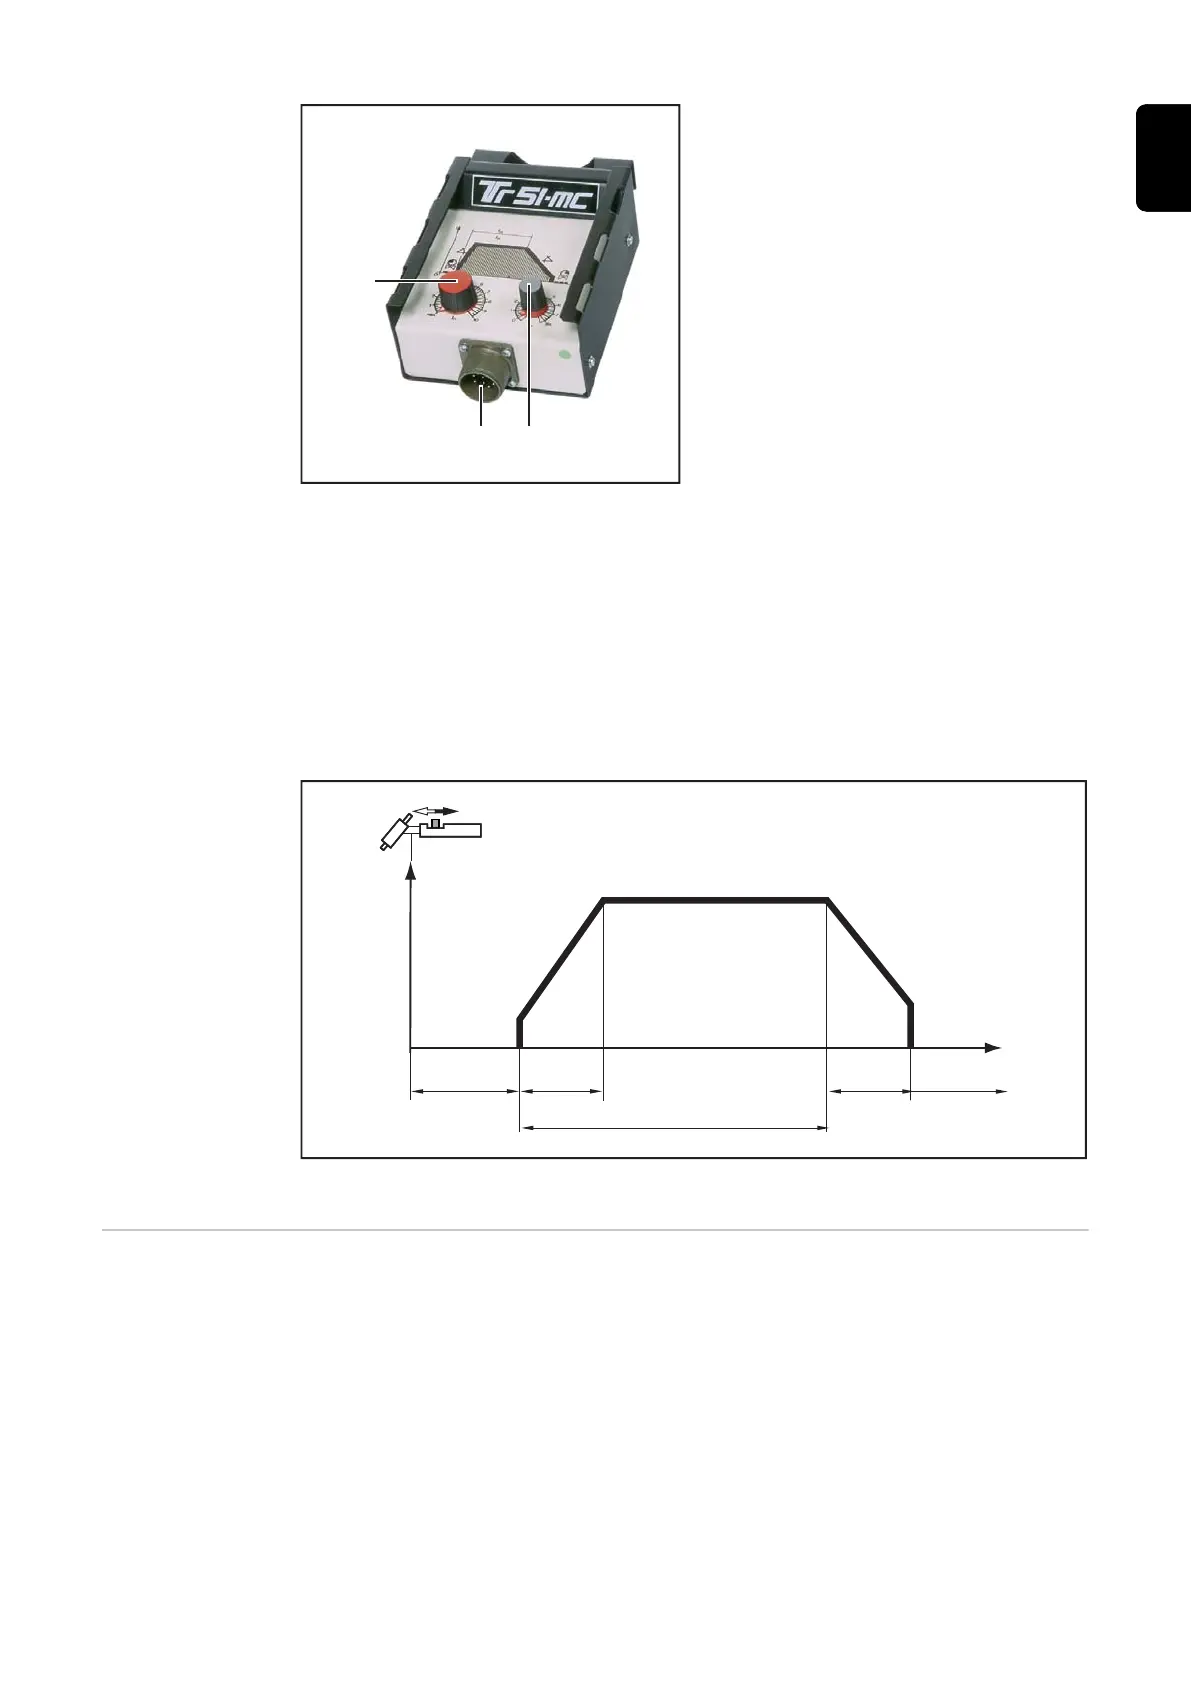
TIG spot welding remote control TR 51mc
(1) Controller for spot welding current
I
1
(2) Remote control connection socket
(3) Spot welding time controller SPt
(0.1 - 8 s)
Functional sequence:
- 2-step mode indicator lights up as soon as the remote control is connected (auto-
matic switching)
- Set current lowering time on the power source
- Use special spot welding nozzle (sits insulated on the cone)
- Mount tungsten electrode set back from nozzle edge (approx. 2-3 mm (0.10 in.)
depending on spot size)
- Place welding torch on the sheet and apply slight pressure to the parent material
- Initiate spot welding process (avoid air gap)
Spot welding
Remote control
TP MC / TP MC-
CEL
The TP MC / TP MC-Cel remote control is particularly suitable for MMA and TIG DC
welding.
53
EN-US
 Loading...