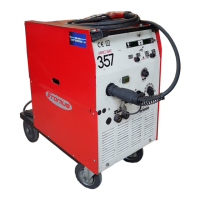
9
ENGLISH
OPERATING MODES
2-STEP MODE
2-step operation is often used for tacking-jobs, short weld-seams and in
automatic welding.
INTERMITTENT 2- / 4-STEP MODE
This operating mode is used in the light-gauge sheet field; for bridging
over air gaps.
As the welding wire is not fed continuously during the welding process,
but at adjustable intervals, the welding pool has the chance to cool down
in the intermittent pause times. This generally makes it possible to avoid
any local overheating which might cause the base metal to "burn through".
The intermittent pause times can be altered with the dials “Intermittent
welding time t1”
and “Intermittent pause time t2” .
4-STEP MODE
4-step mode is particularly suitable for longer weld seams.
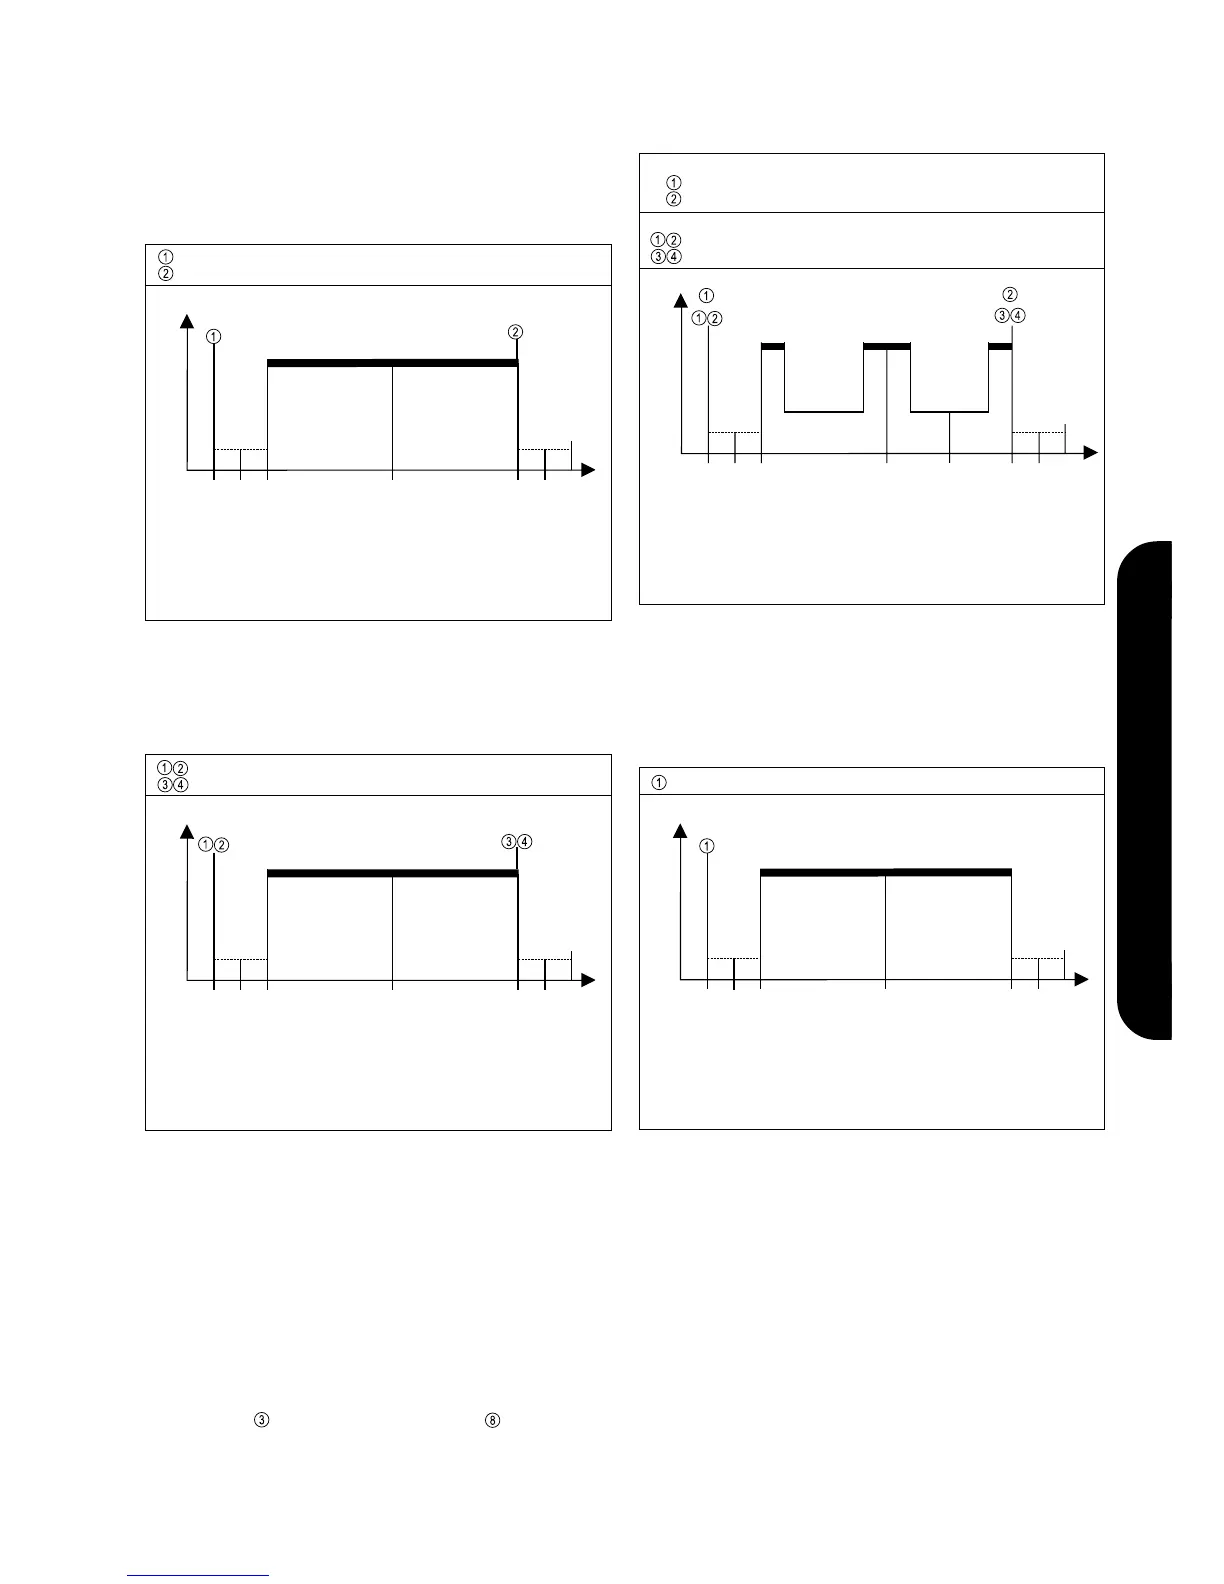
Fig.9 Functional sequence in 4-step mode
t
I
Start of cycle
Gas pre-flow time
End of welding,
incl. burn-back time
Gas post-flow time
Arc ignition
= start of welding
Welding
Press and release the torch trigger
Press and release the torch trigger again
t
I
Start of cycle
Gas pre-flow time
End of welding, incl. burn-
back time
Gas post-flow time
Arc ignition
= start of welding
Intermittent
welding time
Intermittent 4-step mode
Press and release the torch trigger
Press and release the torch trigger again
Intermittent
pause time
Intermittent 2-step mode
Press and hold the torch trigger
Release the torch trigger
Fig.10 Functional sequence in intermittent 2- / 4-step mode
Fig.8 Functional sequence in 2-step mode
t
I
Start of cycle
Gas pre-flow time
End of welding,
incl. burn-back time
Gas post-flow time
Arc ignition
= start of welding
Welding
Press and hold the torch trigger
Release the torch trigger
WIRE-INCHING
In the wire-inching mode, the welding wire is fed into the torch hosepack
at the pre-set wirefeed speed, without any flow of shielding gas or current.
To stop the wire-inch:
- release the torch trigger or
- shift the mode selector switch into another position
N.B! If the operating-mode selector switch is left in the wire-inching mode
for longer than 2 min., the welding machine switches off automatically.
SPOT WELDING
Spot welding is used for welding joints on overlapped sheets that are only
accessible from one side.
Fig.11 Functional sequence in spot-welding mode
t
I
Start of cycle
Gas pre-flow time
End of spot welding,
with burn-back time
Gas post-flow time
Arc ignition = beginning
of spot-welding
Spot-welding, with
time limitation
Press and release the torch trigger