12
Mount the interconnecting cable to the wirefeeder
- Shift the mains switch to the “O” position
- Remove the right housing-panel from the wirefeeder
- Pass the interconnecting cable through the lead-through in the housing
- Plug in the (16-pole) control plug of the interconnecting cable, the right
way round
- Screw the cable lug on the end of the ‘plus’ lead onto the bolt, using
the screw and washer provided
- Fronius type:
Connect the water forward-flow and return-flow hoses to the hoses of
the torch central connector, red-to-red and black-to-black
- Fronius F++ / Dinse / Euroconnector type:
- Remove the blind plastic covers from the lead-throughs
- Remove the plastic nuts from the couplings of the forward and return-
flow hoses
- Insert the couplings of the forward and return-flow hoses through the
housing lead-through
- Tighten the couplings of the forward and return-flow hoses with the
plastic nuts
- Screw the hex-nut of the gas hose onto the gas connector on the
wirefeeder and tighten
- Fit the housing panel back onto the wirefeeder
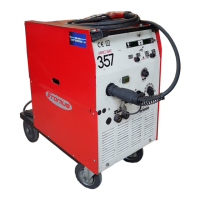
Fig.18 Mounting the interconnecting cable to the VR 57 / Fronius type
Fig.17 Mounting the interconnecting cable
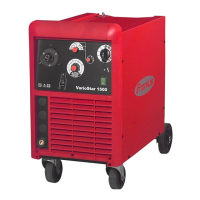
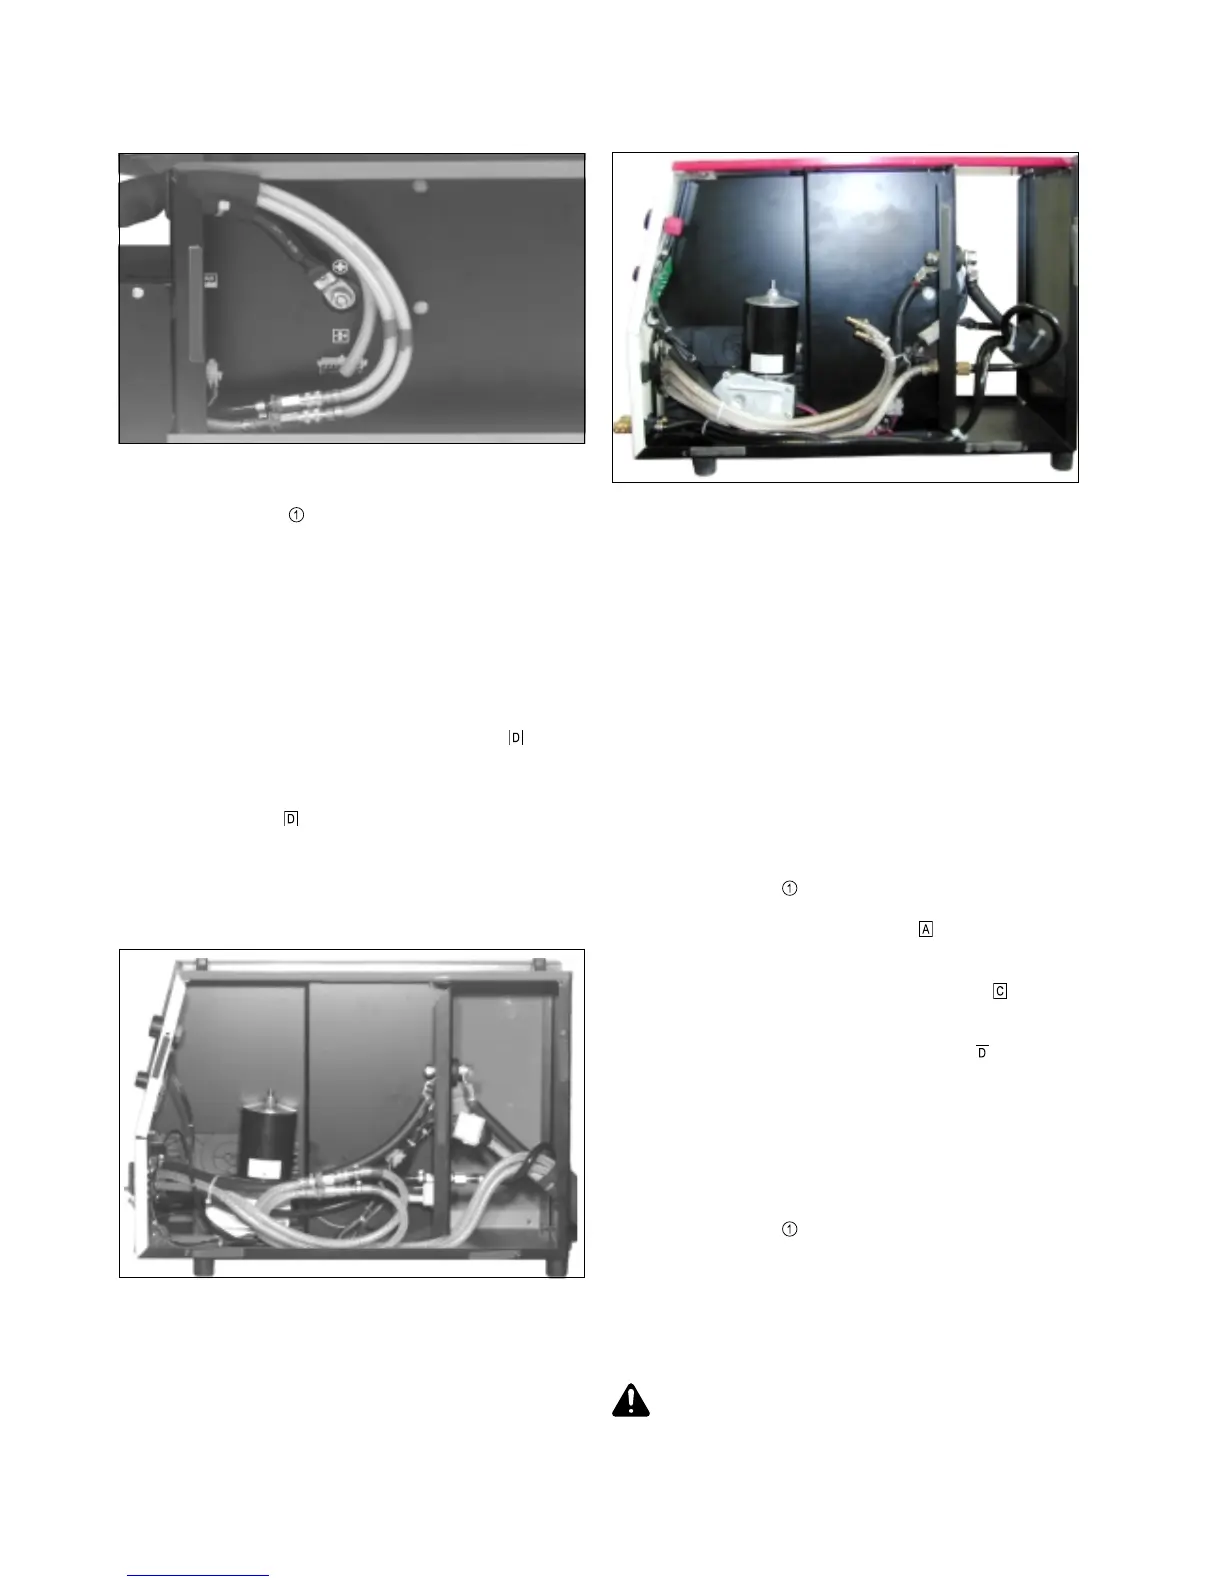
Fig.18b Mounting the interconnecting cable to the VR 57 / Fronius F++, EC od. Dinse
MOUNTING / CONNECTING THE GAS CYLINDER
- Stand the cylinder on the bracket next to the cooling unit
- Fix the gas cylinder in place with the safety chain
N.B.! The cylinder is only fixed properly if the chain is placed around the
top part of the cylinder (but not around the neck of the cylinder)
- Take off the protective cap from the cylinder
- Give the cylinder valve a quick turn to the left so as to blow off any dirt
that may have accumulated
- Check the seal on the pressure regulator
- Attach the pressure regulator to the gas cylinder and tighten it
- Connect the gas hose from the machine to the pressure regulator
MOUNTING THE WELDING TORCH
- Shift the mains switch to the “O” position
- Check that the torch is correctly tooled up. Insert it - infeed tube first
- into the central torch connection socket
on the power source
(wirefeeder)
- Fix by tightening the swivel nut by hand
- Plug the torch control plug into the torch control socket
, and latch
it
- Connect up the welding torch hoses for water forward and return flow,
as per the colour markings, to plug-type connectors
on the power
source / wirefeeder (only on Dinse / Euroconnector versions)
STARTING UP THE COOLING UNIT
N.B.! Check the volume and quality of coolant water before starting to use
the unit.
- Shift the mains switch to the “O” position
- Remove the screw cap from the filler neck
- Top up with coolant (mixing ratio as per following table)
- Screw the cap back on again
N.B.! Only use clean tap water. The electrical conductivity of all other
antifreeze agents makes them unsuitable for use here.
Warning! As Fronius has no influence on factors such as the
quality, purity and filling-level of the coolant, no warranty is given
for the coolant pump.