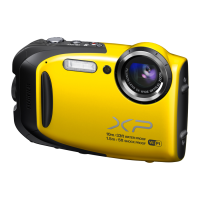
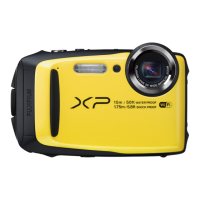
REACH MAP
Field Procedures 4 13
th
Edition, 2011
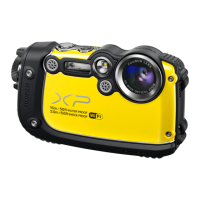
Press MENU/OK to display the Shooting Menu.
1. The menu opens with “SHOOTING MODE” highlighted. Press the right selector button to
show options. Press the up or down buttons until “SR AUTO” is highlighted. Press OK.
2. Press the down selector button to highlight ISO. Press the right selector button to display
options. Press the up or down buttons to select AUTO. Press OK.
3. Continue in this way to access all the items in the shooting menu, changing the various items if
needed to those in the following list:
Shooting Menu:
Shooting Mode SR Auto
ISO Auto
Image Size 12M
Image Quality N
FinePixColor STD
White Balance N/A
Continuous Off
Face Detection On
AF Mode N/A
Movie Quality N/A
While viewing the Shooting Menu, press in sequence the left, down and right selector buttons to
bring up the Setup Menu. As above, press the right button to access the options, and set the
menu items. Press OK when done.
Setup Menu:
Date/Time Use right, left, up, down buttons to set date and time.
Time Difference Home
Language English
Silent Mode Off
Reset DO NOT CHANGE. This resets all settings to factory defaults.
Format DO NOT CHANGE. This erases all data from the memory card.
Image Display 3 SEC
Frame No. Cont.
----Now skip down to the following items, and ignore the others:
LCD Mode On
Auto Power Off 2 MIN
Digital IS Off
Red Eye Removal On
Save Org Image Off
WHEN FINISHED, PRESS THE DISP/BACK BUTTON (below the small arrow) TO LEAVE
THE MENUS.