En-15
EnglishFrançaisDeutschEspañol
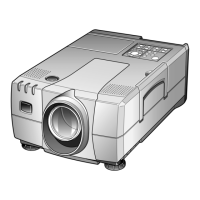
Setting Up
• There are 2 ways of setting the projector up: for regular projection and rear projection.
• By adjusting the zoom lens, you can choose the screen size as shown below.
Offset (O)
Projection distance (L)
* Offset is the distance from the middle of the projection lens to the bottom edge of the screen.
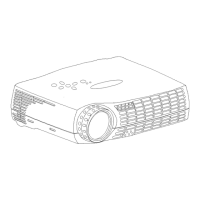
Adjustment
• Adjust the height of the projector using the 2 adjusters on the front.
• If the relation between the position of the projector and the screen is not correct, the image will be distorted and blurred.
2
When the desired angle is reached,
release the adjustment levers to fix
the adjusters in that position.
3
Turn the adjusters for fine adjustment.
Note
• If you wish to lower the projector to its original position before storing it, press the adjustment levers and slowly lower the
projector. It can then be stored easily.
Adjuster
Adjustment lever
20 30 41 0.7 – 0.9 2 – 29
40 61 81 1.4 – 1.9 3 – 58
60 91 122 2.1 – 2.8 5 – 87
80 122 163 2.9 – 3.8 6 – 116
100 152 203 3.6 – 4.7 8 – 145
150 229 305 5.4 – 7.1 11 – 217
200 305 406 7.3 – 9.4 15 – 290
250 381 508 9.1 – 11.8 19 – 362
300 457 610 10.9 – 14.1 23 – 434
Screen Size
Screen Size Height (cm)
Width (cm)
Projection
distance L (m)
Offset O (cm)
1
Lift the front of the projector while
pressing the two adjustment levers on
the side of the projector.
Up Down